
Along the shore in Hawaii, dark lava rock can meet water so clear that its changing depth becomes visible from above. Farther inland, green ridges catch passing clouds. The islands reward looking beyond the first postcard view, especially when a familiar place name begins to belong to an actual landscape.
Hawaii coloring pages offer a way to spend longer with that sense of place. Someone remembering a visit may recall the warmth of the air or the sound outside an open window. For someone who has never been, the picture can begin a curiosity about the islands that reaches beyond imagining a day at the beach.
Free Printable Hawaii Coloring Pages
Click any coloring page below to open the PDF, then print on US Letter or A4 paper.
Did you find what you needed?
Help us choose what to create or improve next.
Coloring Ideas for Hawaii Pages
Try these creative ideas to make the most of your coloring sheets.
Make a Paper Flower Lei
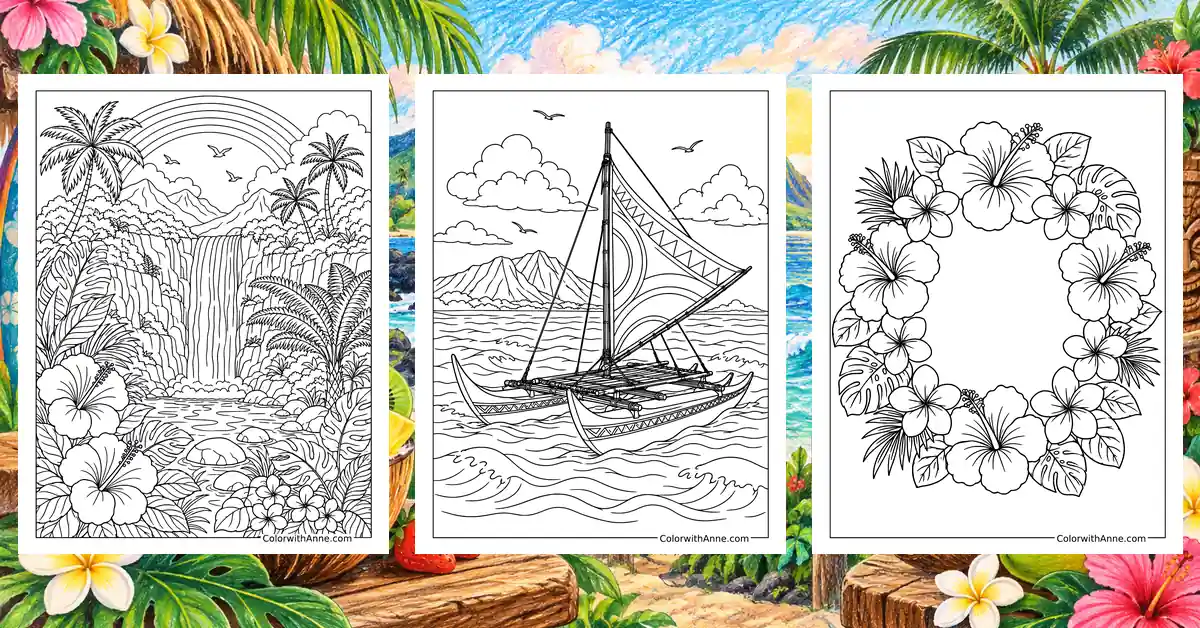
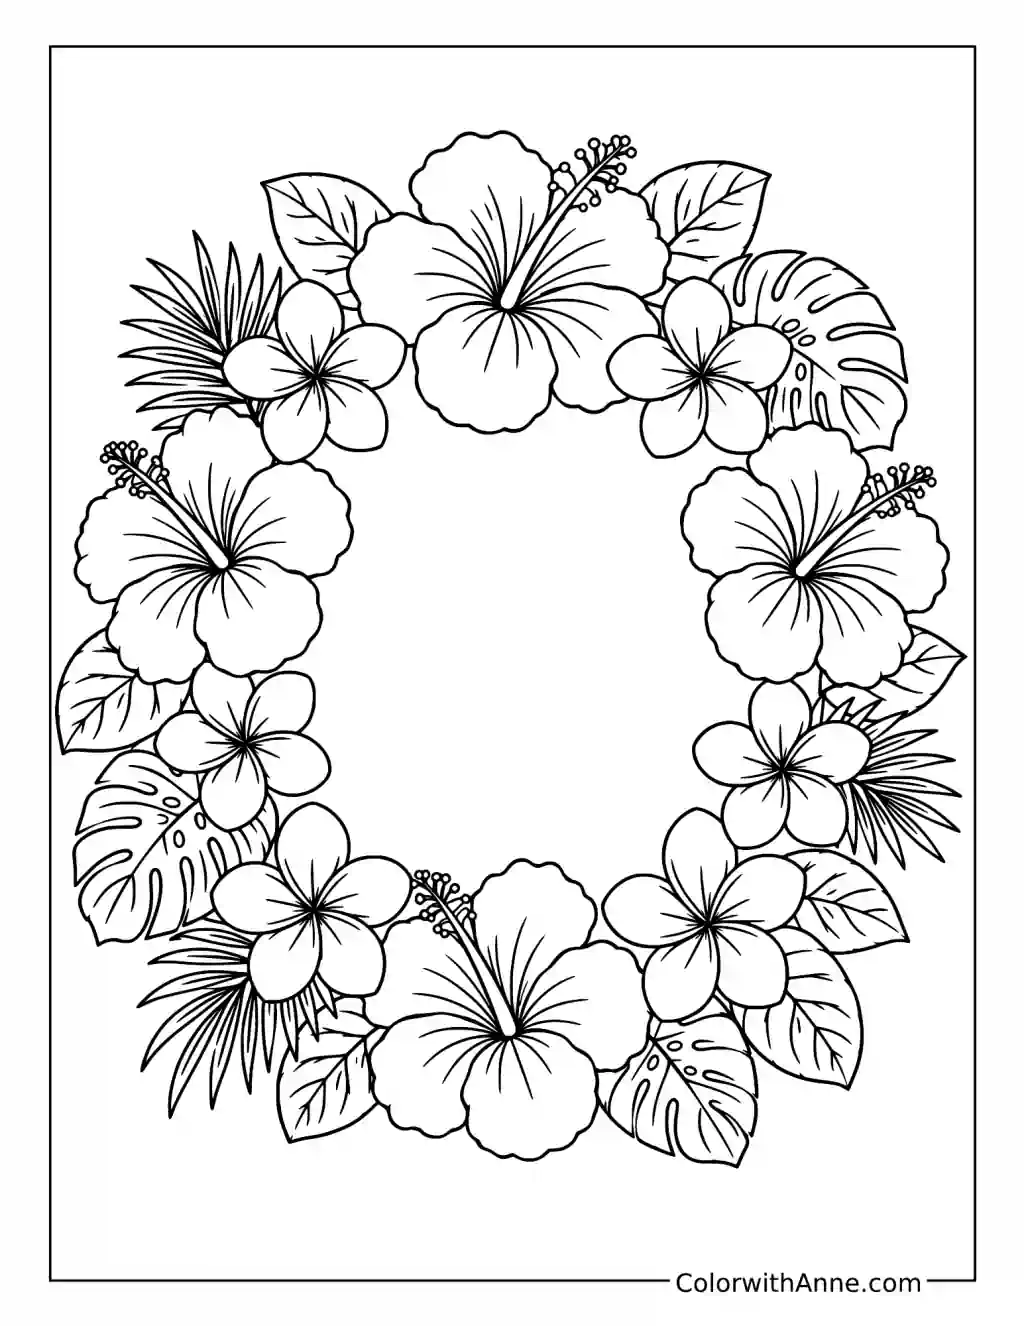
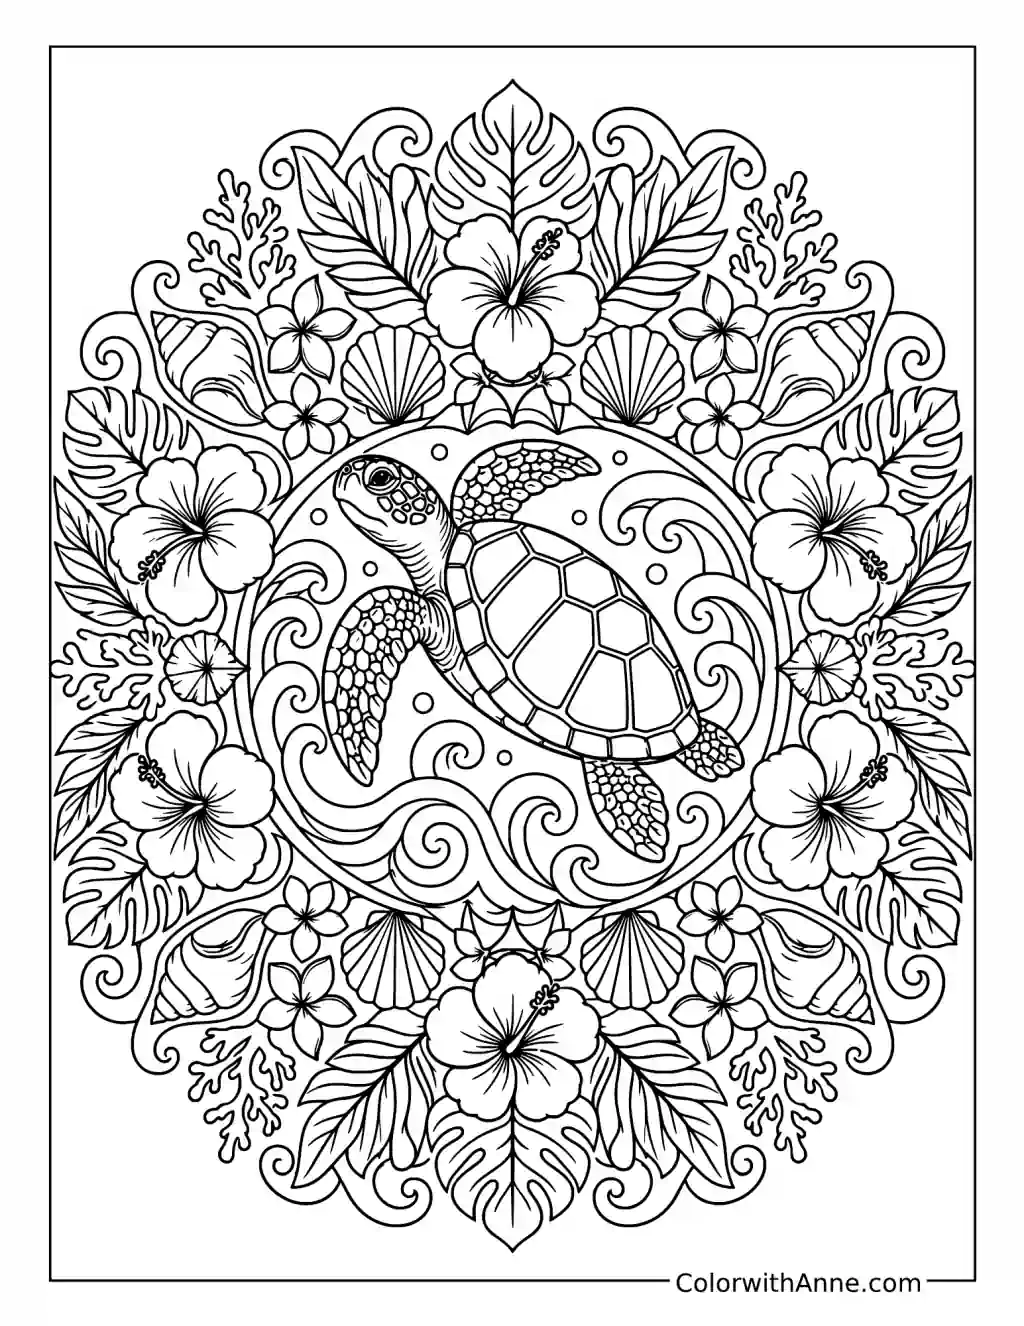
Hibiscus and plumeria flowers form a broad ring, with leaves tucked between the blooms. The different petal shapes give the wreath variety before any color choices are made.
Pink hibiscus and cream plumeria with yellow centers would make a lovely combination. A few darker green leaves could separate the pale flowers around the ring.
Use the flower outlines as inspiration for a simple paper lei. Cut several broad blooms from colored paper and alternate them with short pieces of paper straw on a length of cord. Keeping the flowers fairly large makes the necklace easier to assemble, and the spaces between them allow each petal shape to remain visible.
Put Names to the Island Shapes
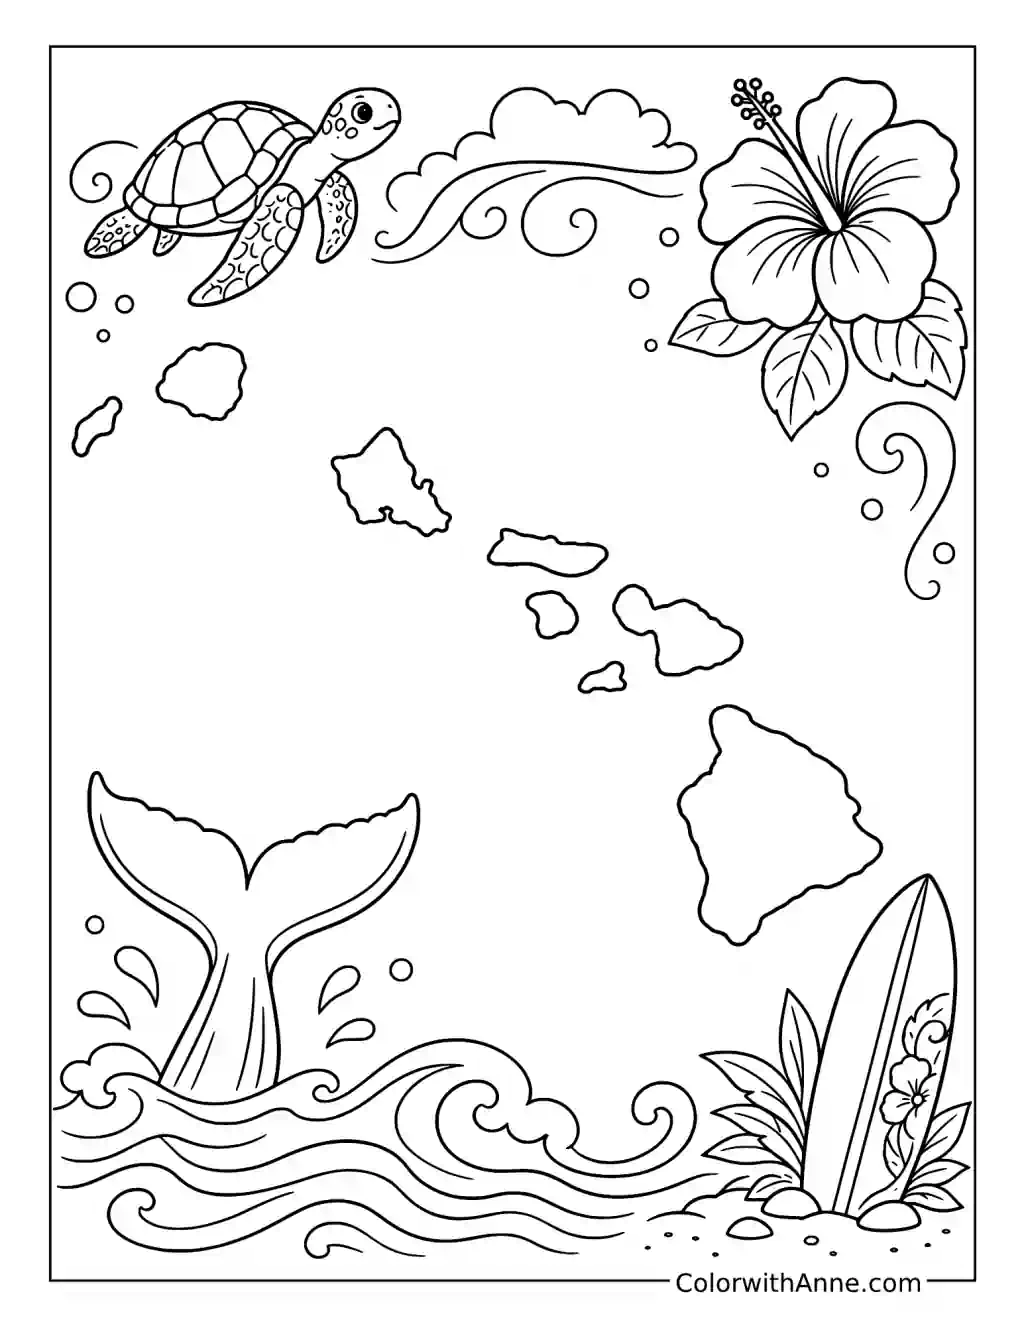
The island chain curves across the page between a sea turtle, flowers, waves, and a whale tail. The large island at one end gives the map a useful starting point for finding the others.
The islands could use different greens against pale blue water. Keep the surrounding decorations brighter if you want the map itself to remain easy to examine.
Set an atlas or a clearly labeled map beside the page and match the main island shapes one at a time. Add names on small paper labels before gluing anything down, leaving room around the smaller islands. It is a comfortable way to become familiar with the chain without having to remember every name at once.
Find the Surfer’s Balance
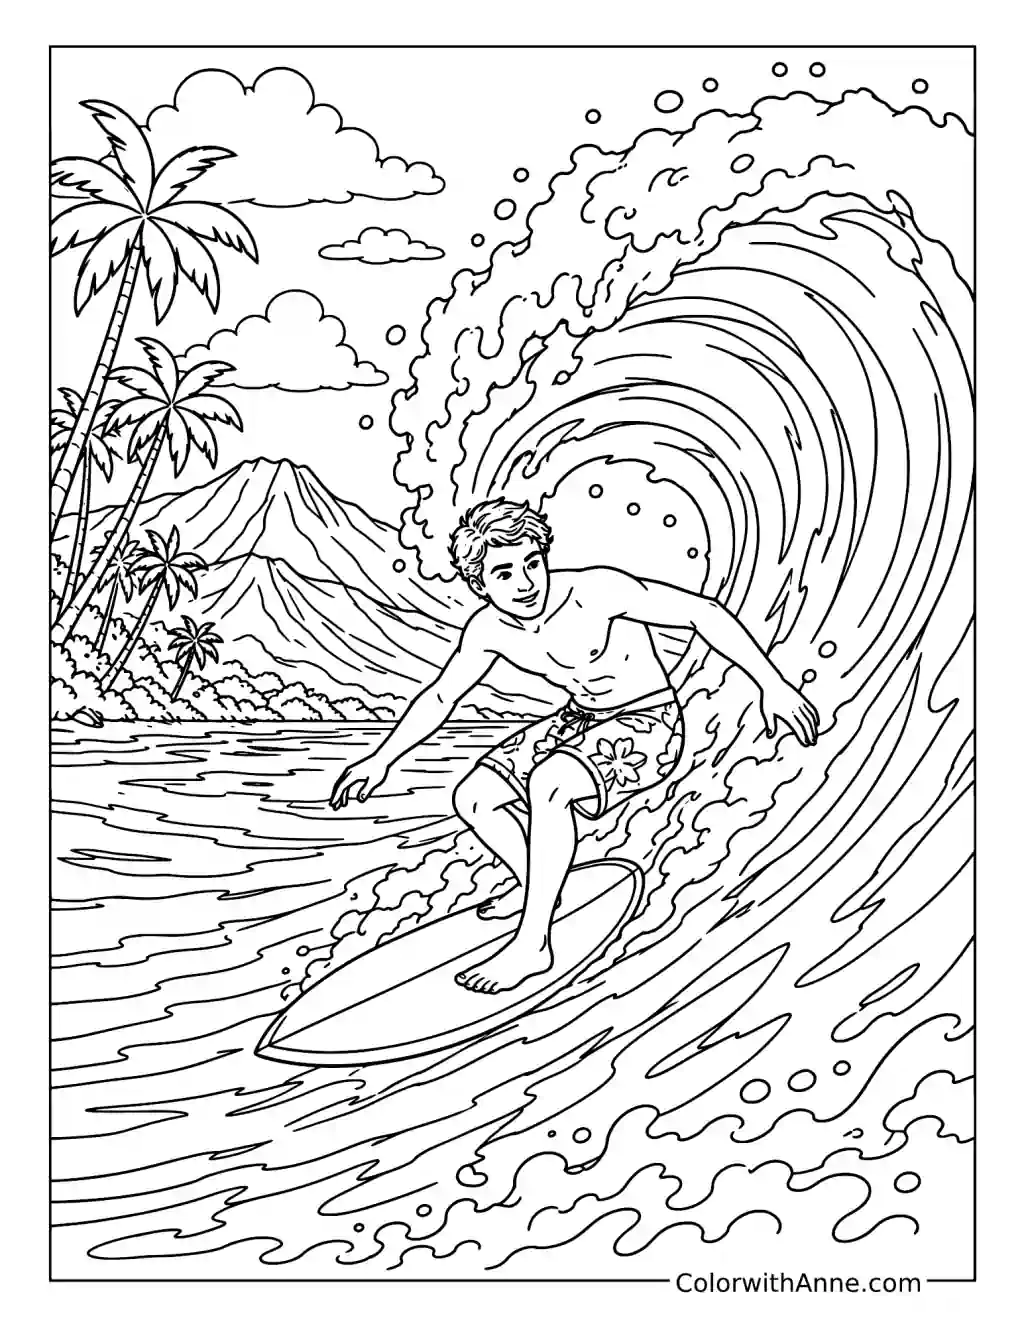
The surfer rides low beneath the curling wave, with spray breaking around the board. The bent knees and outstretched arms make the balance feel almost as interesting as the enormous wall of water.
Turquoise could deepen into blue inside the wave’s curve. Leave plenty of white foam, with one strong color on the board to keep it visible.
Try the surfer’s stance on an ordinary flat floor: one foot ahead of the other, knees comfortably bent, arms adjusting gently. Then look back at the drawing and notice where the shoulders and feet point. Copying a still pose for a moment can make the movement in a sports picture much easier to understand.
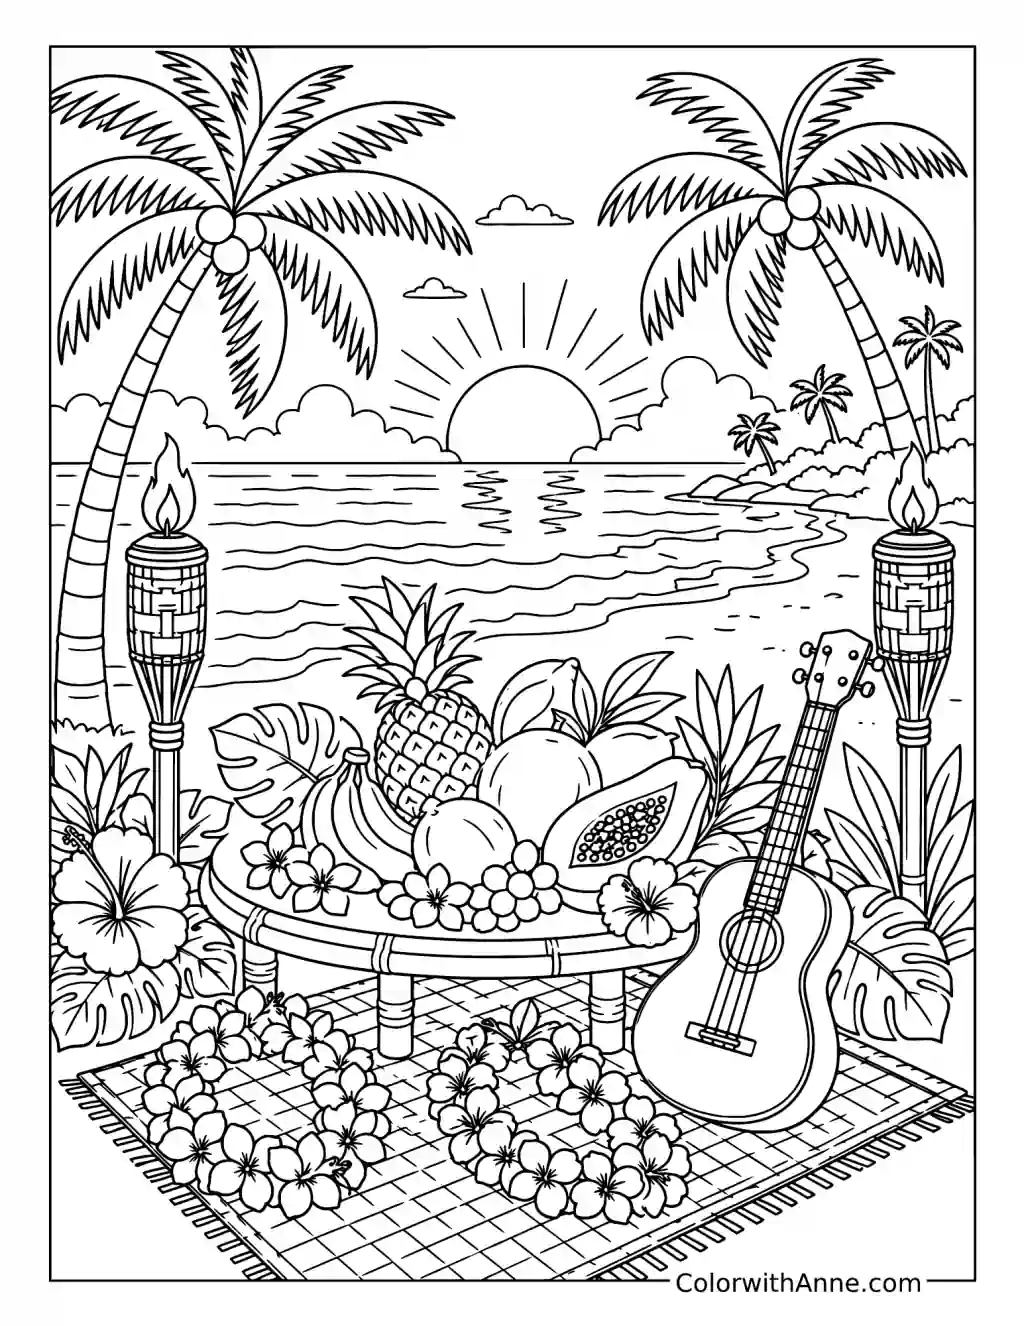
Bring One Tropical Fruit to the Table
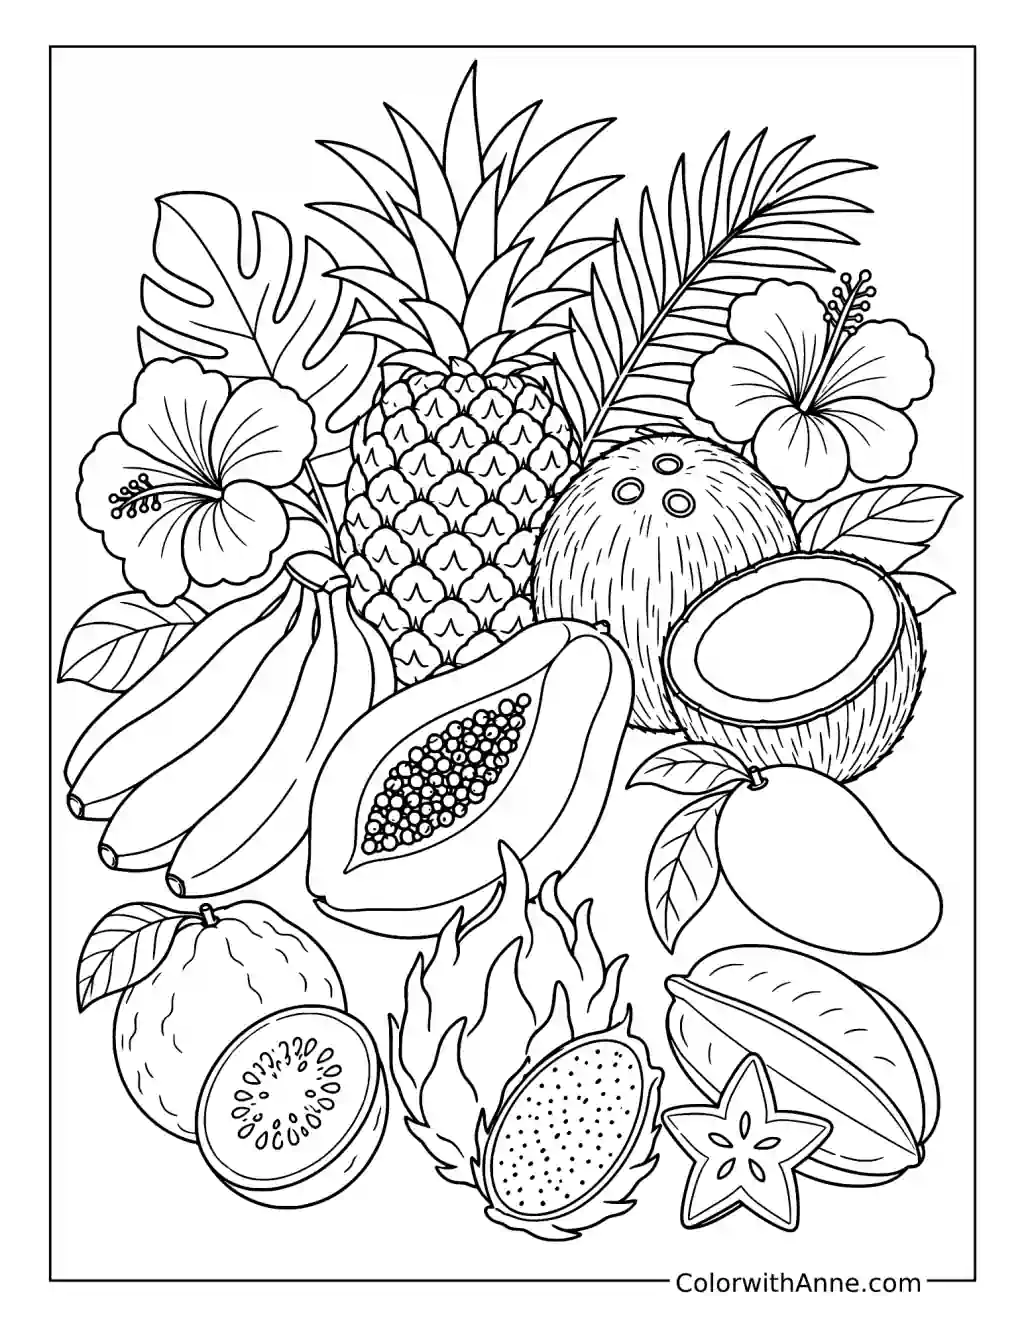
Pineapple, bananas, coconut, and cut fruits fill the page among flowers and leaves. The opened fruit gives the picture its best little details, including seeds, pale flesh, and contrasting skins.
Golden pineapple and yellow bananas could sit beside the orange center of the papaya. Brown coconut shells with creamy interiors would add a quieter patch among the brighter fruit.
Choose one familiar fruit and one less familiar one for a small tasting plate, if they are available. Keep a whole piece nearby long enough to compare its skin with the drawing. The difference between the outside and the cut center often produces a much more interesting conversation than simply deciding which fruit tastes sweetest.
Follow the Waterfall from Top to Pool
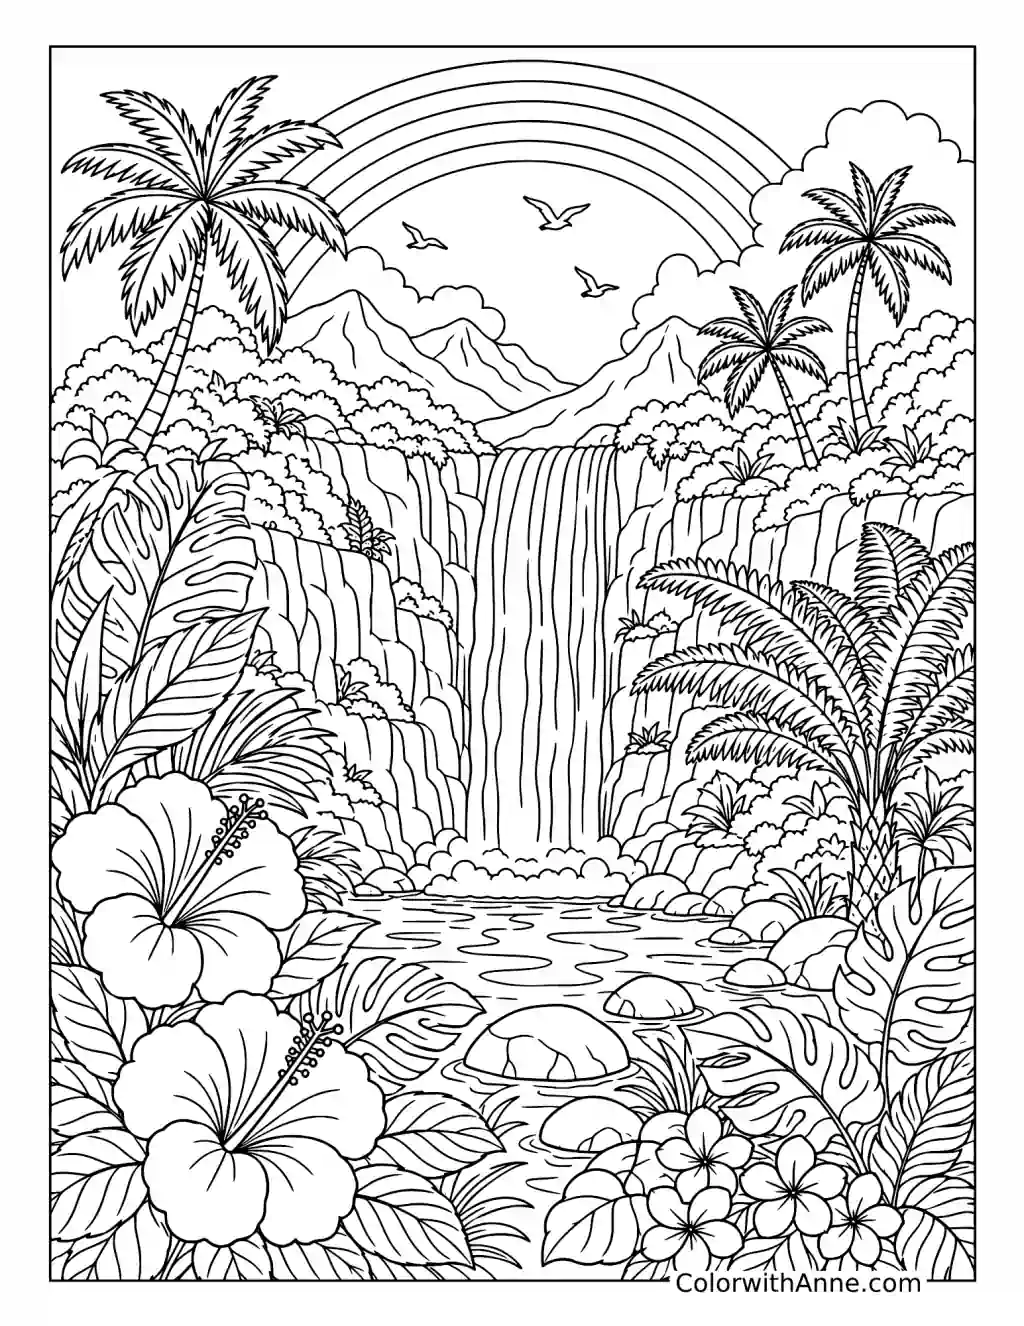
The waterfall drops between lush banks beneath a broad rainbow, with large leaves and flowers filling the foreground. There are several places to pause before the water finally reaches the pool.
Soft blue and white would suit the falling water, with deeper turquoise below. Several greens could distinguish the broad leaves from the finer plants around them.
Try adding the sound of the scene to a short spoken description. Begin with the falling water, then imagine how the sound changes farther down the path or behind the leaves. A few sentences can become a small nature-writing exercise, with the picture supplying specific places to stand and something definite to listen for.
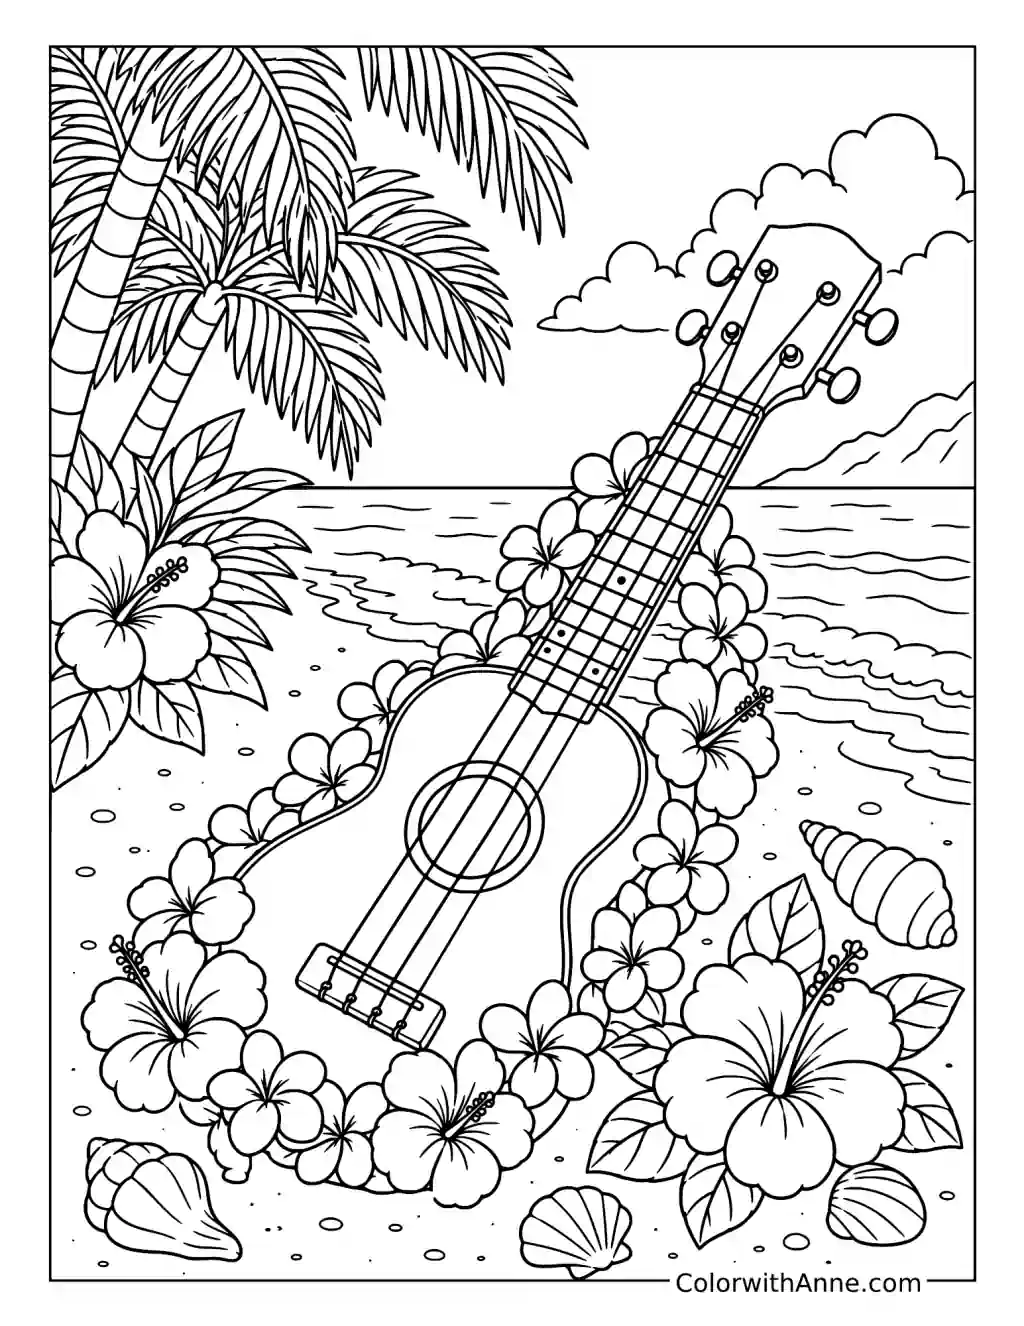
Try a Rhythm Beside the Ukulele
A flower lei drapes around the ukulele, with the sea and a palm tree behind it. The small instrument sits comfortably within the scene, ready for a tune without needing a stage.
Warm brown wood could sit beside cream and pink flowers. A pale blue sea and softer background greens would keep the strings and instrument shape clear.
If there is a ukulele at home, try a short, familiar passage before settling down to color. Someone listening can tap a gentle, steady beat while the player finds the rhythm. Without an instrument, a recording works too; follow the repeated pulse for a few bars, then notice when the melody moves differently around it.
Build the Two Hulls of the Voyaging Canoe
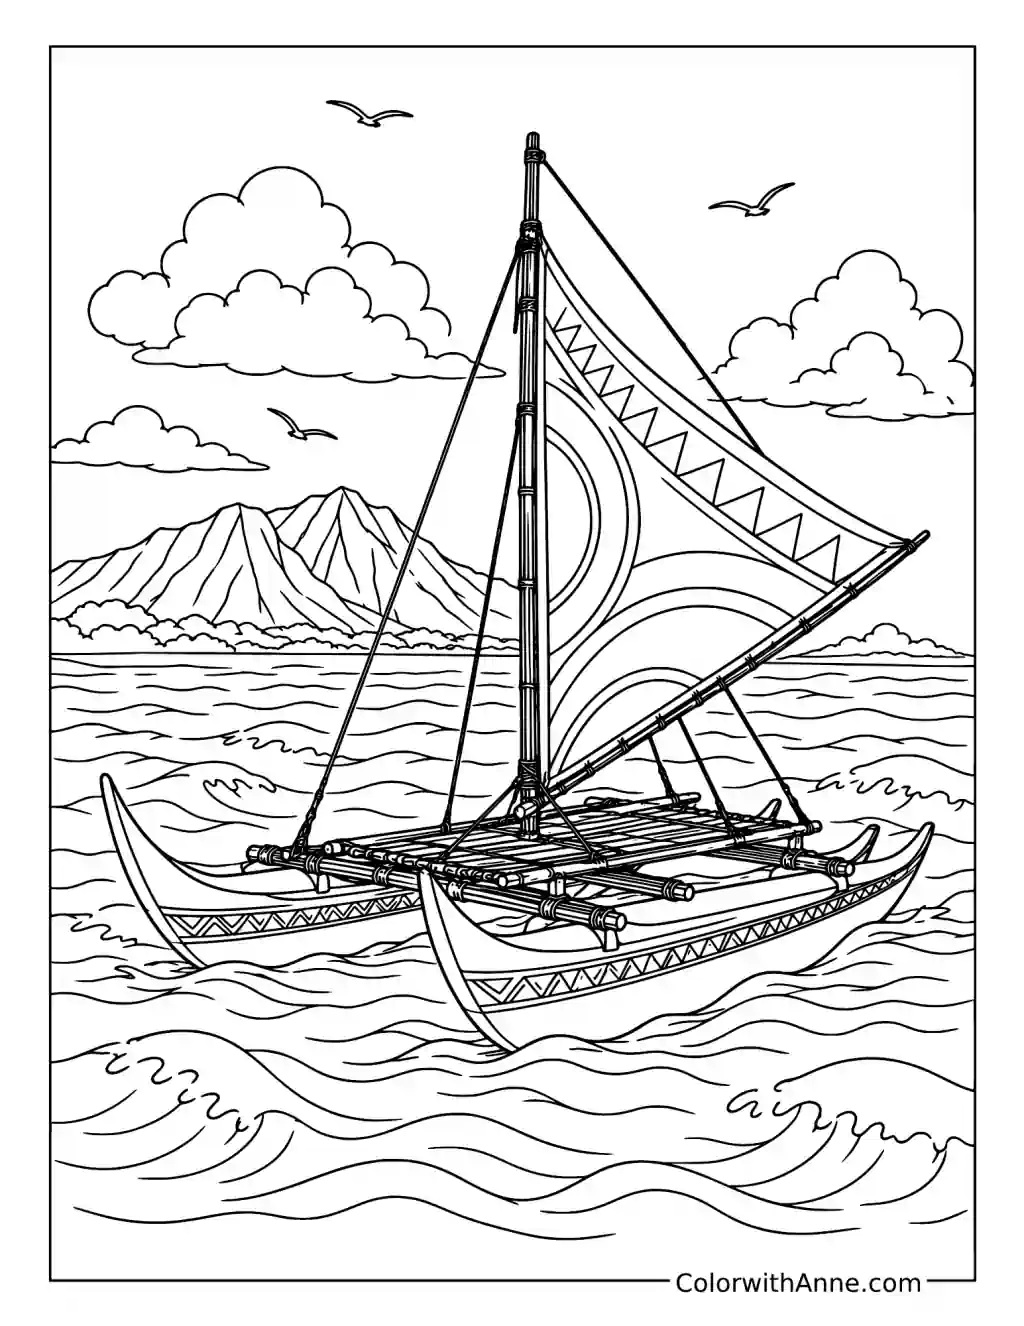
The canoe’s two long hulls carry a platform and tall triangular sail across the waves. The space between the hulls gives this boat a distinctive shape worth examining before coloring the smaller details.
Warm wood colors and a cream sail would suit the vessel. Blue-green water with white around the wave crests could suggest a steady journey.
Make a simple display model using two folded paper hulls joined by short cardboard strips. Add a mast and broad paper sail once the base stands evenly. Placing the model beside the picture makes the arrangement easier to see from different angles, especially the way the platform connects parts that appear separate at the waterline.
Choose the Shave Ice Colors First
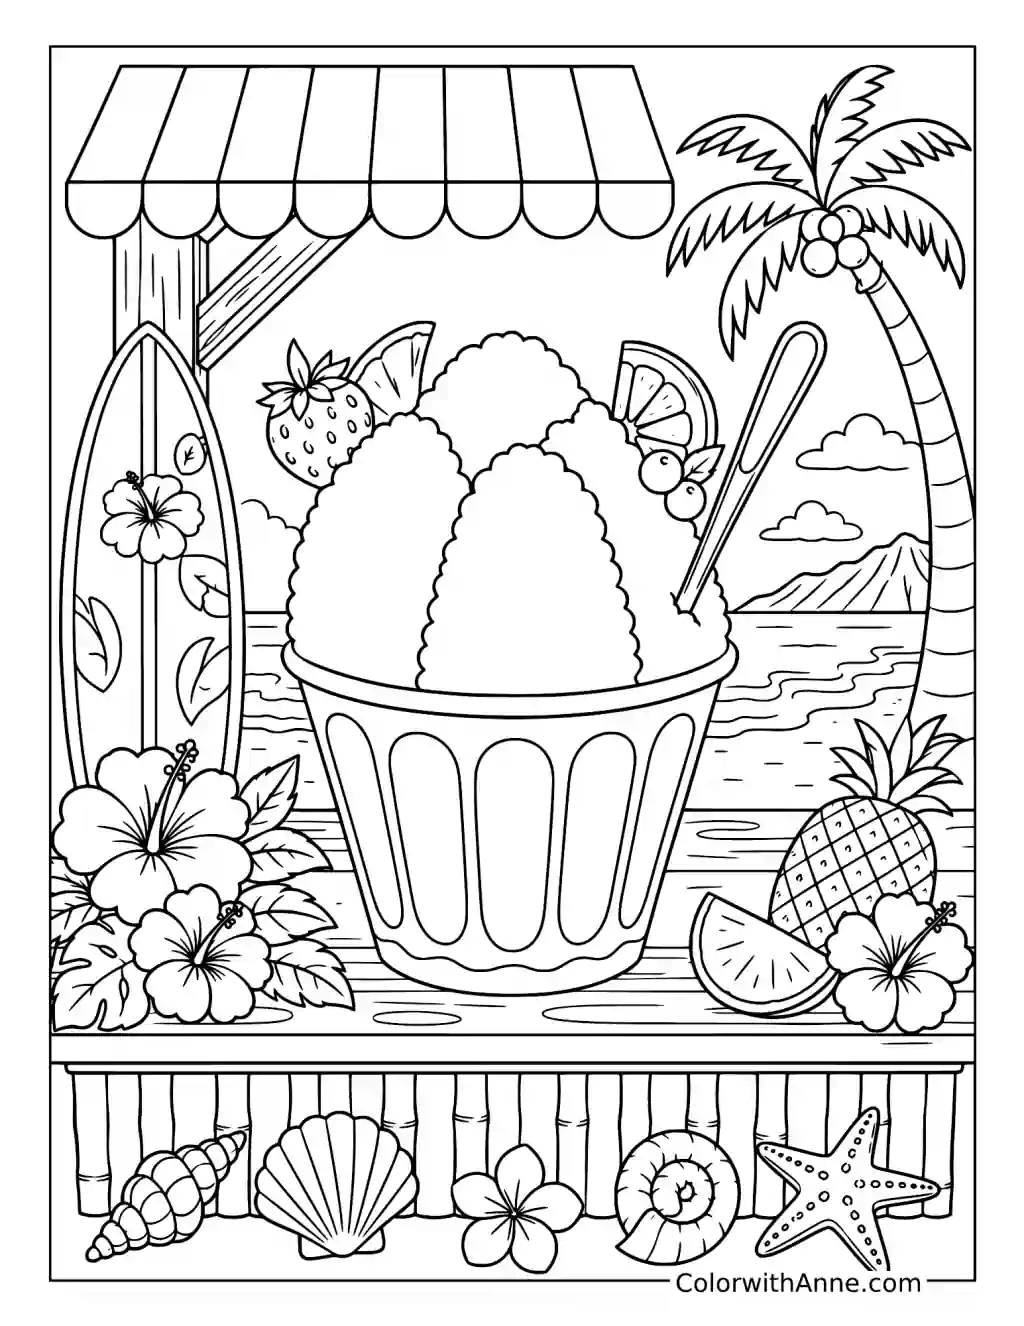
The enormous shave ice rises above its cup beneath the stand’s striped awning. Fruit and flowers frame the counter, but the generous mound of ice is clearly the reason for stopping.
Pink, yellow, and blue could blend gently where the syrup colors meet. The cup might stay simple, with one contrasting stripe or a small flower on the front.
Treat the page as a flavor-design exercise for a homemade icy treat. Choose two flavors that sound good together, then decide how their colors will share the mound. A small drawing of the finished combination can sit beside the ingredients during preparation, giving children a clear choice to make before everyone reaches for everything.