
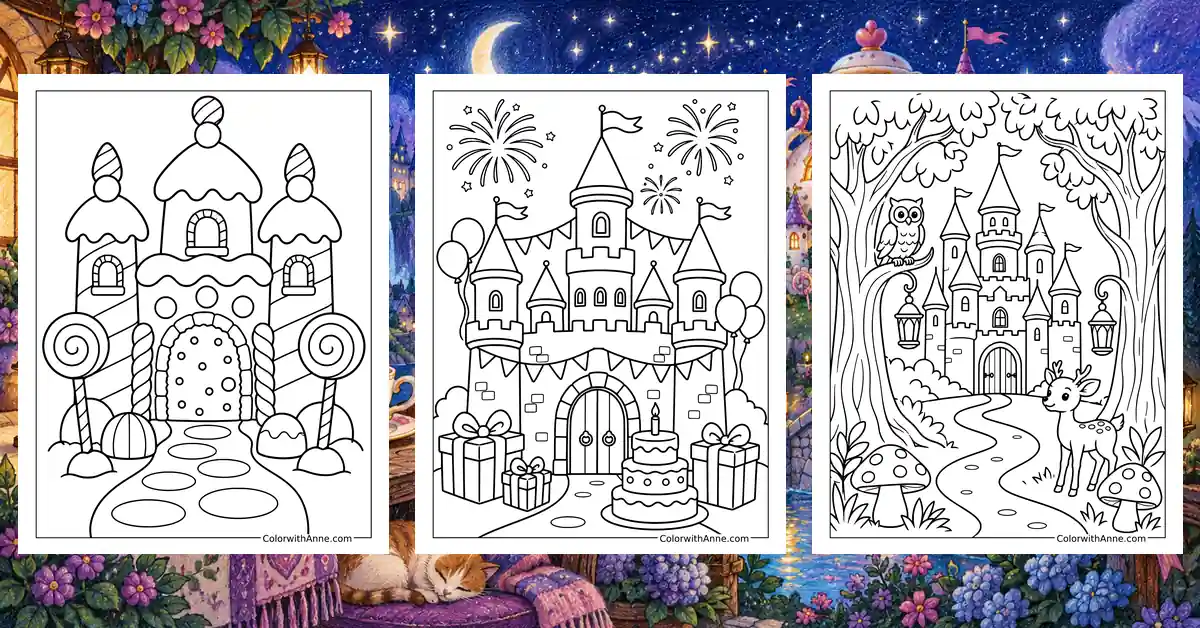
A castle glimpsed from a distance invites a particular question: what would it be like to live up there? The towers look wonderful until someone considers carrying groceries up the stairs. Still, a high window and a doorway big enough for a horse make a strong argument for ignoring practical concerns.
Castle coloring pages let the imagination move in without arranging the furniture just yet. A child might decide who lives behind the walls or which tower has the best view. Before long, the building has a household, a few secrets, and a reason why nobody should open one particular door.
Free Printable Castle Coloring Pages
Click any coloring page below to open the PDF, then print on US Letter or A4 paper.
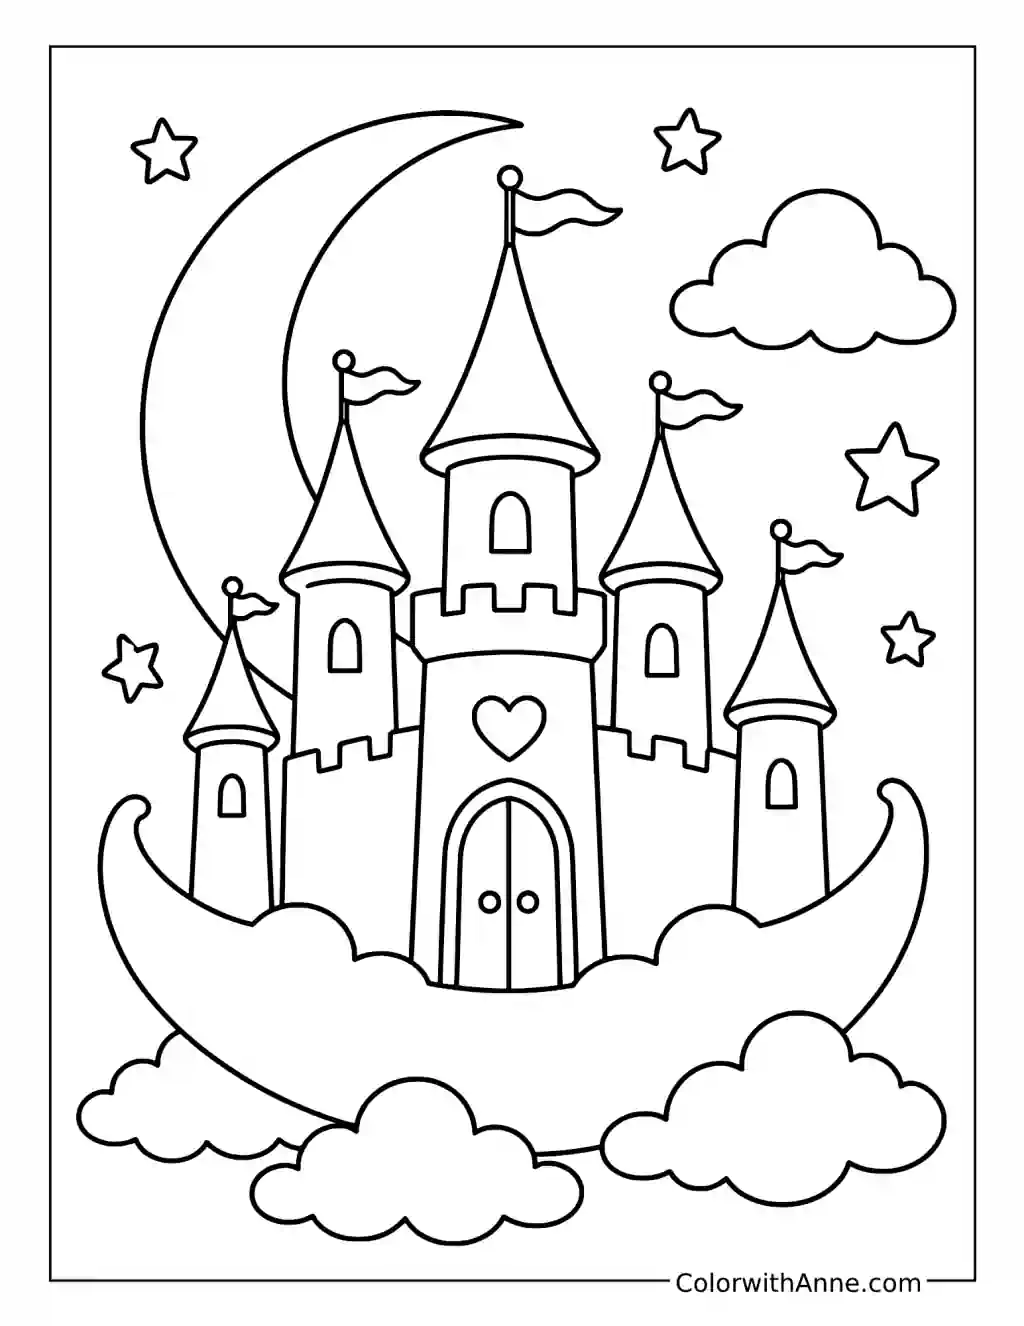
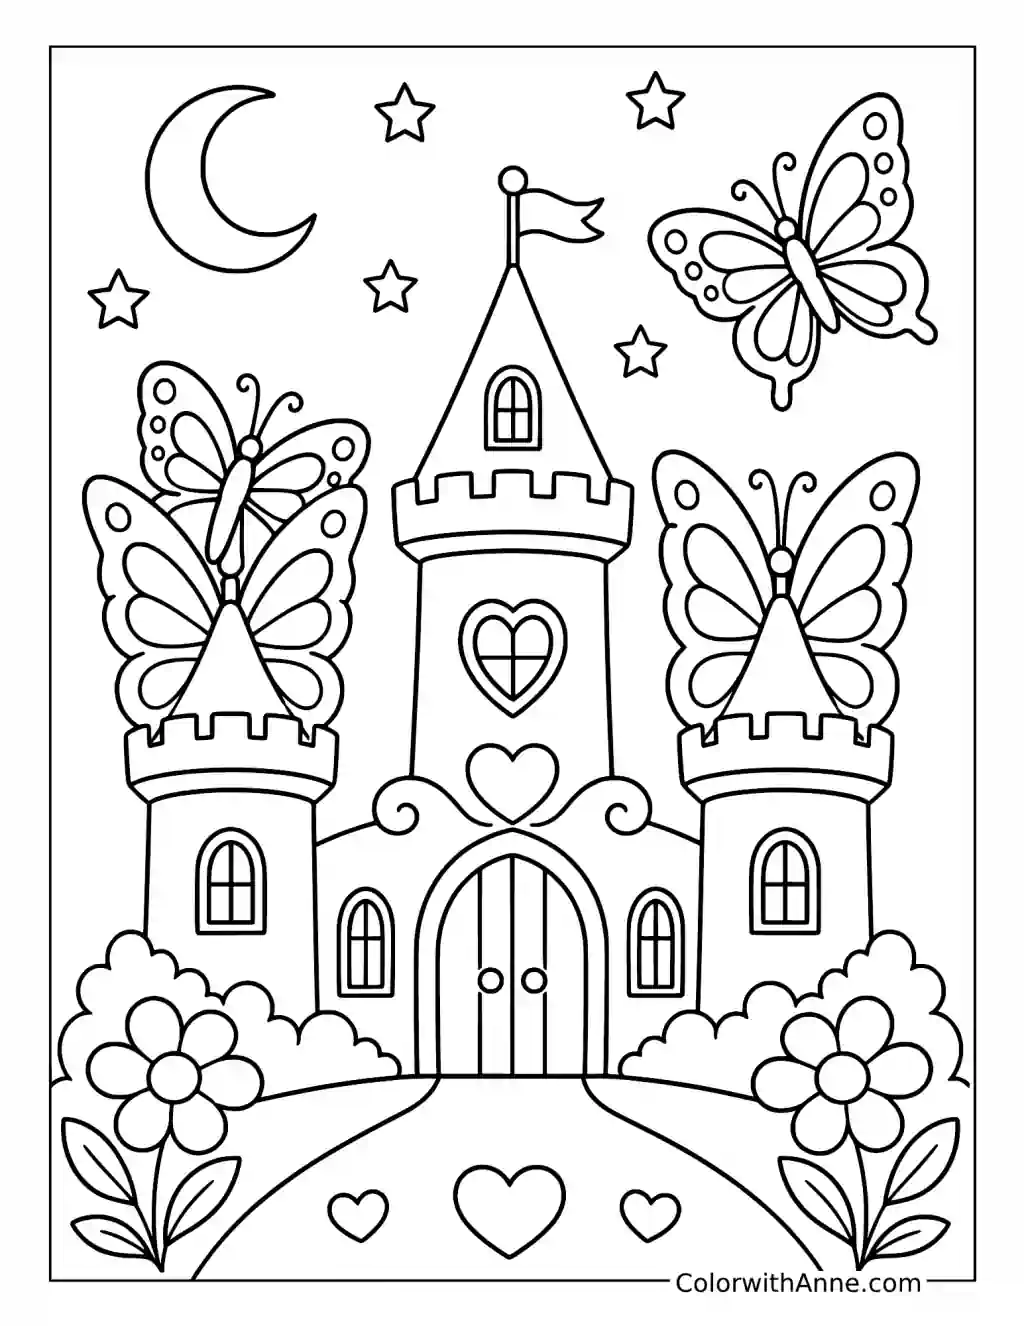
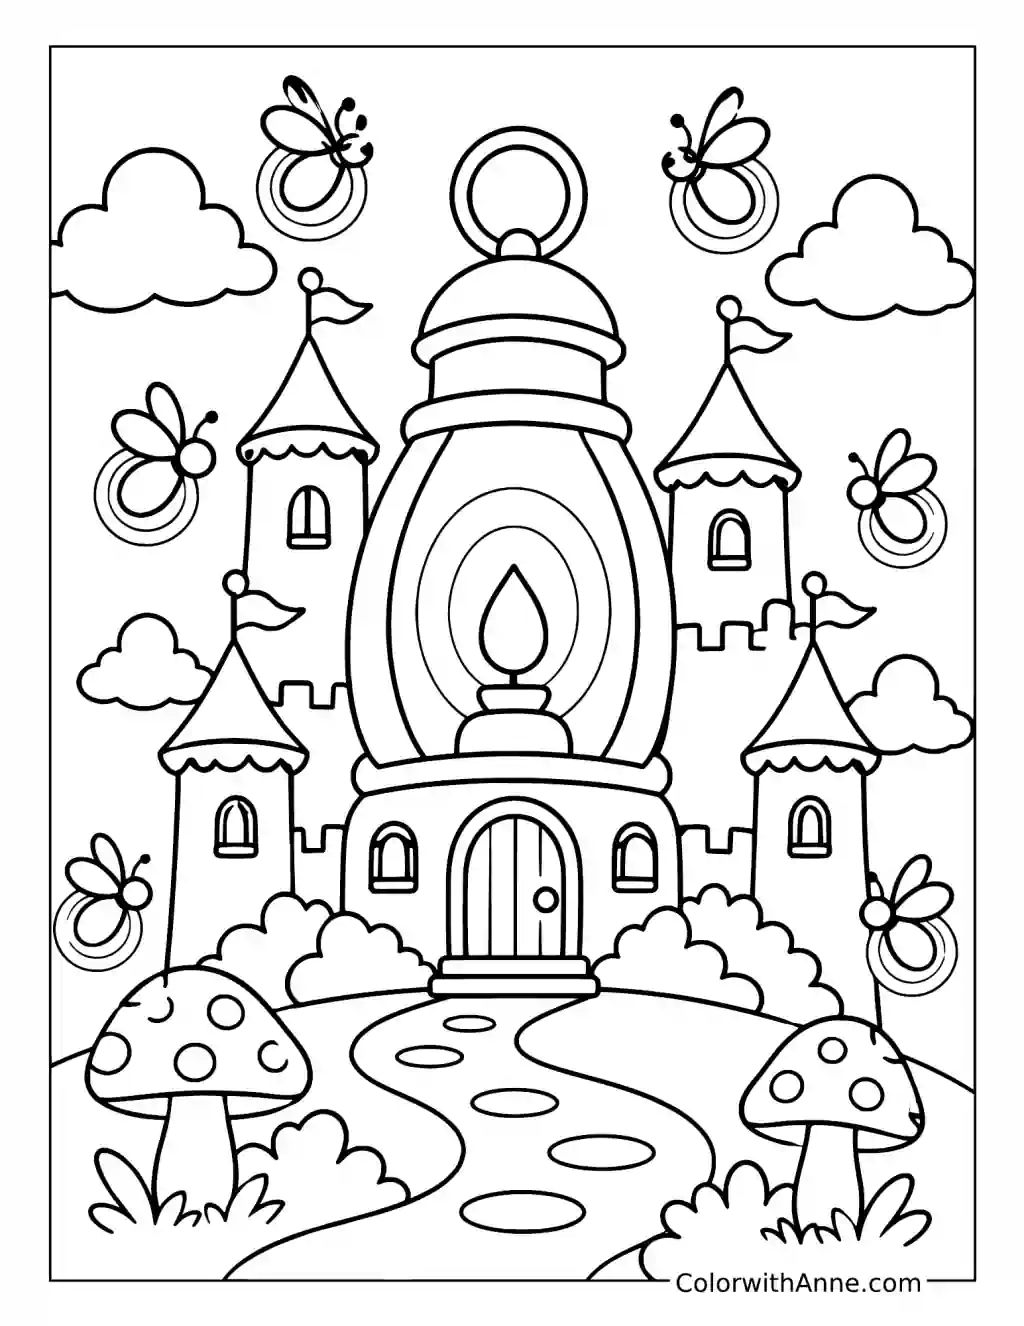
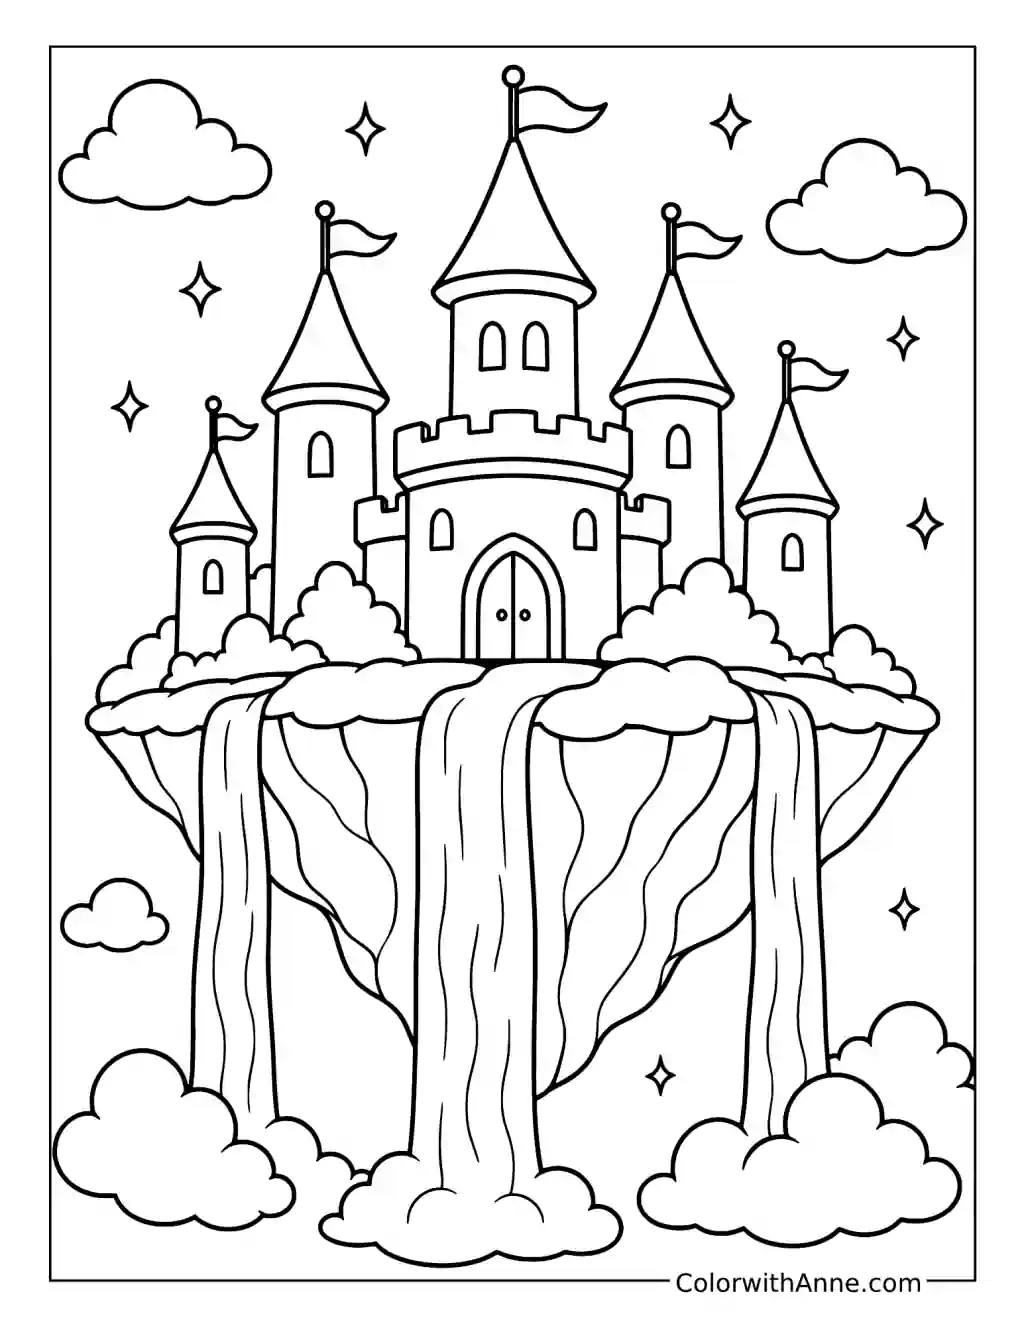
Did you find what you needed?
Help us choose what to create or improve next.
Coloring Ideas for Castle Pages
Try one of these coloring ideas, or use them as a starting point for your own.
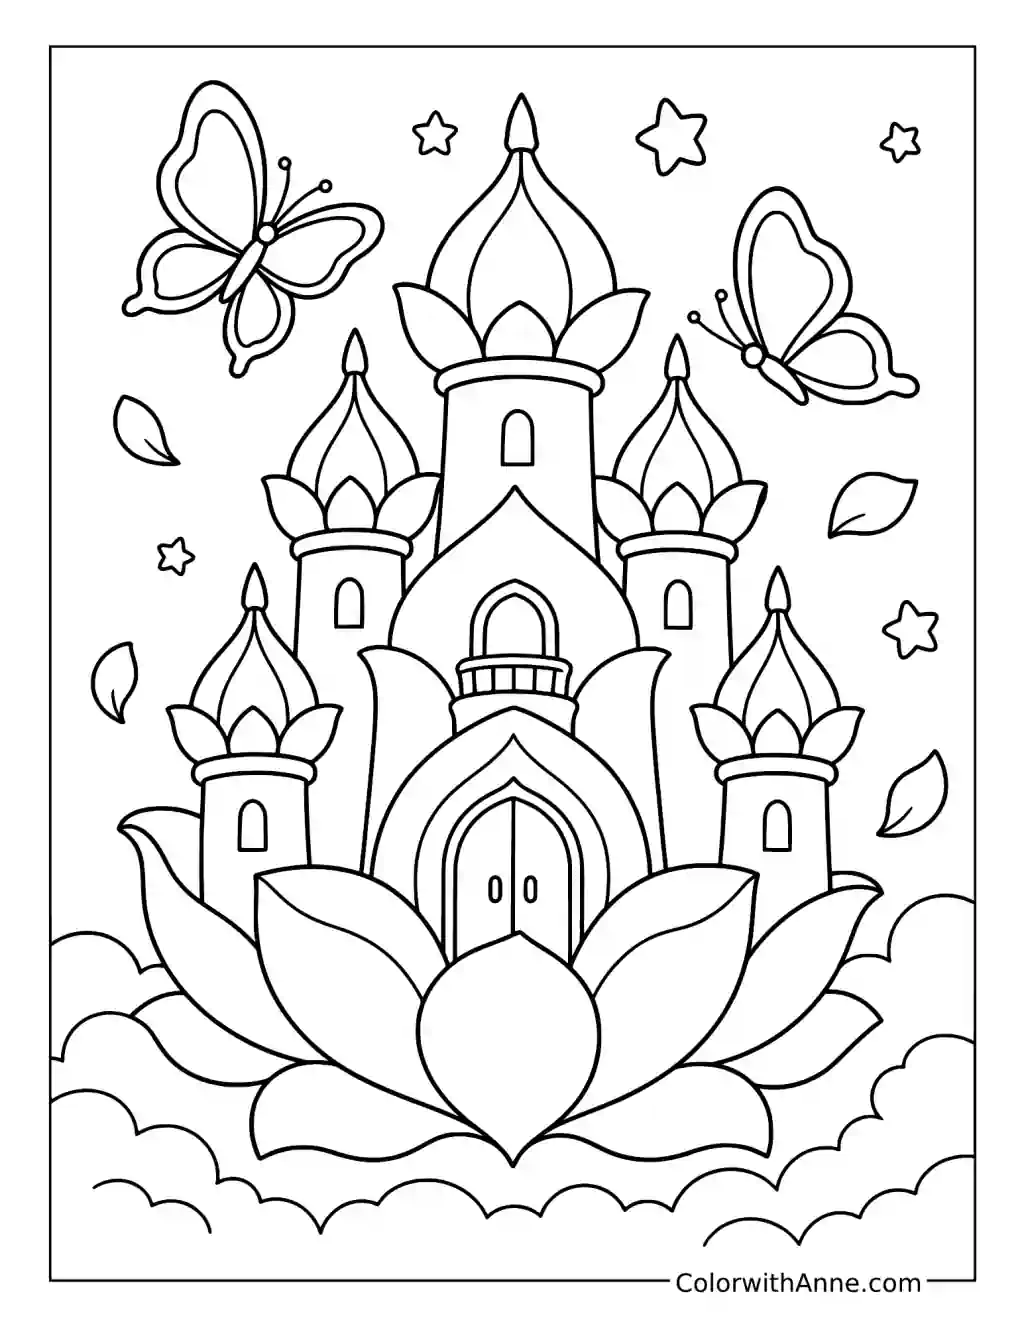
Make the Crystal Garden Catch the Light
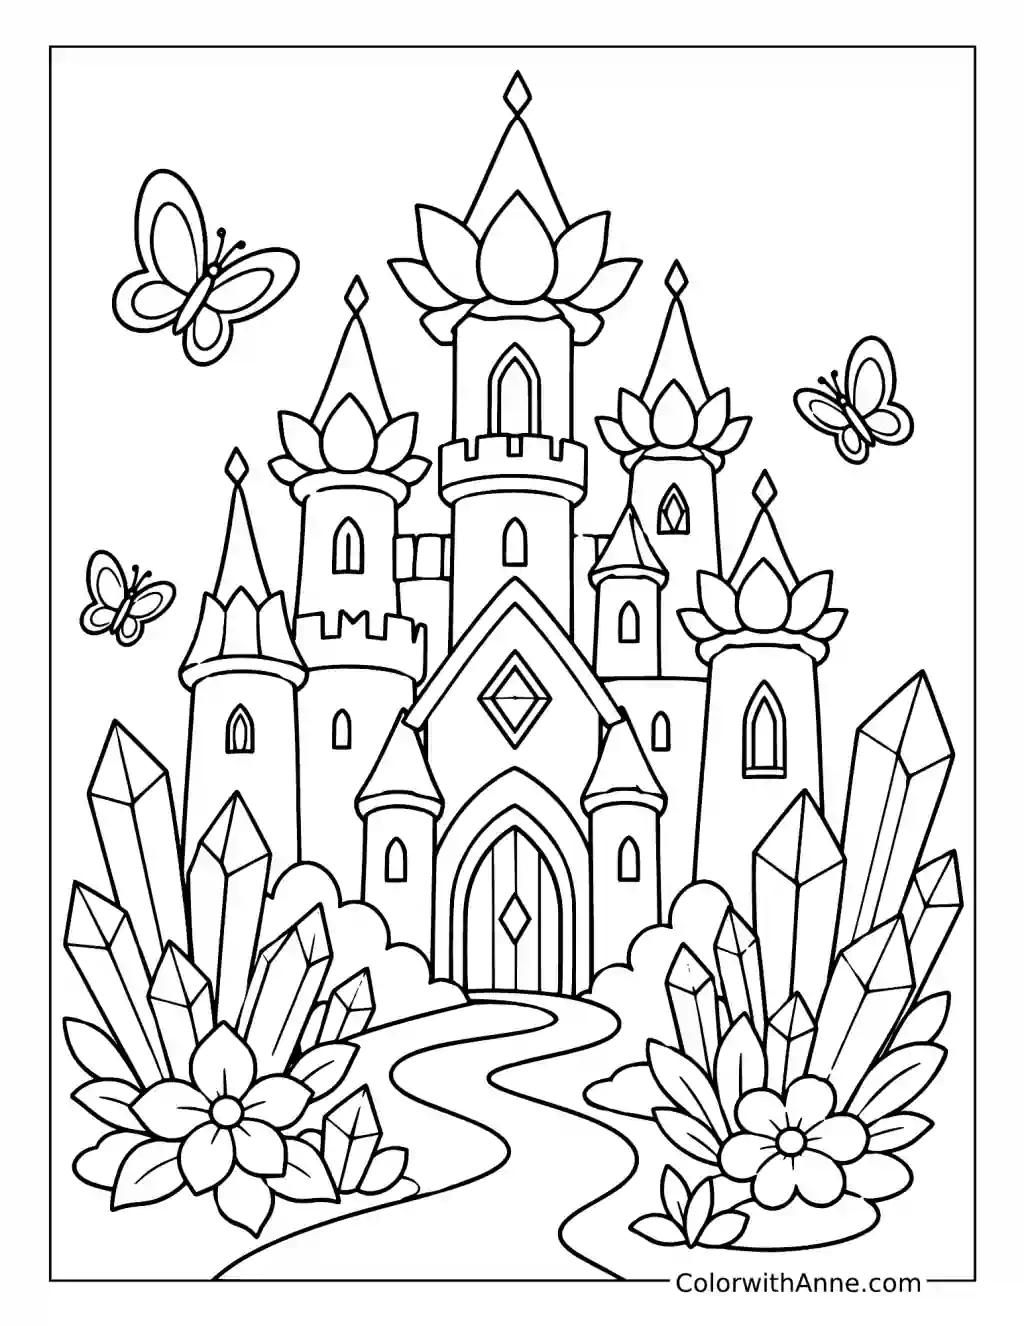
Pointed crystals rise beside the winding path, echoing the castle’s tall towers. Their angular faces offer a different kind of decoration from the flowers around them.
Try lavender towers, pale pink roofs, and crystals in blue, turquoise, and violet. Keep neighboring crystal faces slightly different so their shapes remain visible.
Cut a few small triangles from shiny packaging or foil and attach them to selected crystal faces. Leave plenty of the coloring uncovered. When the page moves, those few reflective pieces will catch the light at different angles, giving the garden a little sparkle without covering it in glitter.
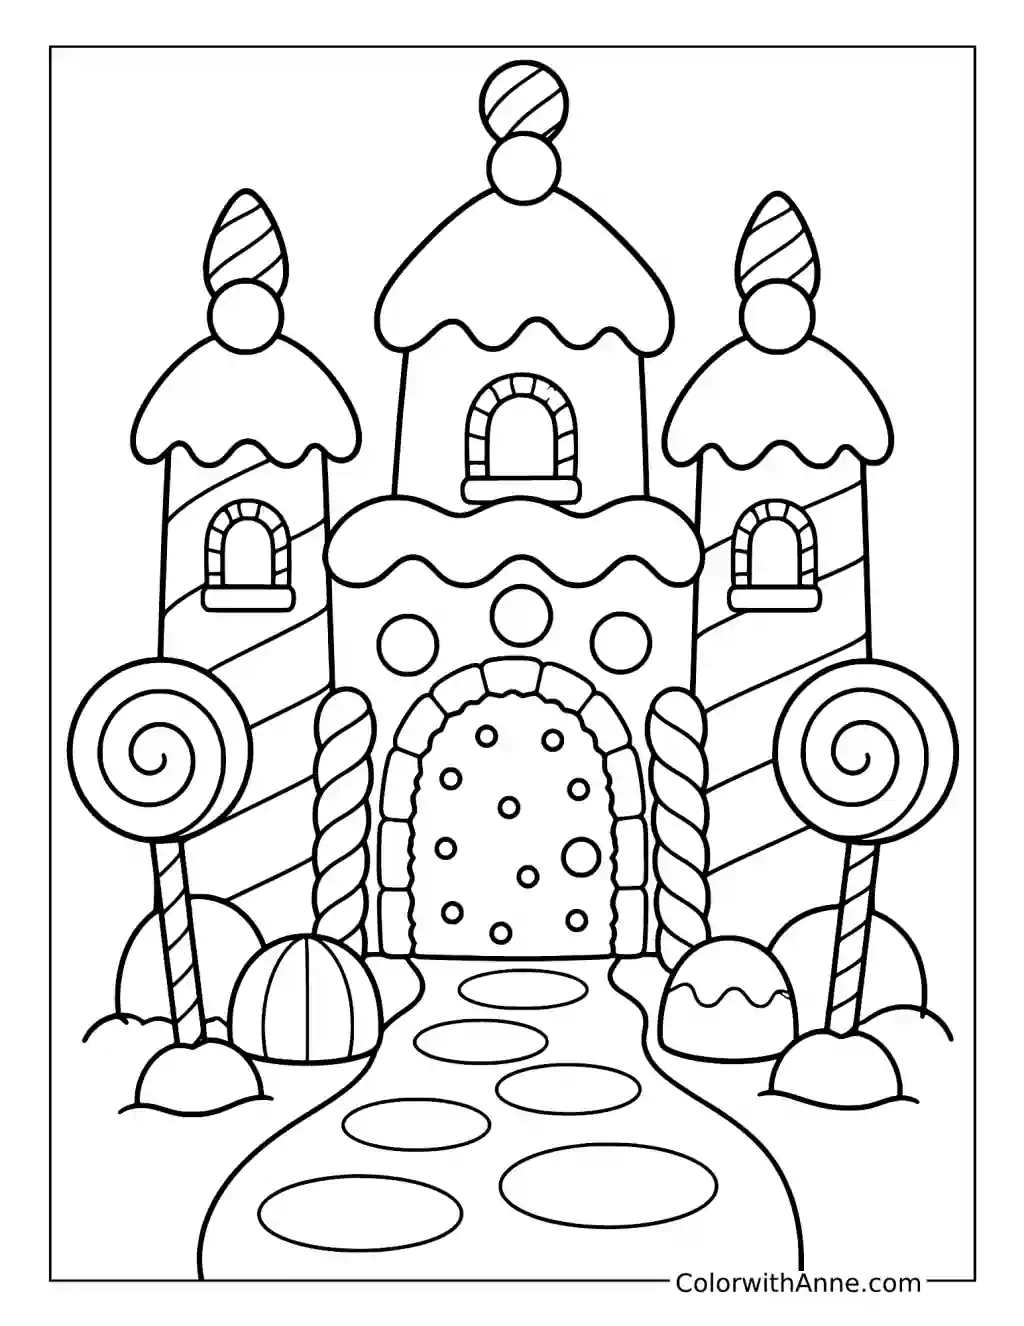
Build the Candy Castle Flat on a Plate
Dripping roof edges, striped sweets, and round lollipops make this castle look thoroughly edible. A flat biscuit version is easier to assemble than a tower that has to stand.
Use strawberry pink, creamy white, and chocolate brown, with bright stripes on the candy details. The path can become a trail of differently colored sweets.
Arrange biscuits on a plate to suggest the main building and towers. Use icing to attach small sweets as windows and roof decorations. Keep the printed castle nearby for ideas, while letting the available biscuit shapes determine the construction. Everyone can decorate a tower before the castle is shared.
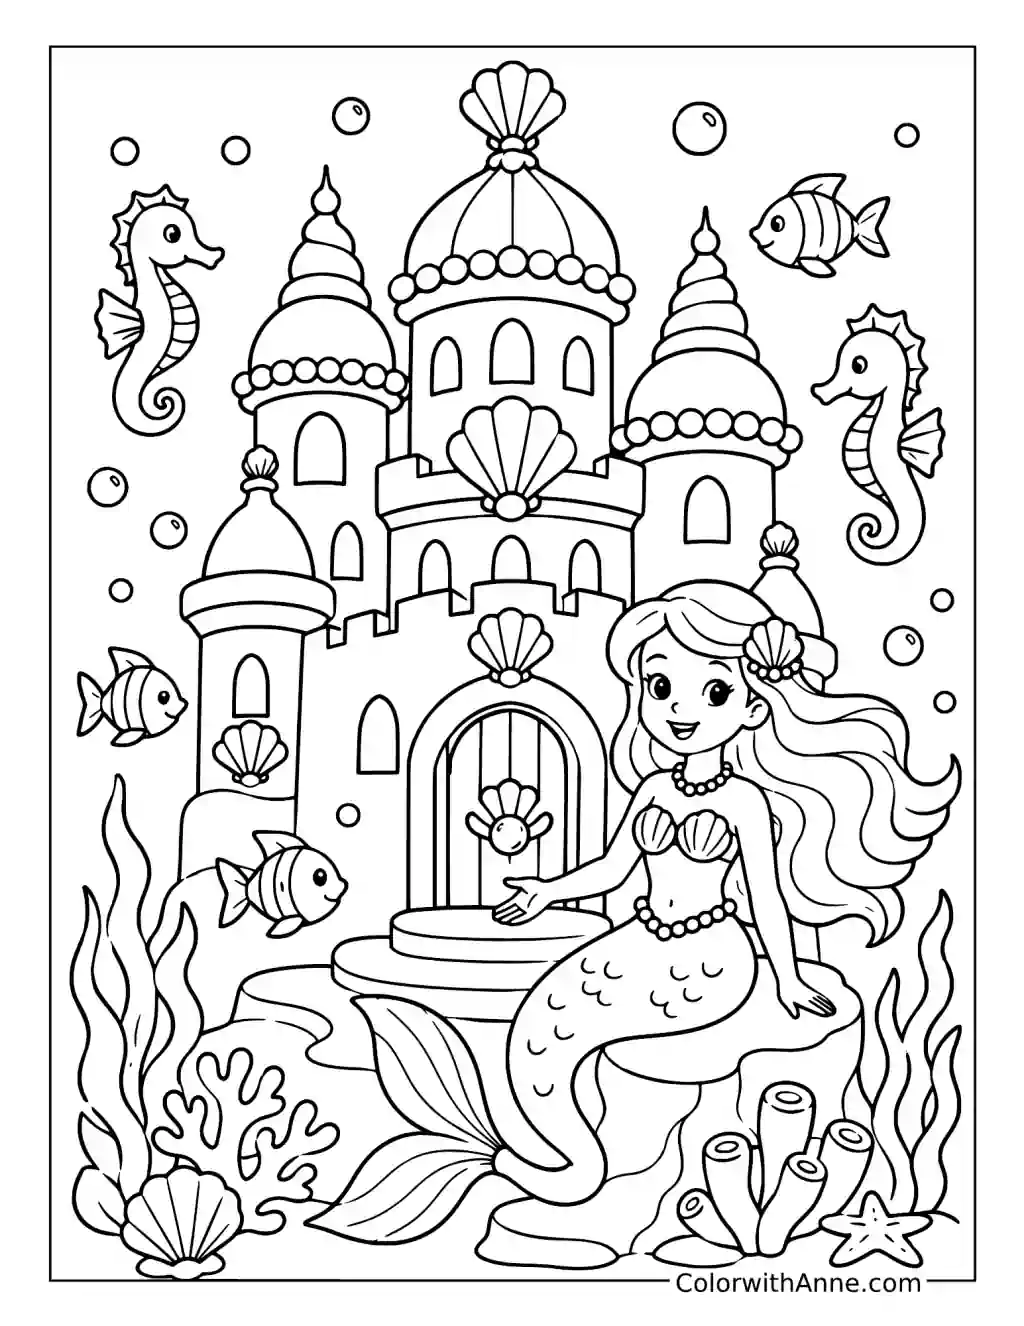
Furnish the Mermaid’s Palace
Shell-shaped roofs rise above the mermaid, with fish, seahorses, and bubbles around the palace. The outside is ready; the rooms inside are yours to imagine.
Try pearl pink and pale turquoise for the towers, coral accents around the doorway, and a green or violet mermaid tail. Keep the water light blue.
Draw one room on another sheet, borrowing shapes from the exterior. A shell could become a chair, while curling seaweed might inspire curtains. Decide who uses the room and what they need there. Place the interior beside the colored palace as two views of the same imaginary home.
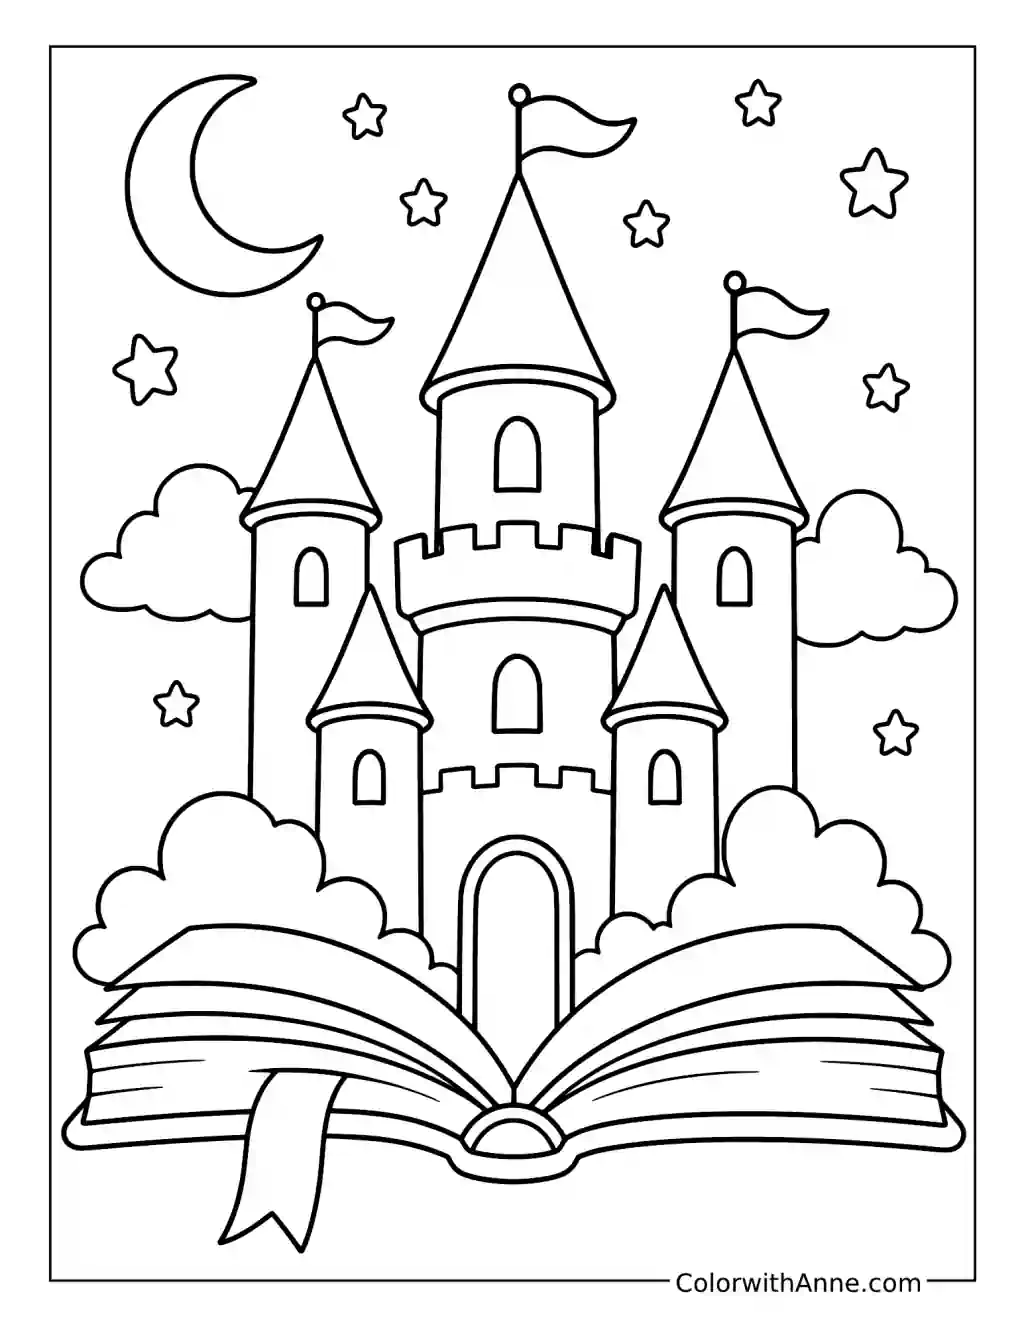
Let a Story Grow Out of the Book
The castle rises directly from an open book, with clouds gathering around its towers. It is a good beginning for a story in which reading has unexpected consequences.
Use warm ivory pages, a deep red or blue book cover, and gray stone with colorful roofs. Pale clouds will separate the castle from the book beneath it.
Imagine that something from the castle appears beside the reader’s chair each time a chapter ends. Start with a small object, then decide what arrives next. Write or draw a short sequence beside the page, letting each arrival reveal more about the place inside the book.
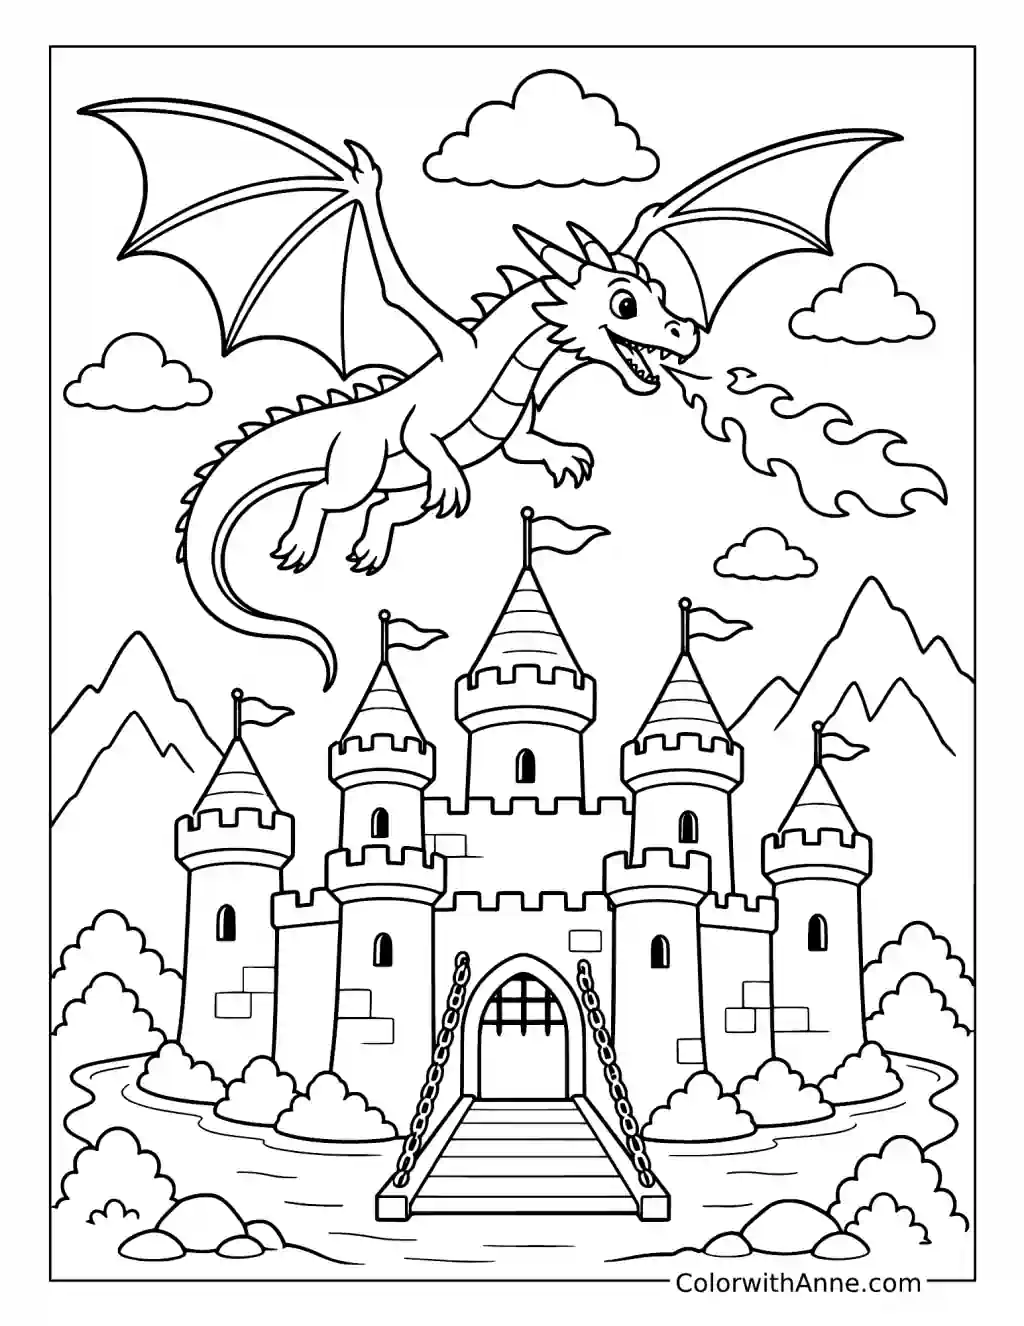
Raise and Lower the Drawbridge
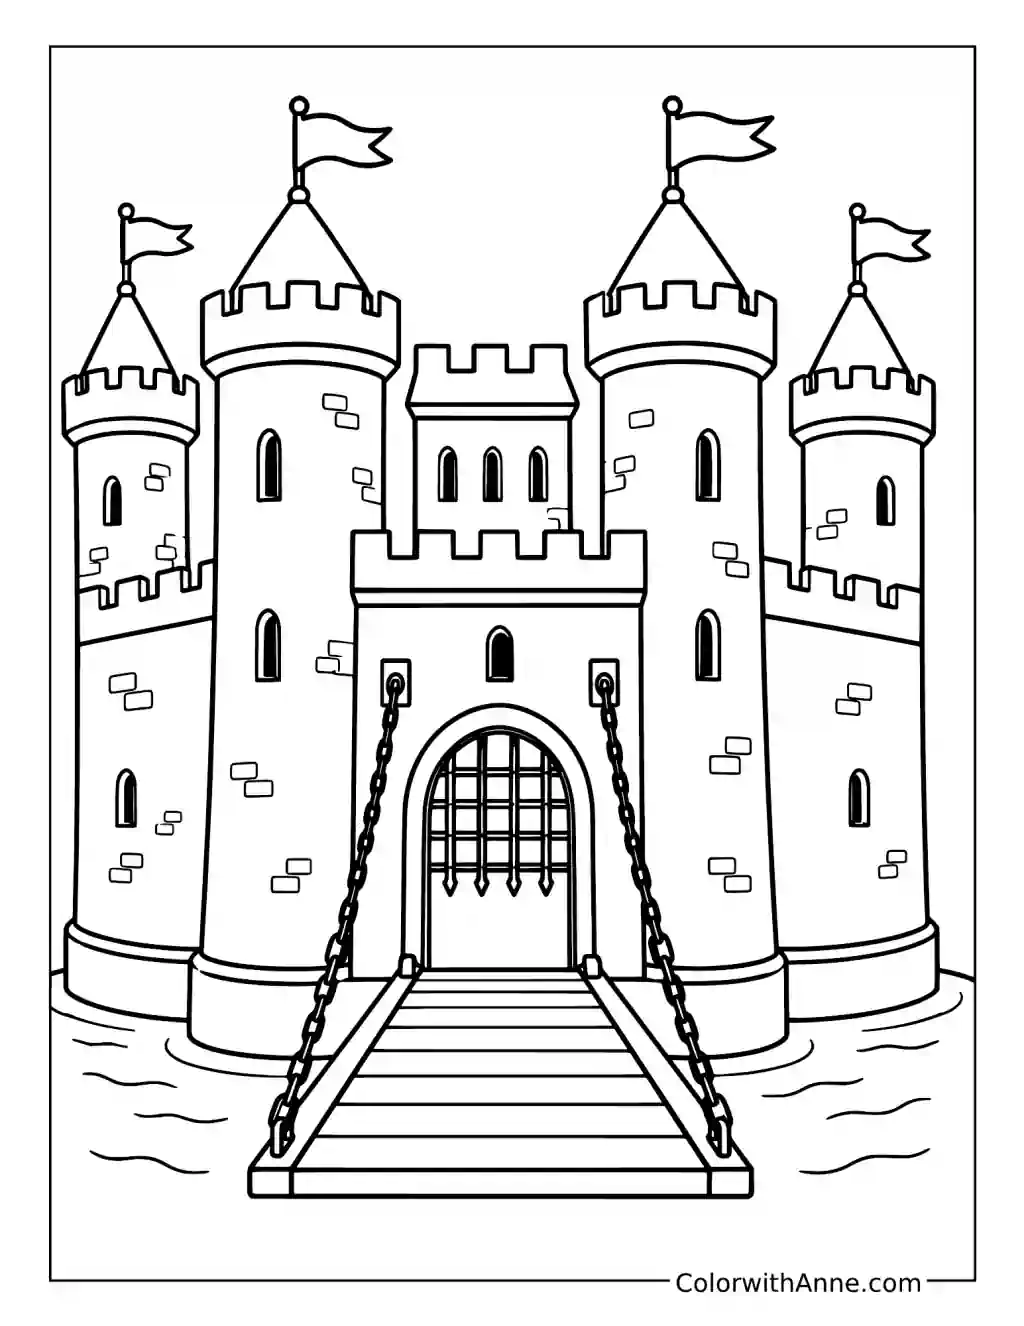
The bridge stretches over the water toward the barred entrance, with chains rising on either side. A separate card bridge can make the castle entrance movable.
Choose gray stone, darker mortar lines, and brown wooden planks. Blue-green water and bright tower flags will break up the heavier colors.
Stand the finished picture against a box. Cut a card rectangle wide enough to cover the doorway and tape one short edge along the doorway’s base. It can fold up across the entrance or lower onto the table as a ramp. Small paper visitors can wait outside until the bridge comes down.
Use the Sandcastle as a Building Plan
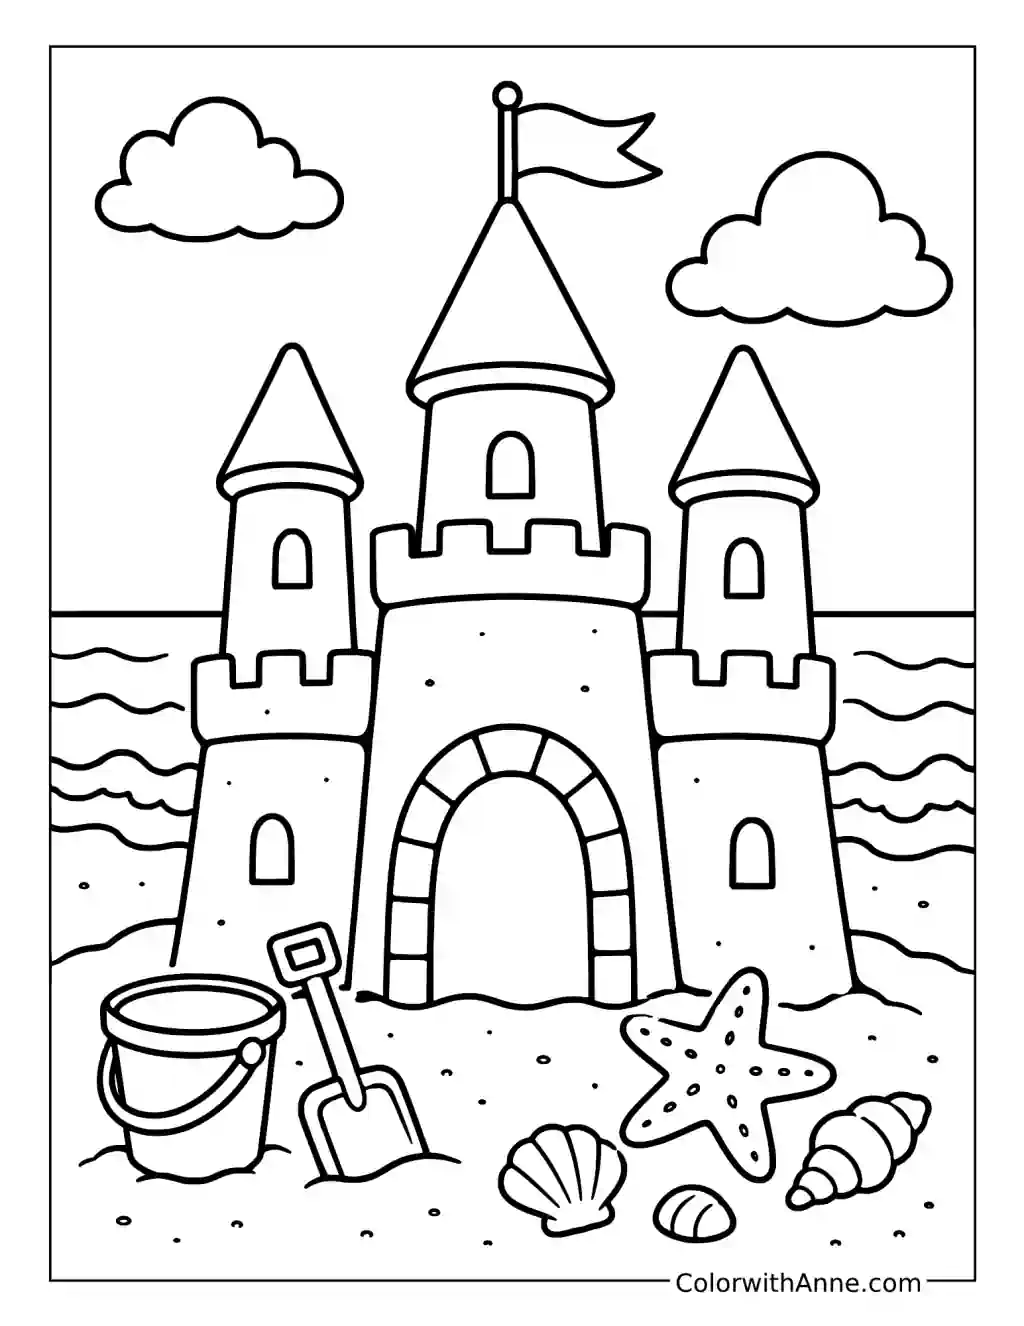
The bucket, spade, shells, and starfish place this castle firmly on the beach. Its central building and smaller towers give a sand-building session somewhere to begin.
Use sandy beige for the walls, darker tan around the doorway, and blue for the sea. The flags and bucket can carry brighter colors.
At a beach or sandbox, begin with the largest central shape, then add smaller bucket-made towers around it. Press a path toward the entrance and decorate with suitable objects already available. Keep the picture as a reference, allowing the actual sand and bucket sizes to change the final design.
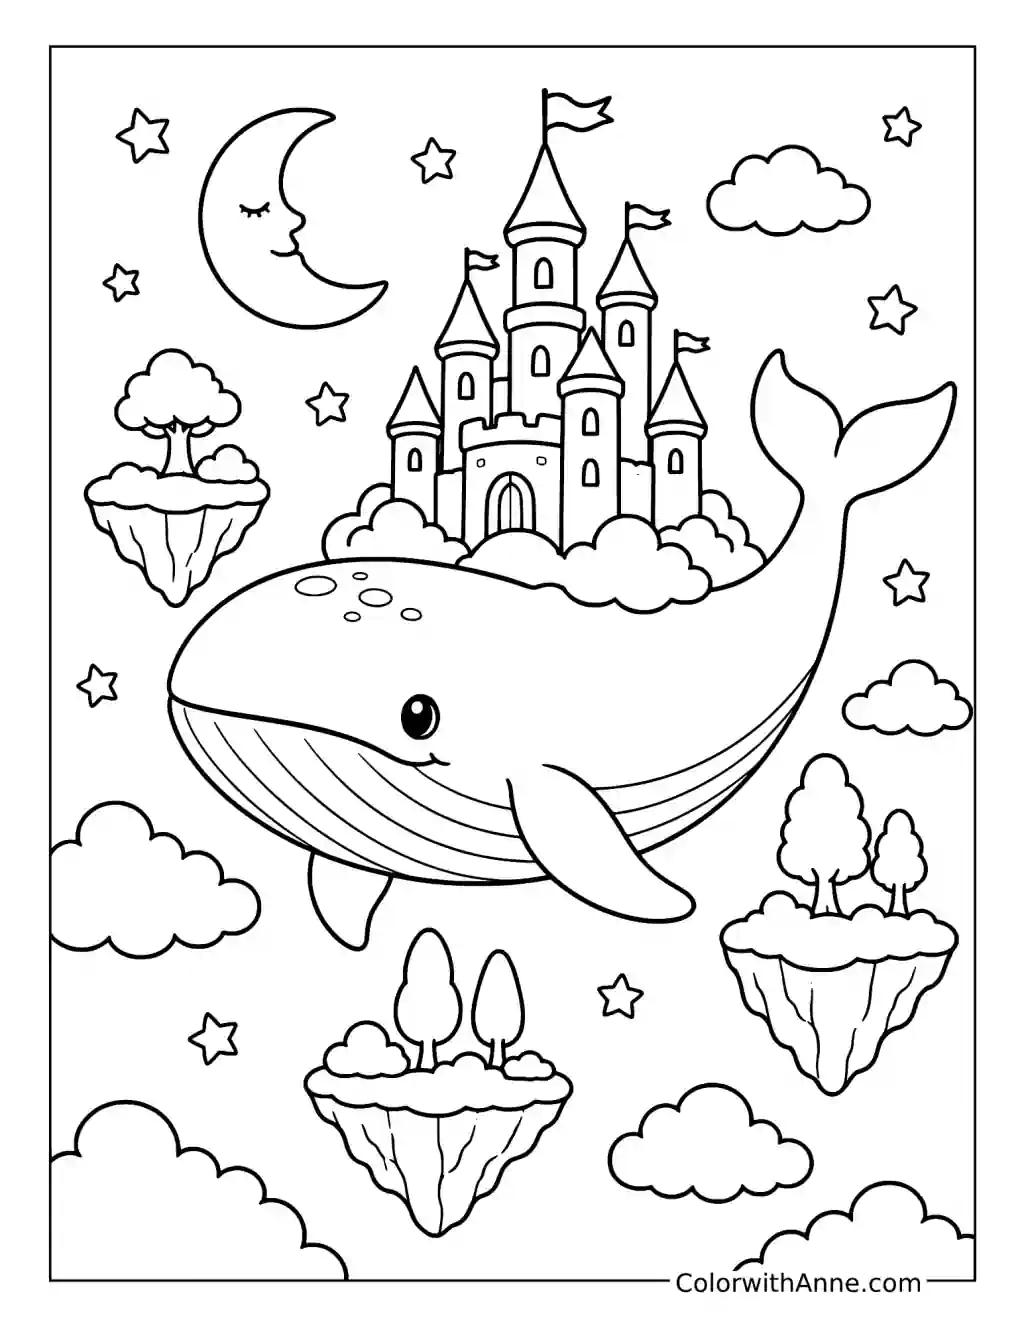
Map the Sky Whale’s Next Stop
A smiling whale carries the castle among floating islands beneath the moon. A home that travels like this deserves a map with somewhere interesting to go.
Try blue or violet for the whale, pale stone towers, and coral roofs. Keep the clouds light, with yellow stars scattered between them.
Draw a sky map on a separate sheet, including the floating islands visible in the picture. Add an imagined destination to each one: a garden, a market, or a place where the whale can rest. Trace a route between them and decide what the castle’s residents need to collect before the journey continues.
Find a Use for the Handle and Spout
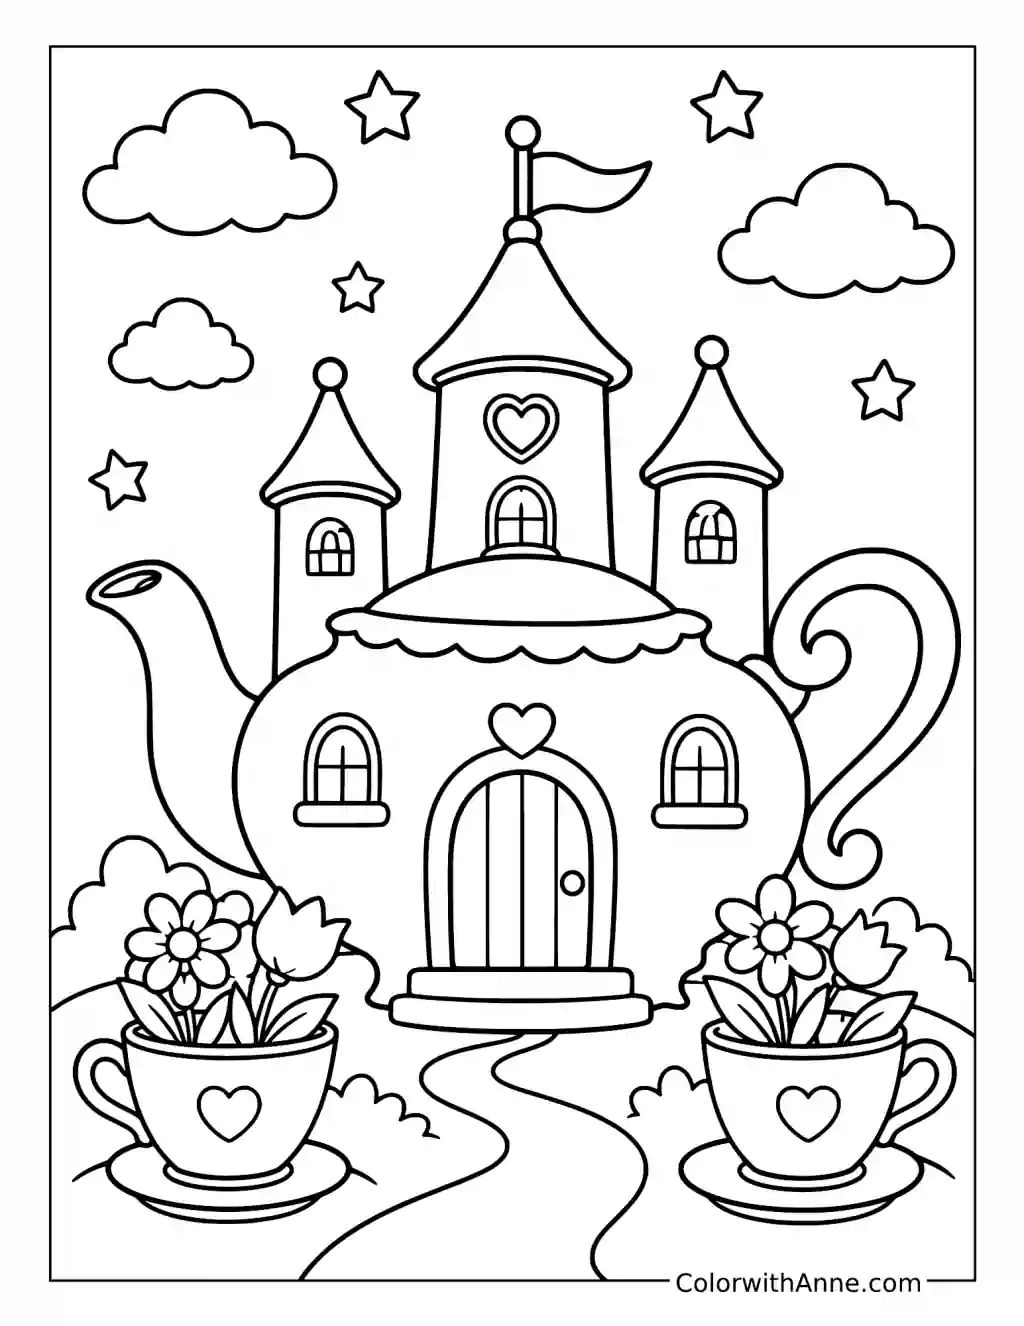
The castle has a teapot body, a curling handle, and a spout beside its towers. Those unusual shapes should have something to do inside the building.
Choose a soft blue or cream teapot with contrasting roofs. The little cups can repeat one color from the main building, with pink or yellow flowers around them.
Sketch an imagined cutaway of the interior. The handle might contain a curved staircase, while the spout could lead to a narrow lookout. Work out how someone reaches the upper tower from the front door. The teapot’s shape supplies the architectural puzzle.