
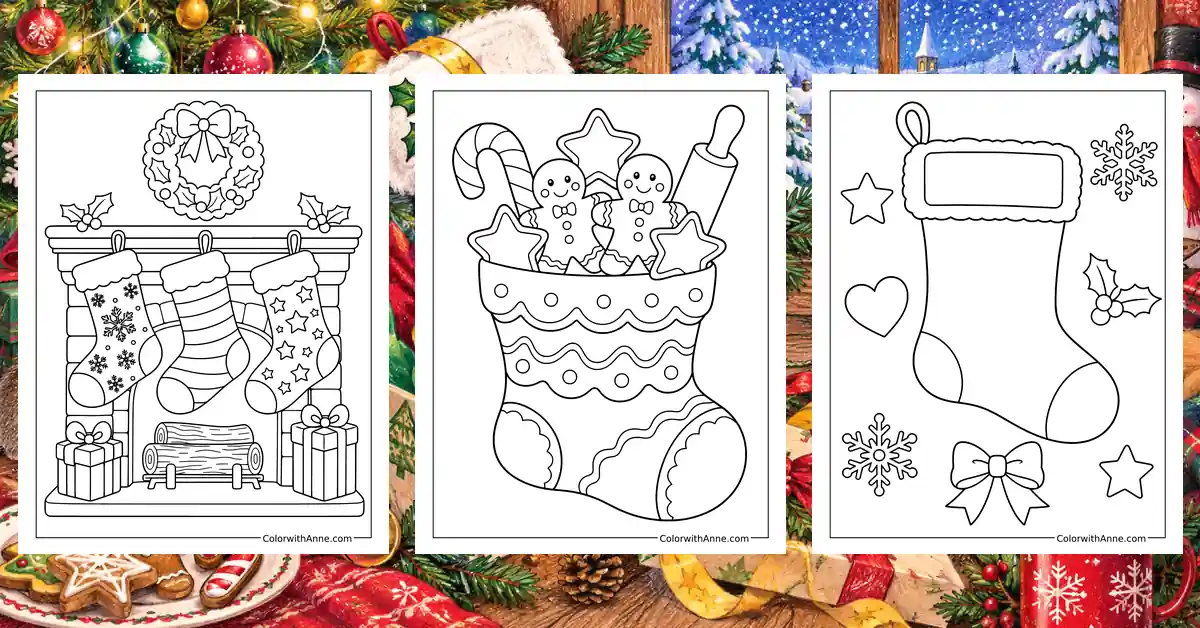
An empty Christmas stocking rarely stays unnoticed for long. Hung beside the others, it seems to invite repeated inspections, even when everyone knows Christmas morning is still days away. A small child may check inside anyway, on the reasonable grounds that something could have happened since breakfast.
Stocking coloring pages make that waiting part of the fun. A finished picture can go up near the real stockings, perhaps with a name added so there is no confusion about ownership. Then comes the important question of what might fit inside, followed by suggestions that show a generous interpretation of the available space.
Free Printable Stocking Coloring Pages
Click any coloring page below to open the PDF, then print on US Letter or A4 paper.
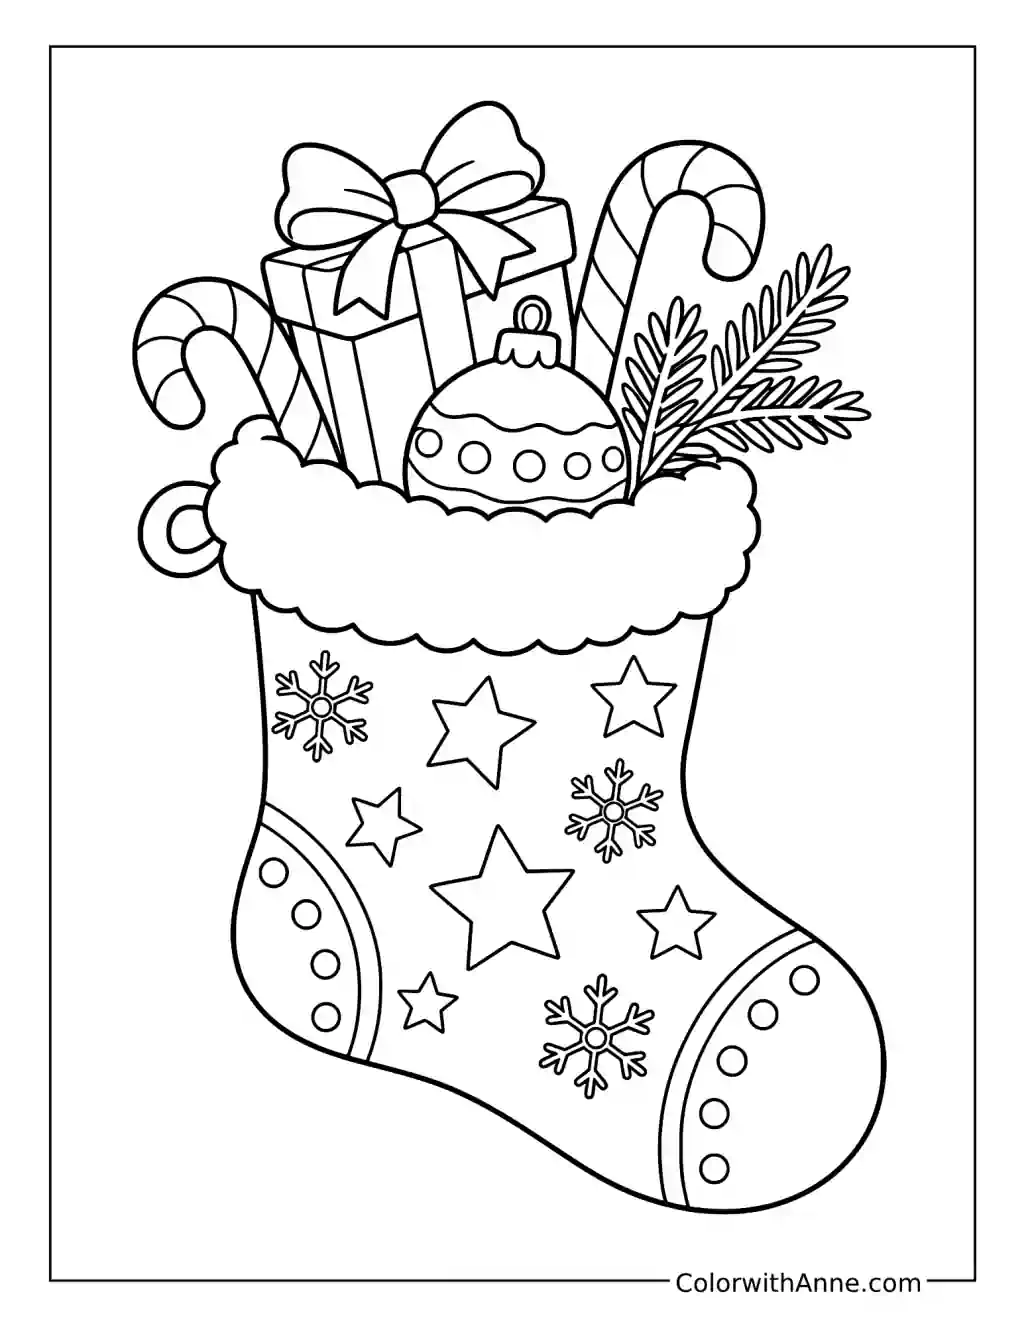
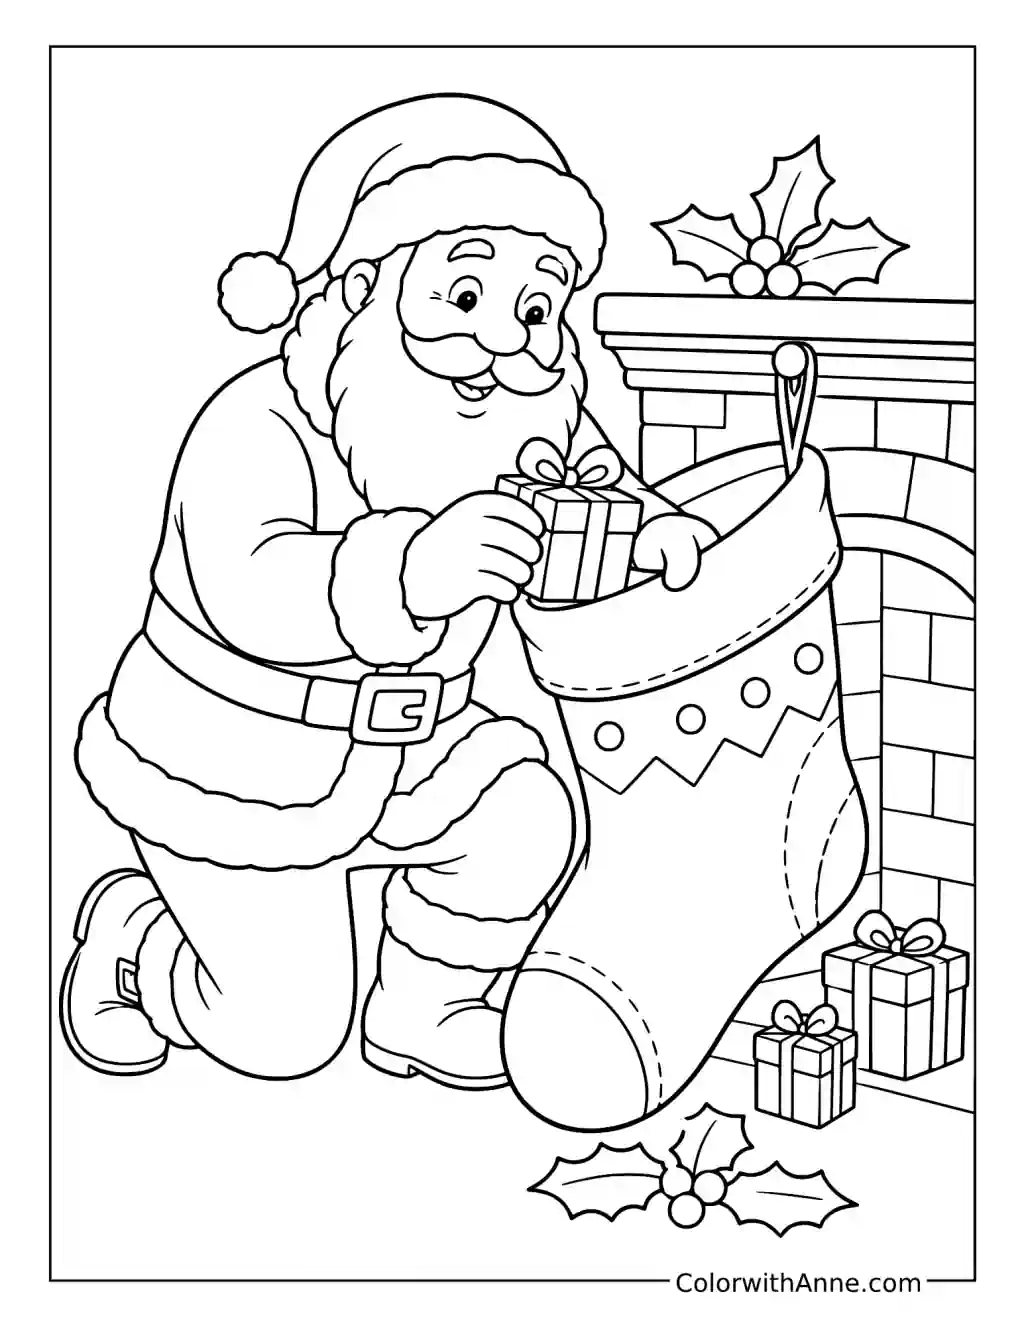
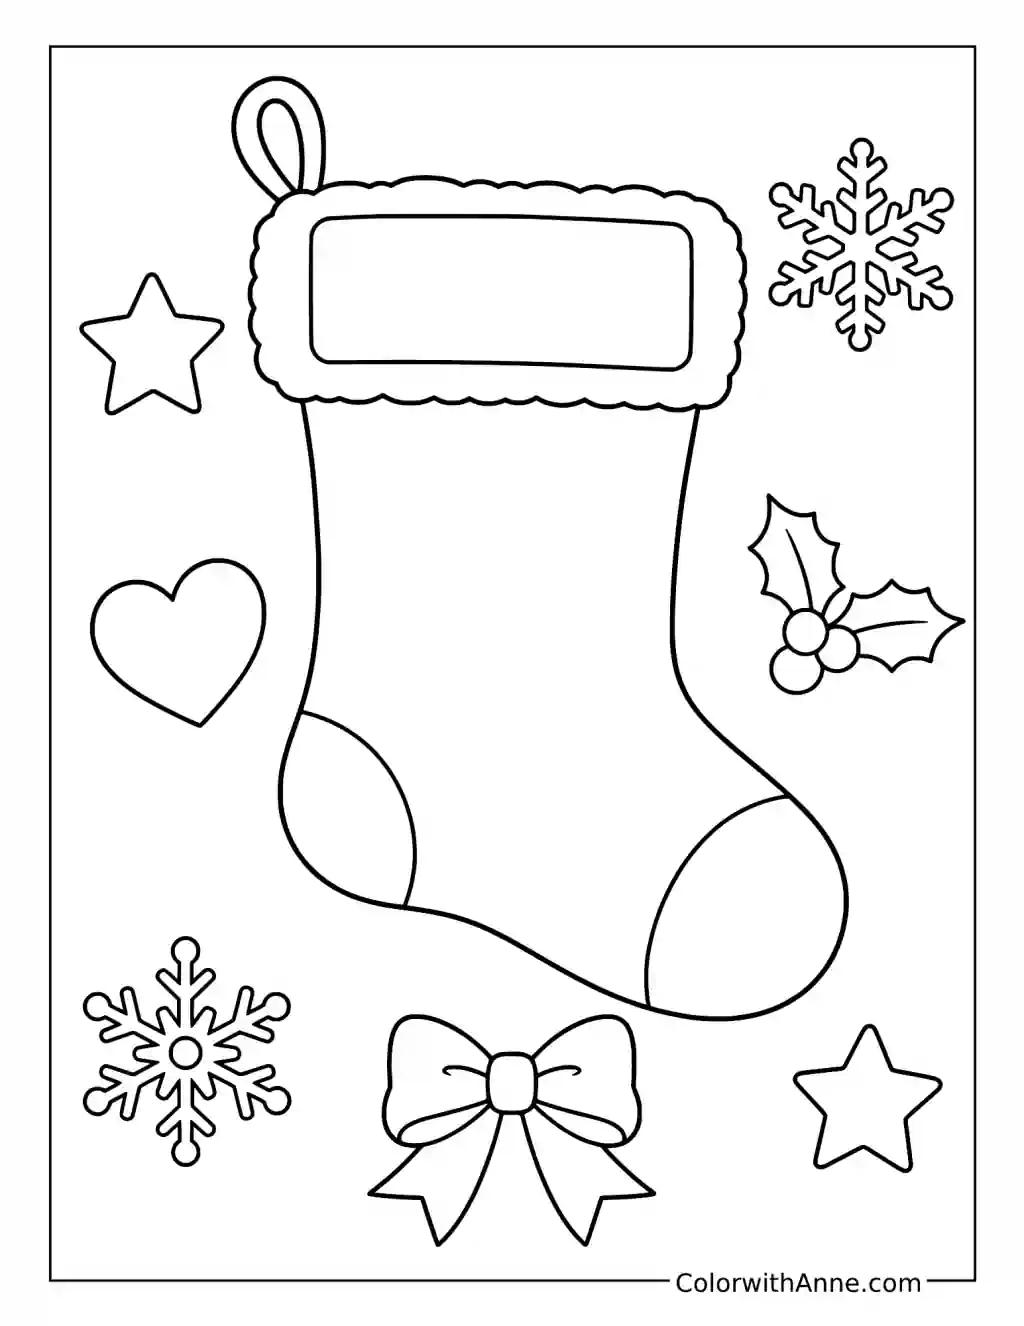
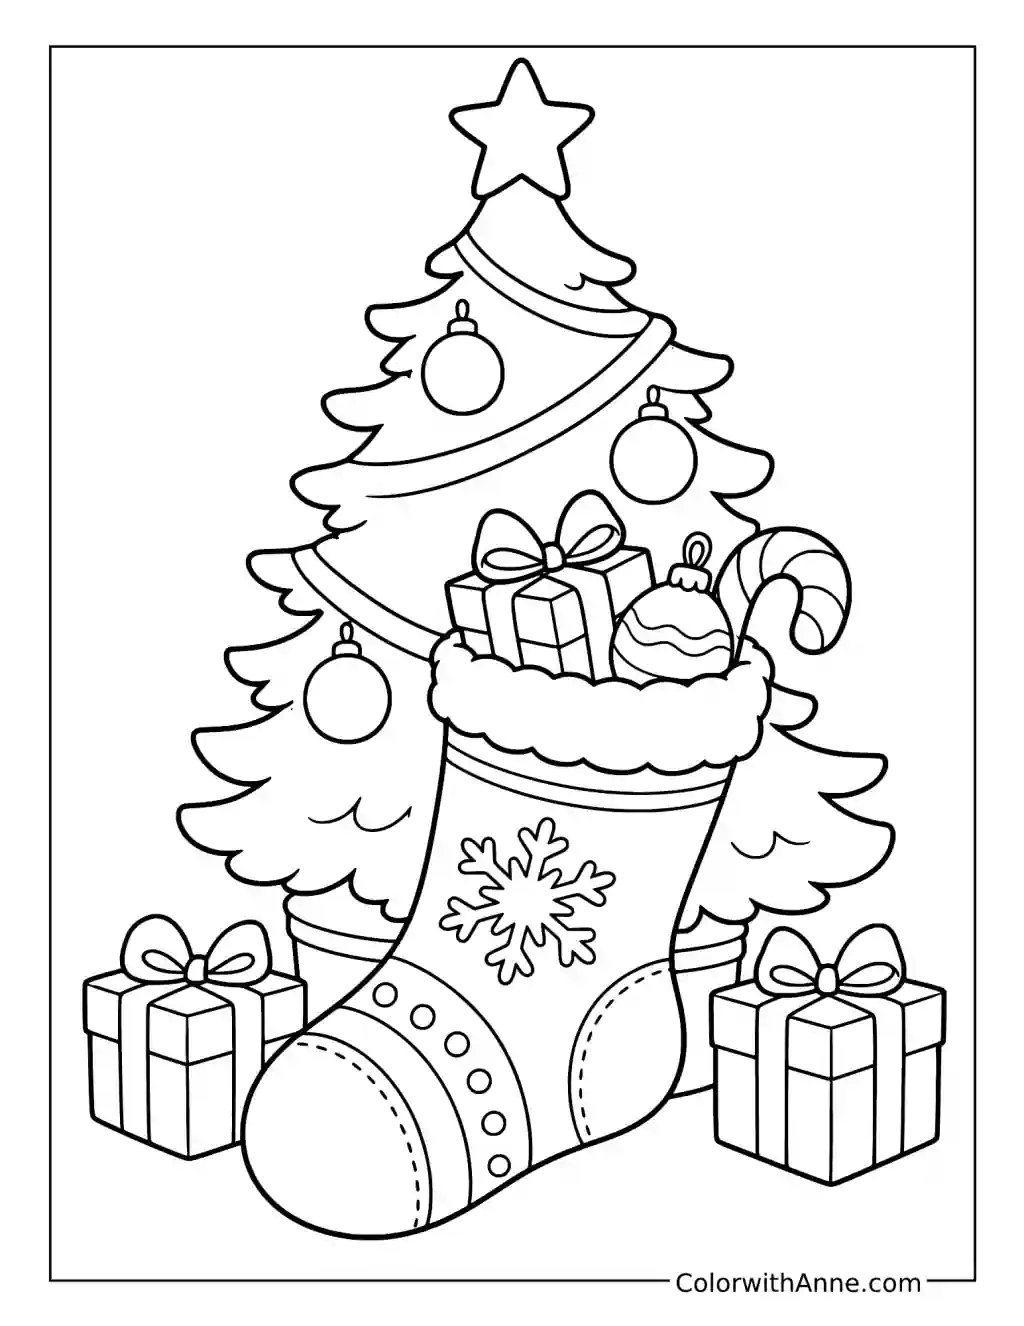
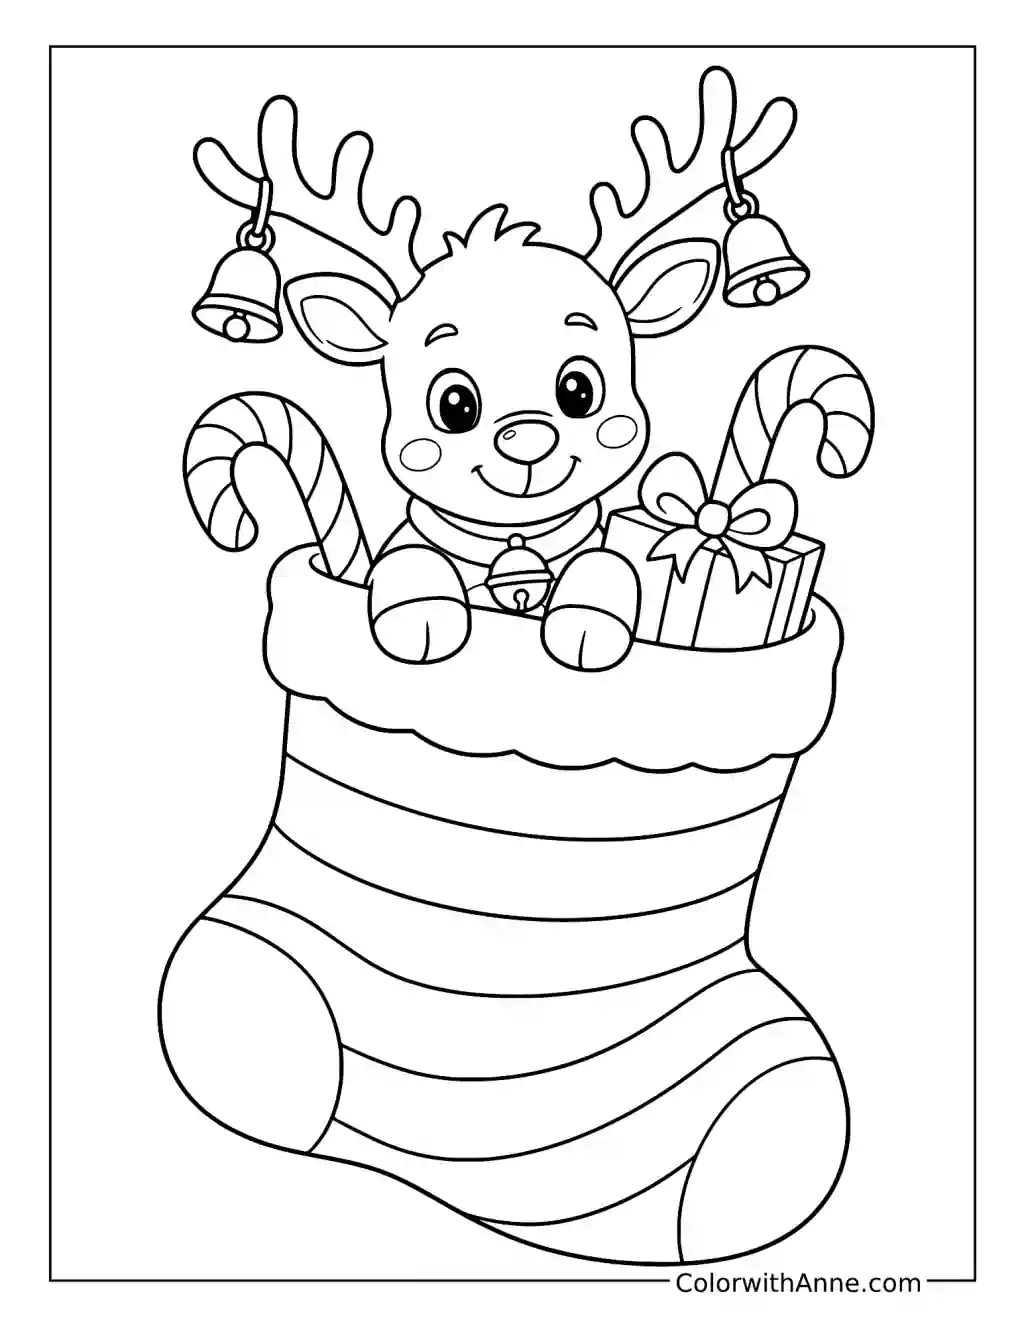
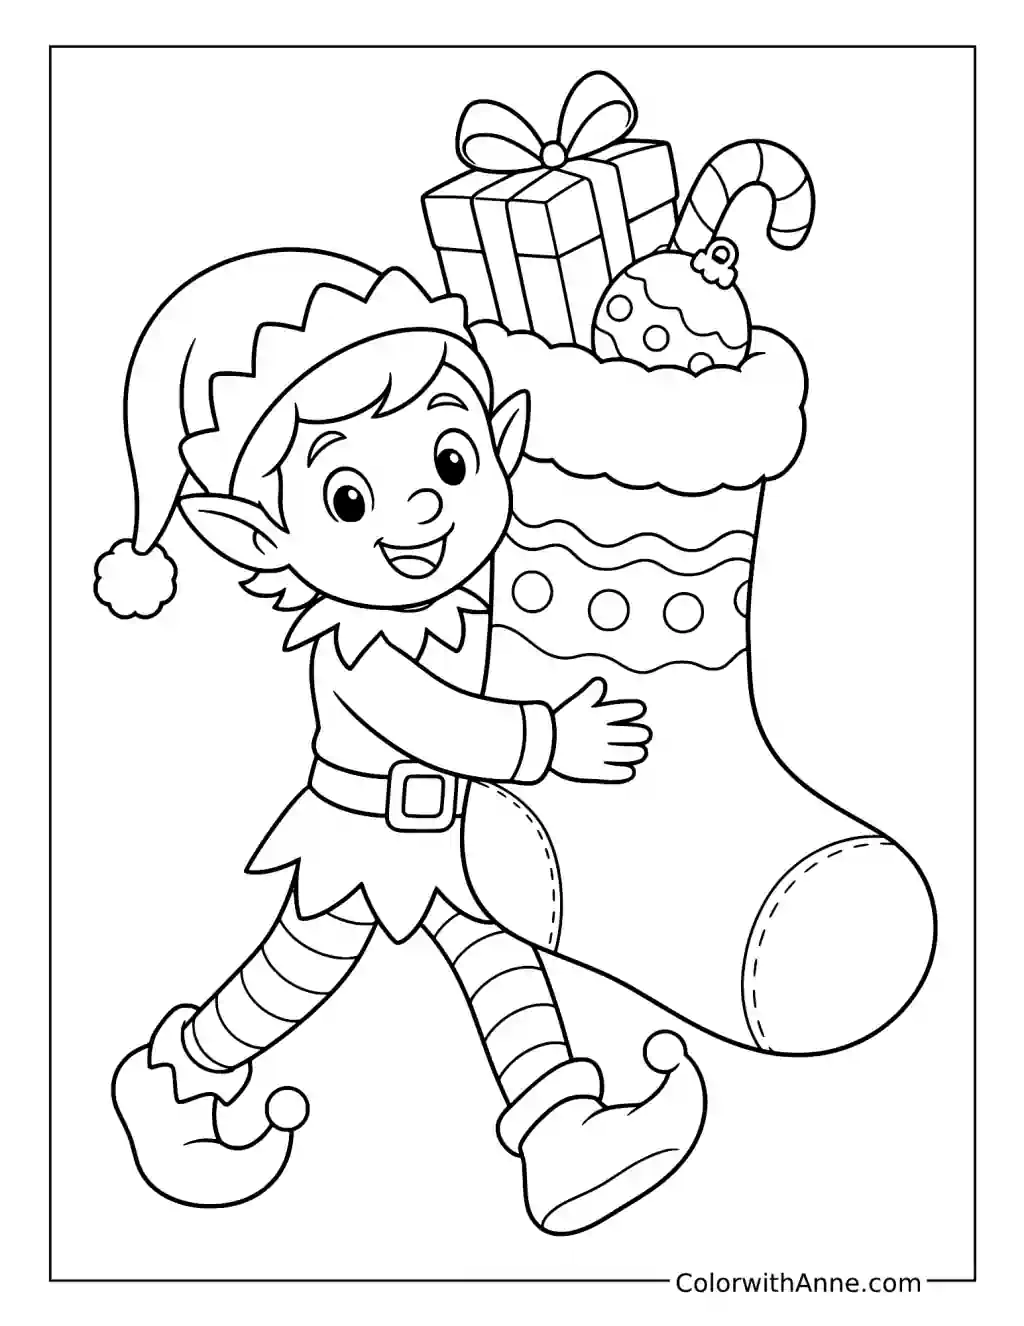
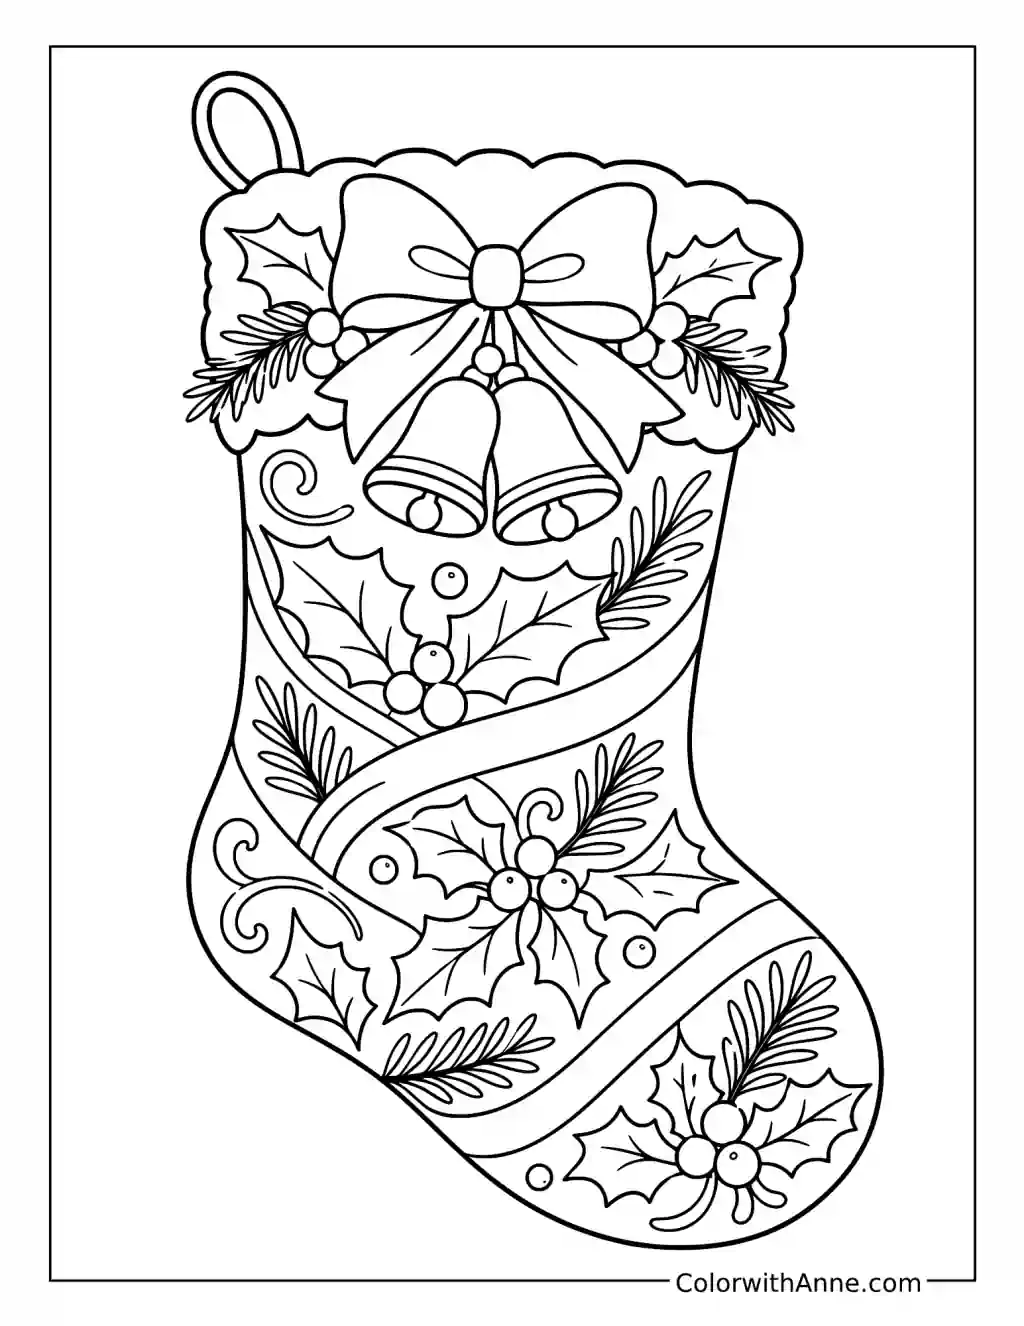
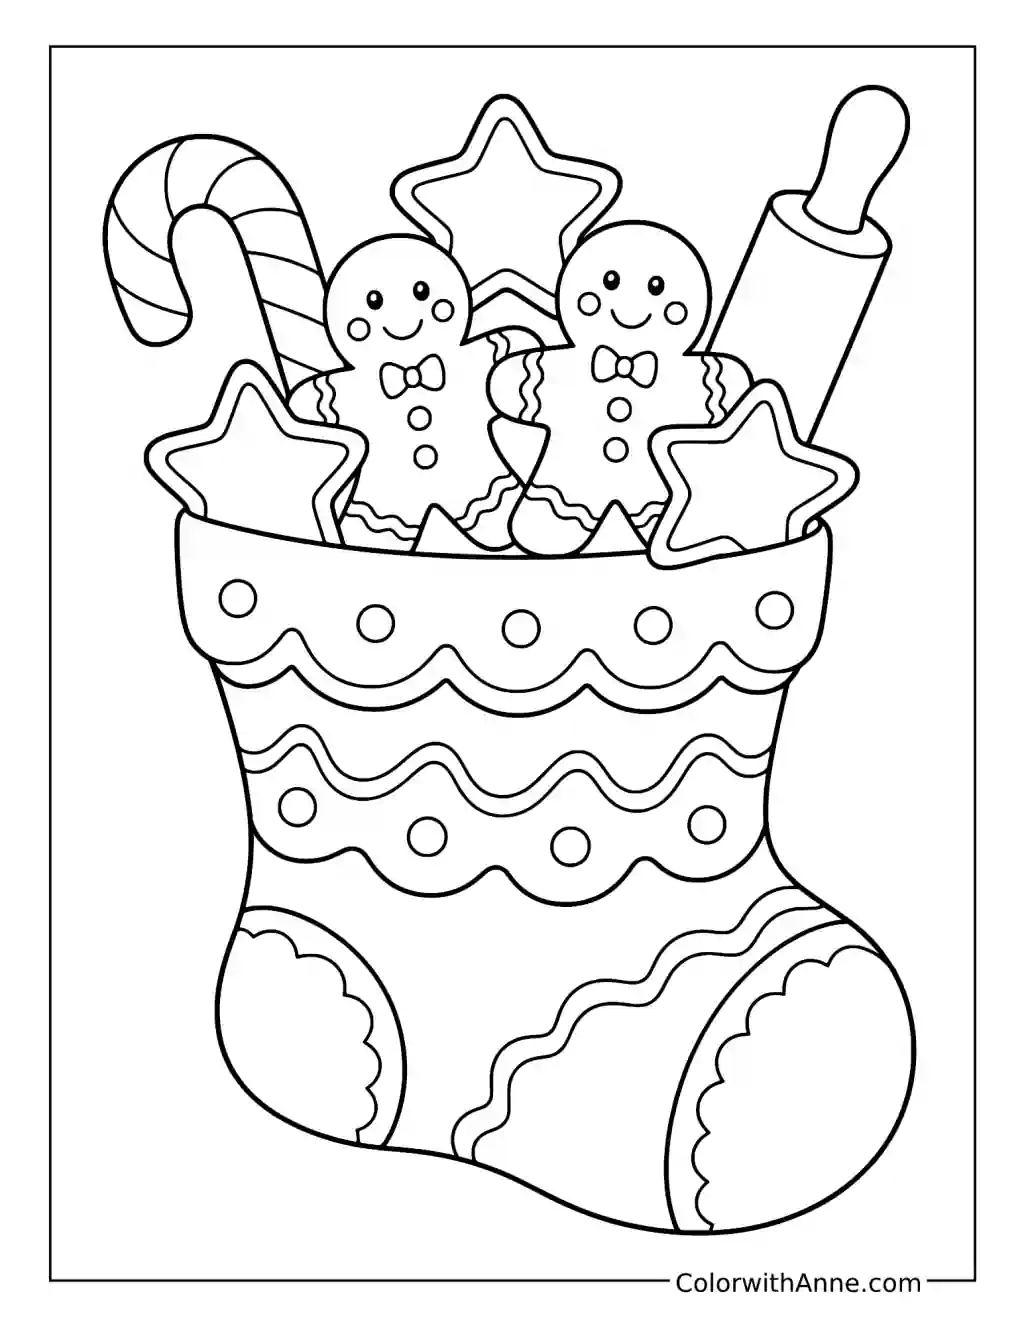
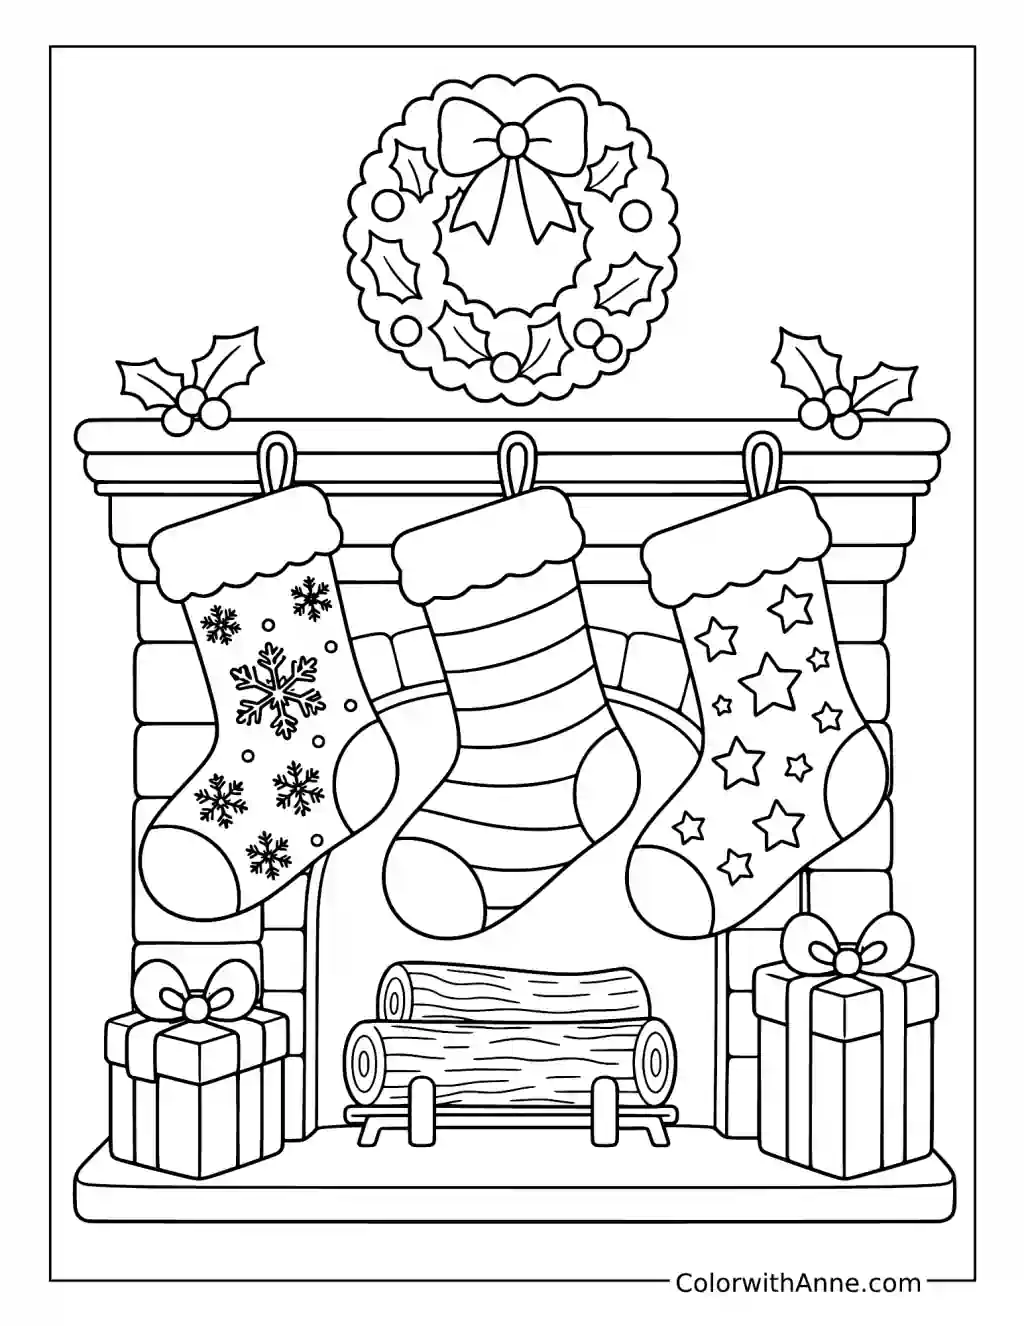
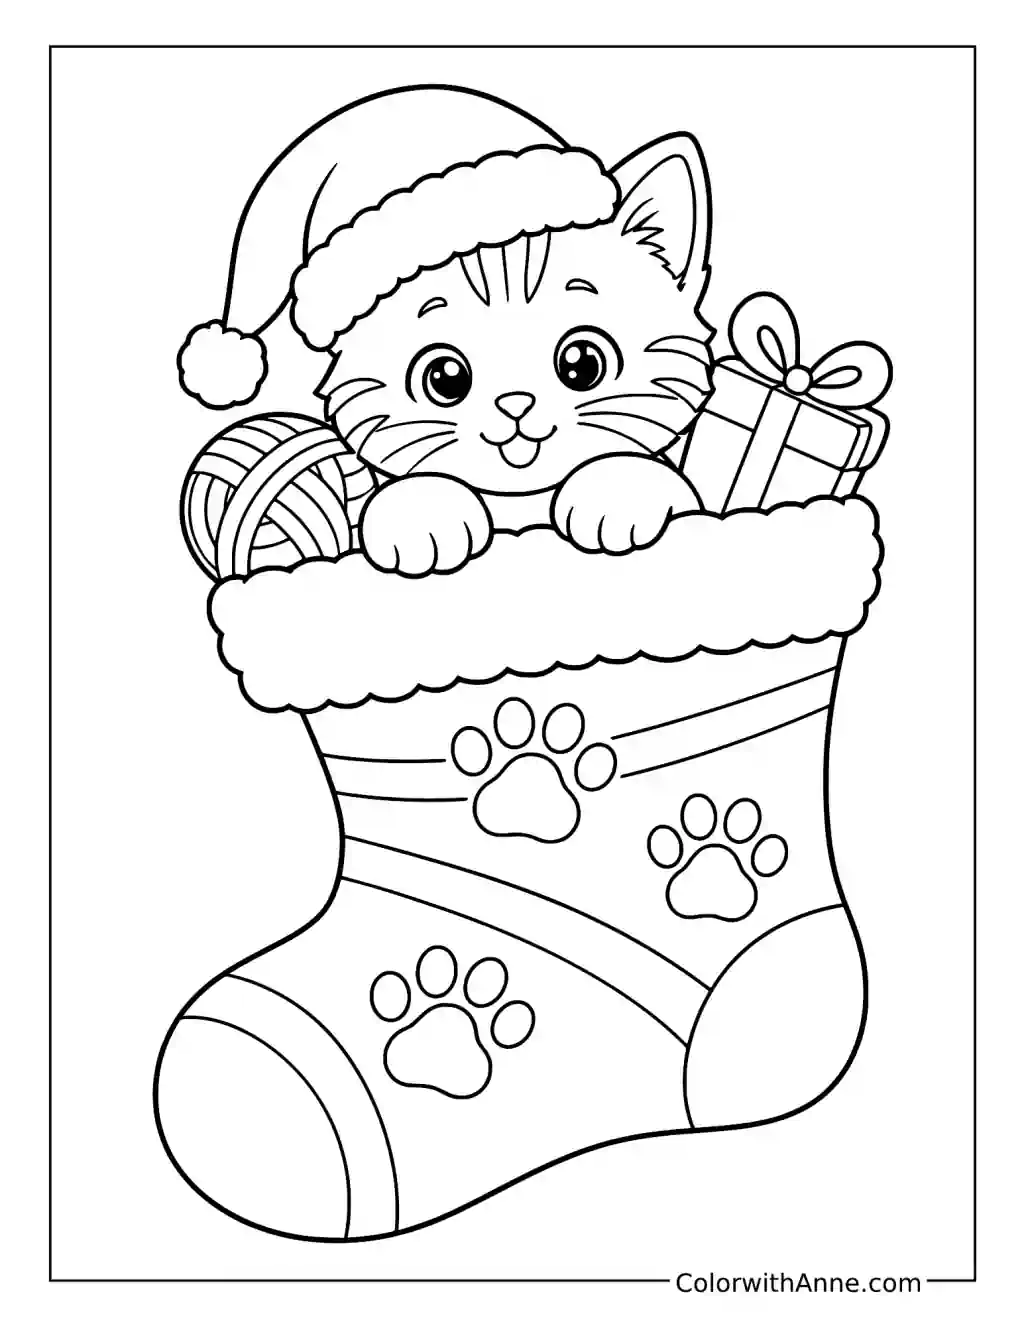
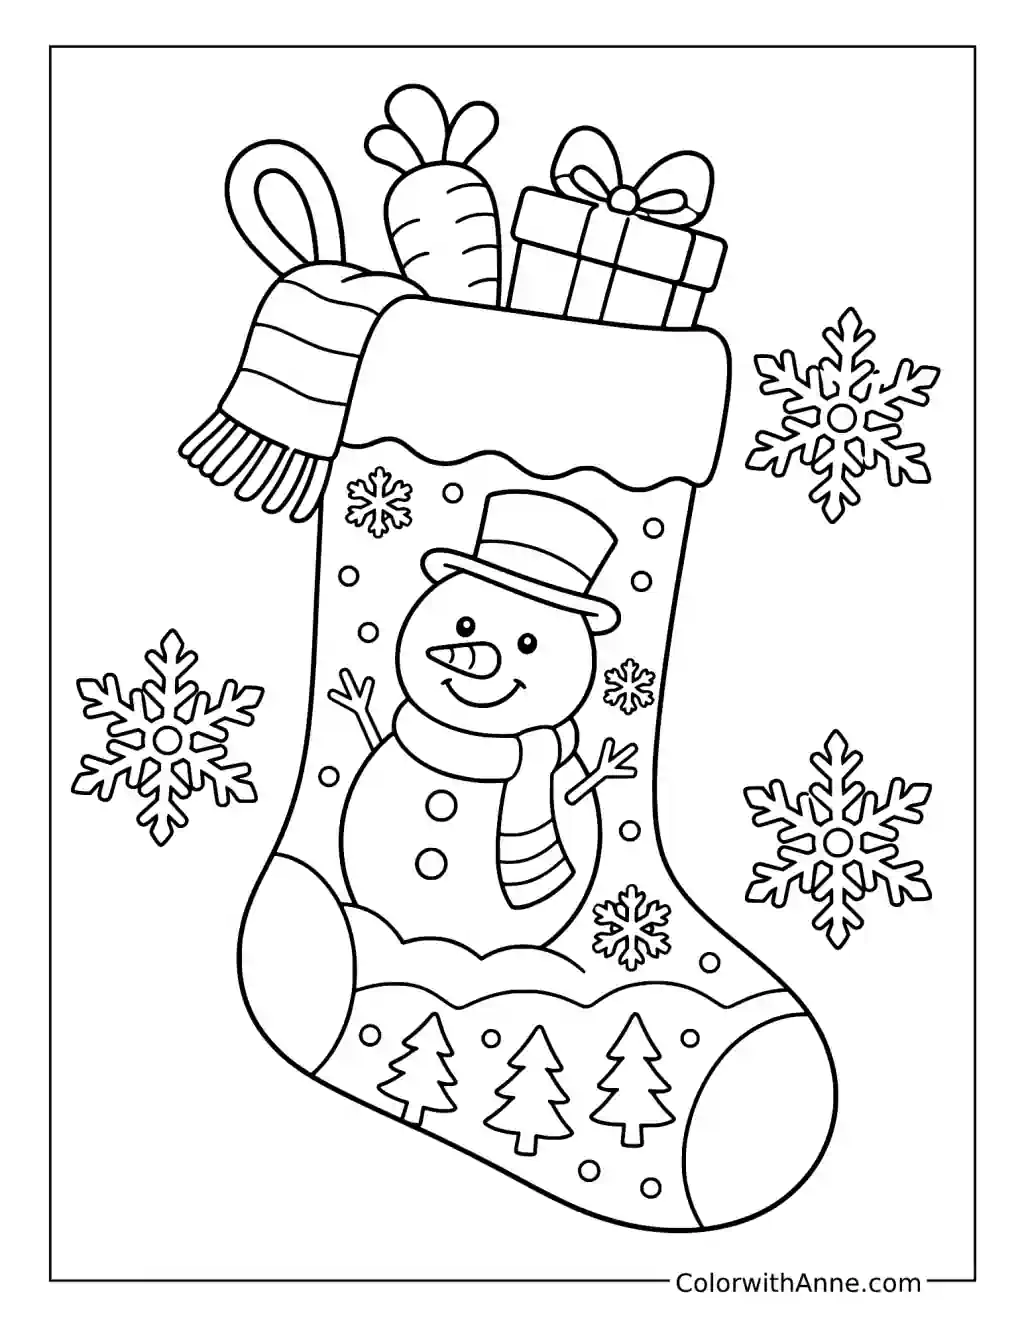
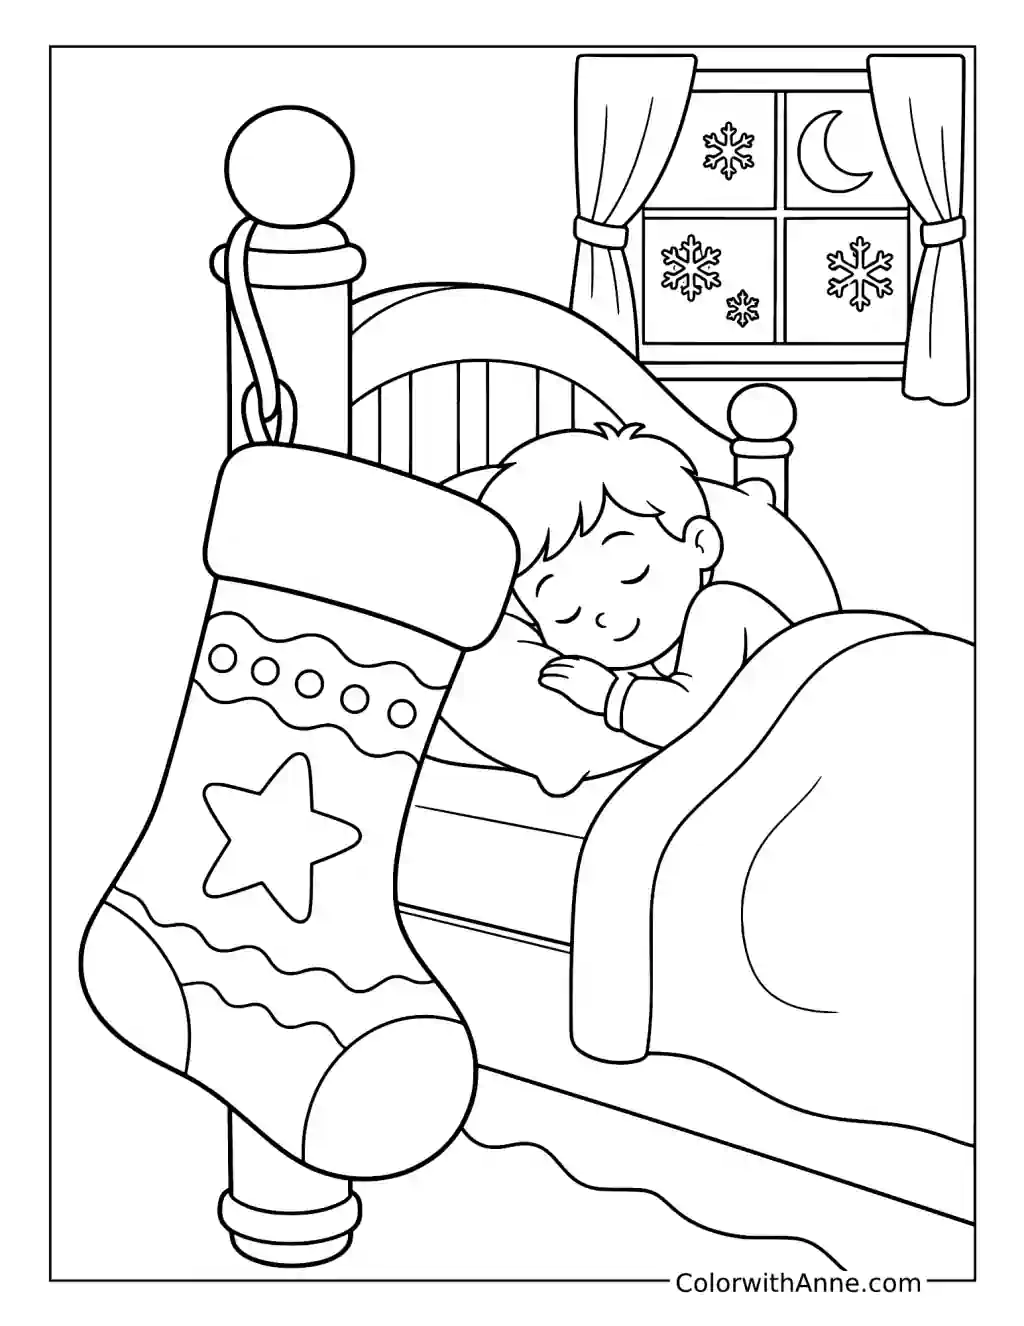
Did you find what you needed?
Help us choose what to create or improve next.
Coloring Ideas for Stocking Pages
Try these creative ideas to make the most of your coloring sheets.
Make a Stocking With a Secret Inside
The empty stocking and blank cuff leave room for a design chosen for one particular person. This is a good place for a name because the finished stocking can actually hold their message.
Try a deep red body, a cream cuff, and green holly leaves. Add a few stars or stripes inside the open stocking shape.
Cut out the finished stocking and trace a matching back onto plain paper. Glue the side and bottom edges together, leaving the cuff open. Slip a note inside and leave the little pocket where its recipient will find it.
Carry the Knitted Pattern Onto Wrapping Paper
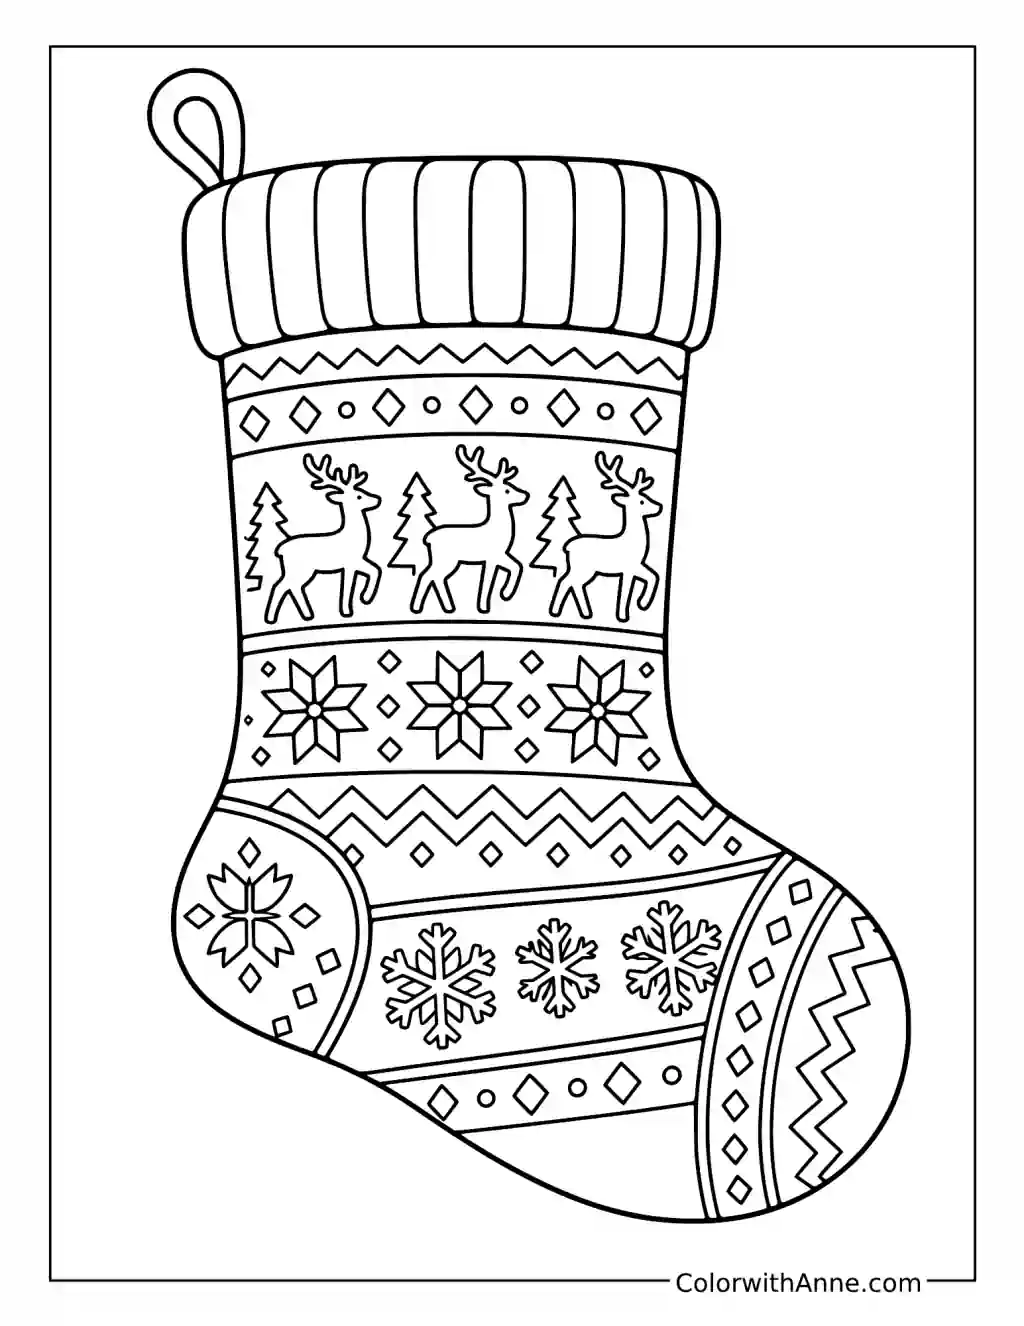
Reindeer, snowflakes, diamonds, and zigzags run in bands across this stocking. The repeated rows offer plenty to borrow for handmade wrapping paper.
Red, ivory, and navy will give the bands a knitted-winter look. Keep each repeated motif consistent so the rows remain easy to follow.
Choose one manageable detail, such as a diamond or zigzag, and repeat it along a strip of plain wrapping paper. Use the colored stocking to guide the spacing and color sequence. Wrap the patterned strip around a small parcel, leaving the more detailed reindeer safely on the original picture.
Fill the Patchwork With Fabric Scraps
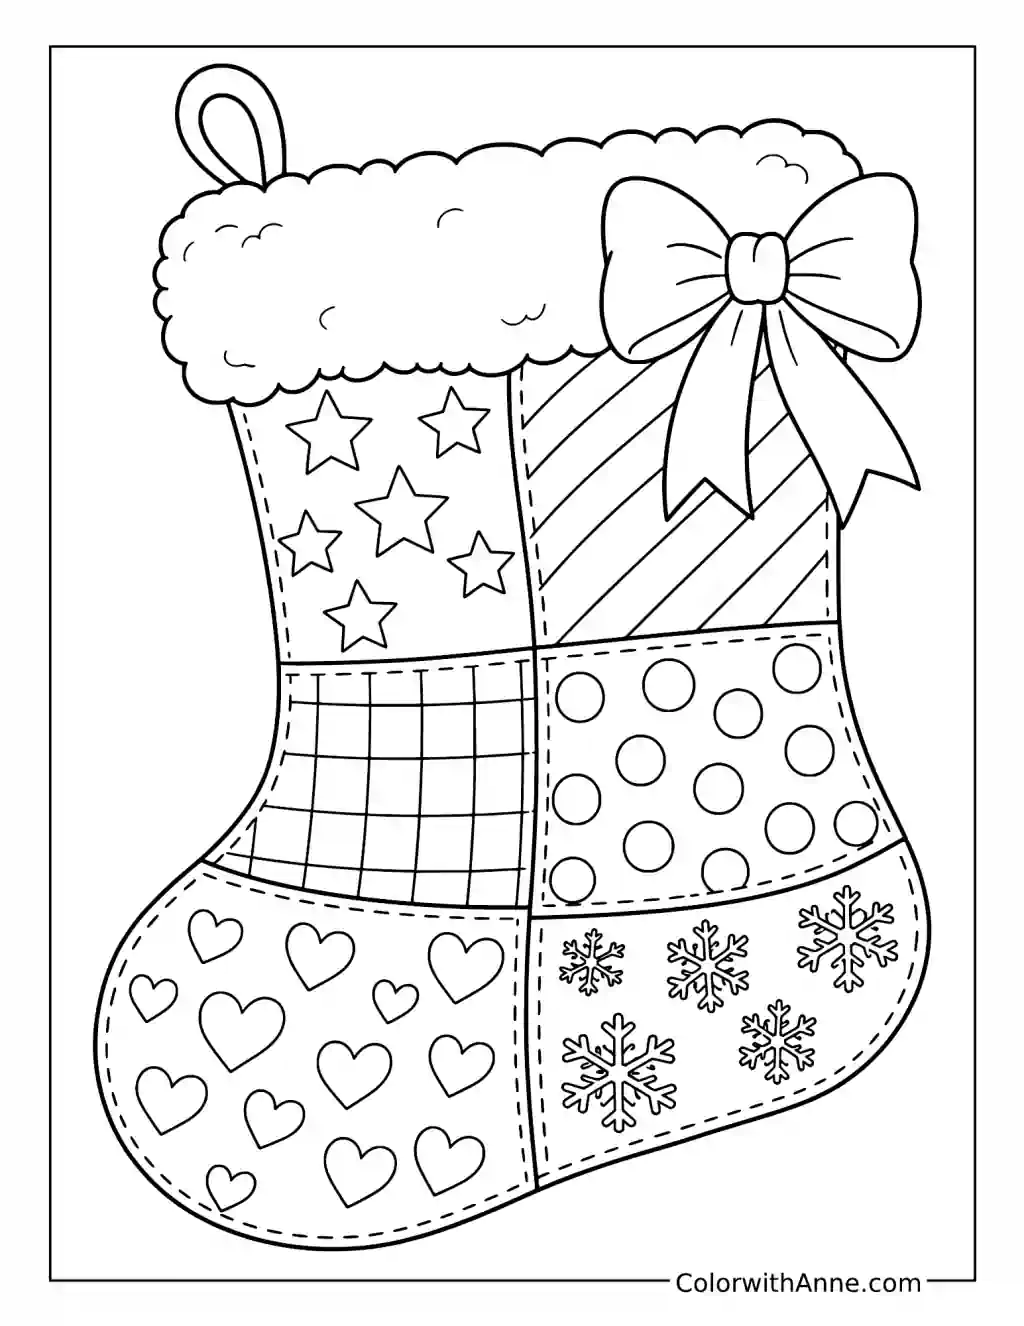
The stocking is already divided into patches of checks, dots, stripes, and hearts. A few real fabric pieces can join the printed ones.
Choose two or three colors that work together, such as red, sage green, and cream. Color some patches normally, keeping the bow in a stronger shade.
Cut small fabric scraps to fit selected sections and attach them with craft glue. Leave the outlines and some printed patterns visible. A piece from an old ribbon or sewing project can make the stocking feel more personal without covering every patch in a different material.
Label the Dog’s Christmas Delivery
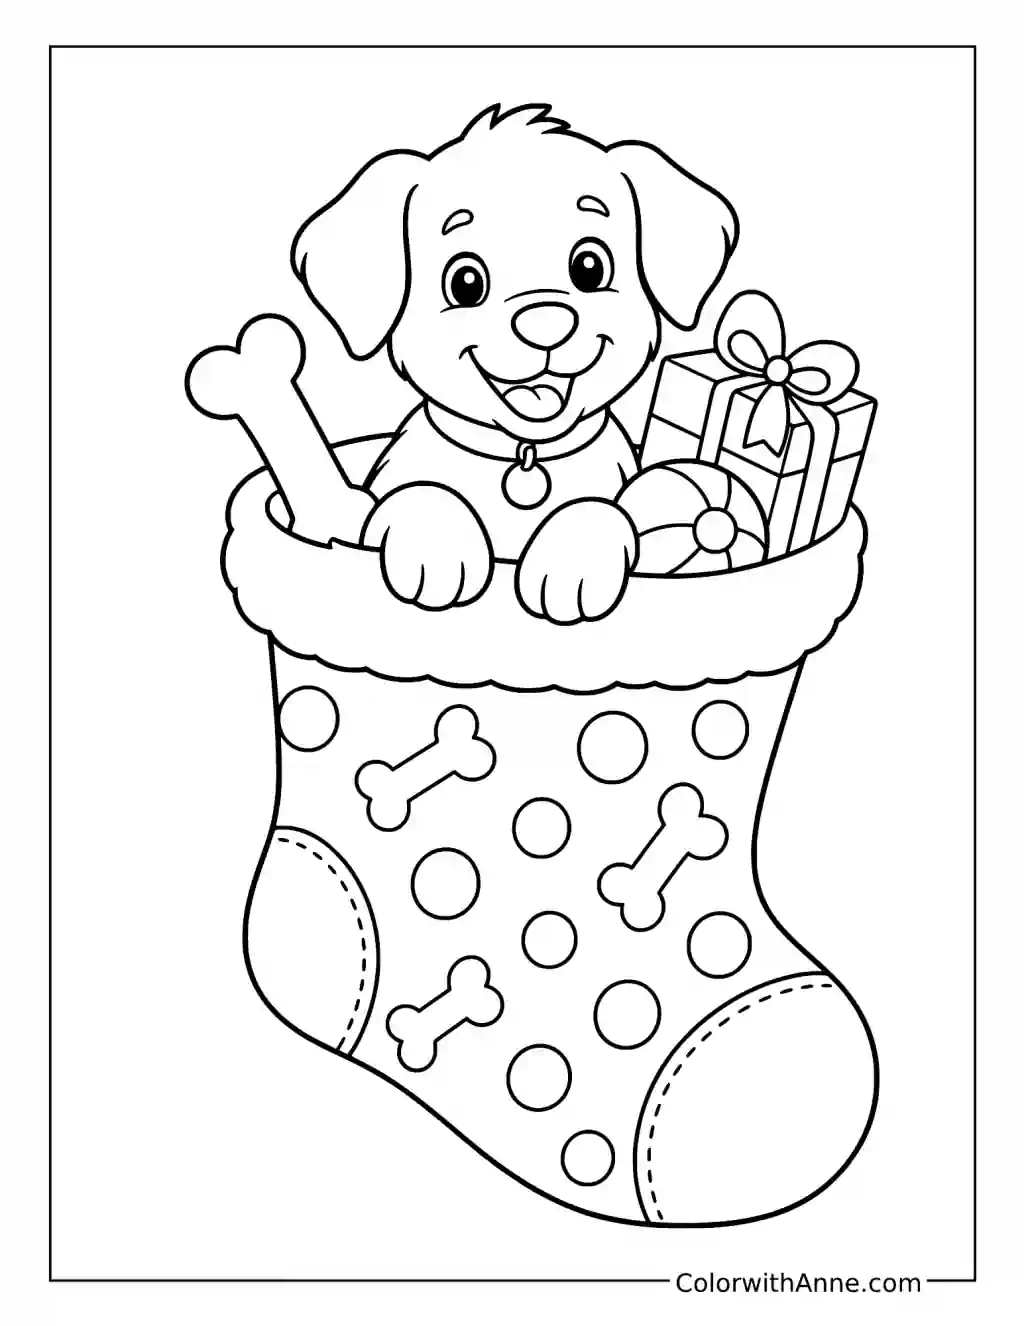
The puppy peeks over the cuff beside a bone and a wrapped present. The paw-and-bone pattern makes the intended recipient wonderfully clear.
Give the puppy your own dog’s visible markings, or try tan ears with a cream face. A green stocking with pale bones and red details will keep the presents easy to see.
Print the design at gift-tag size, mount it on card, and add the dog’s name to the cuff. Tie it to the bag or parcel holding their Christmas gifts. It is a useful label in a household where several presents are waiting together.
Remember What Santa Managed to Pack
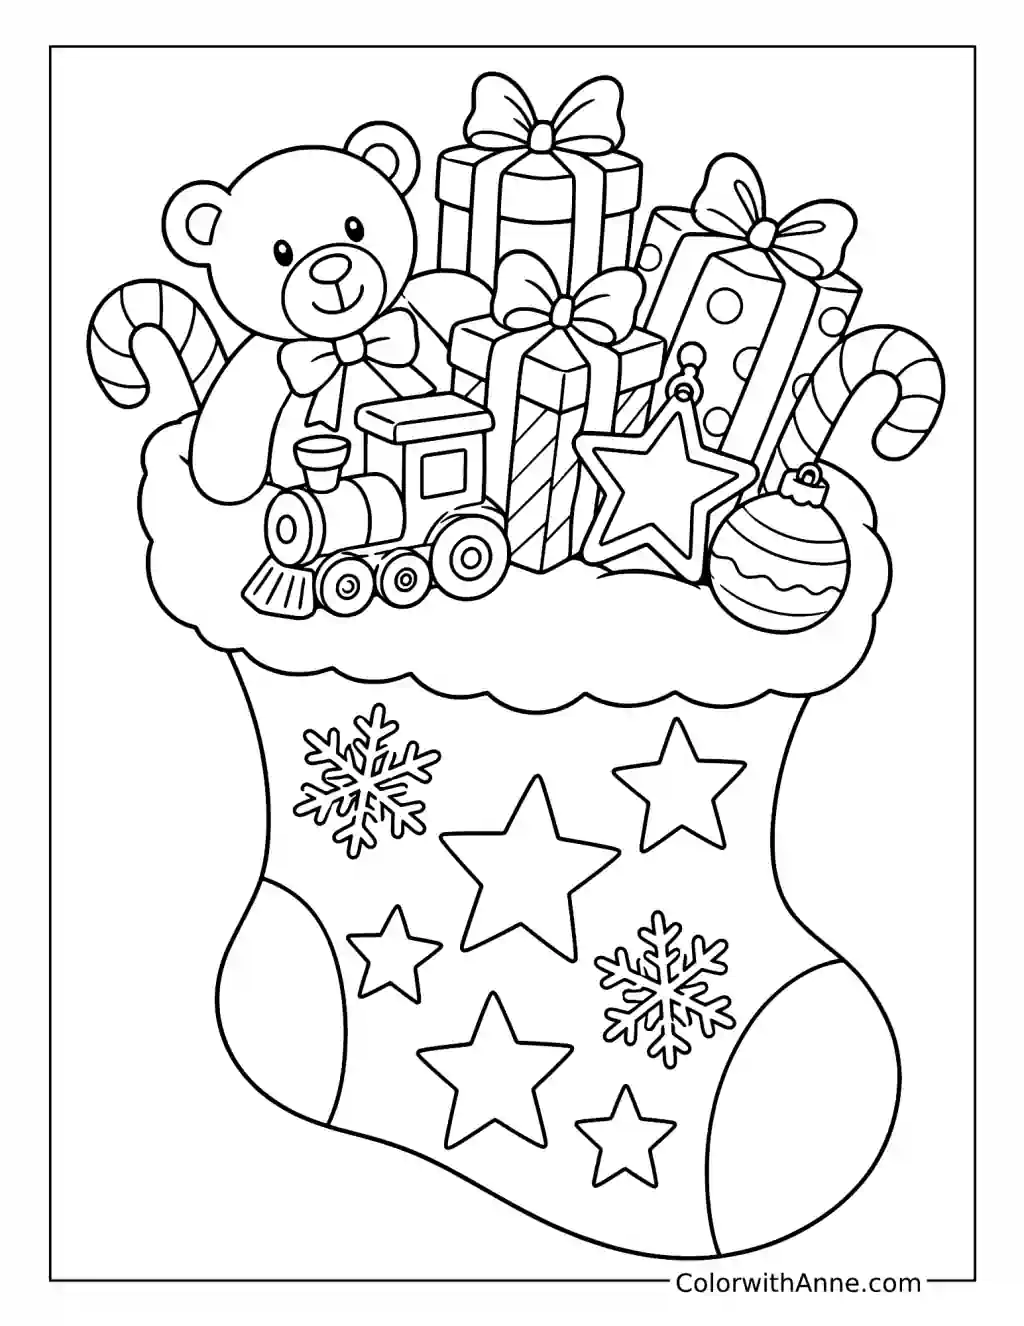
The teddy, toy train, wrapped gifts, and candy cane make this stocking look close to capacity. There is enough tucked around the cuff for a quick memory game.
Use a red stocking with yellow stars, then give the gifts different wrapping colors. Brown for the teddy and blue for the train will help distinguish the smaller shapes.
Let everyone study the finished picture briefly, then cover it. Players name or sketch the objects they remember. Reveal the page and look for anything missed. Another round can focus on where the objects sit rather than simply what Santa packed.
Give the Holly Stocking a Real Jingle
Bells hang beneath the large bow, with holly and greenery filling the stocking. A small real bell can echo that detail in a hanging decoration.
Try forest green, red berries, and golden bells, with a cream background between the leaves. The bow can take the brightest red.
Mount the finished stocking on card and cut around its outline. Make a hole near a cuff corner and thread through a ribbon with a small craft bell attached. Hang it from an interior door handle, where opening the door gives the paper stocking its own quiet announcement.
Plan the Icing for Stocking Biscuits
Gingerbread figures, a rolling pin, and a star cutter fill this stocking. Its wavy bands look ready to become icing patterns themselves.
Use golden brown for the gingerbread, silver for the cutter, and red-and-white stripes on the candy cane. Cream lines against a brown stocking can suggest icing.
For a baking afternoon, use a familiar biscuit recipe and a stocking-shaped cutter if one is available. Decorate the cooled biscuits with wavy bands inspired by the picture. Decide on the main lines before adding little dots and stars, so the smaller details have somewhere to belong.
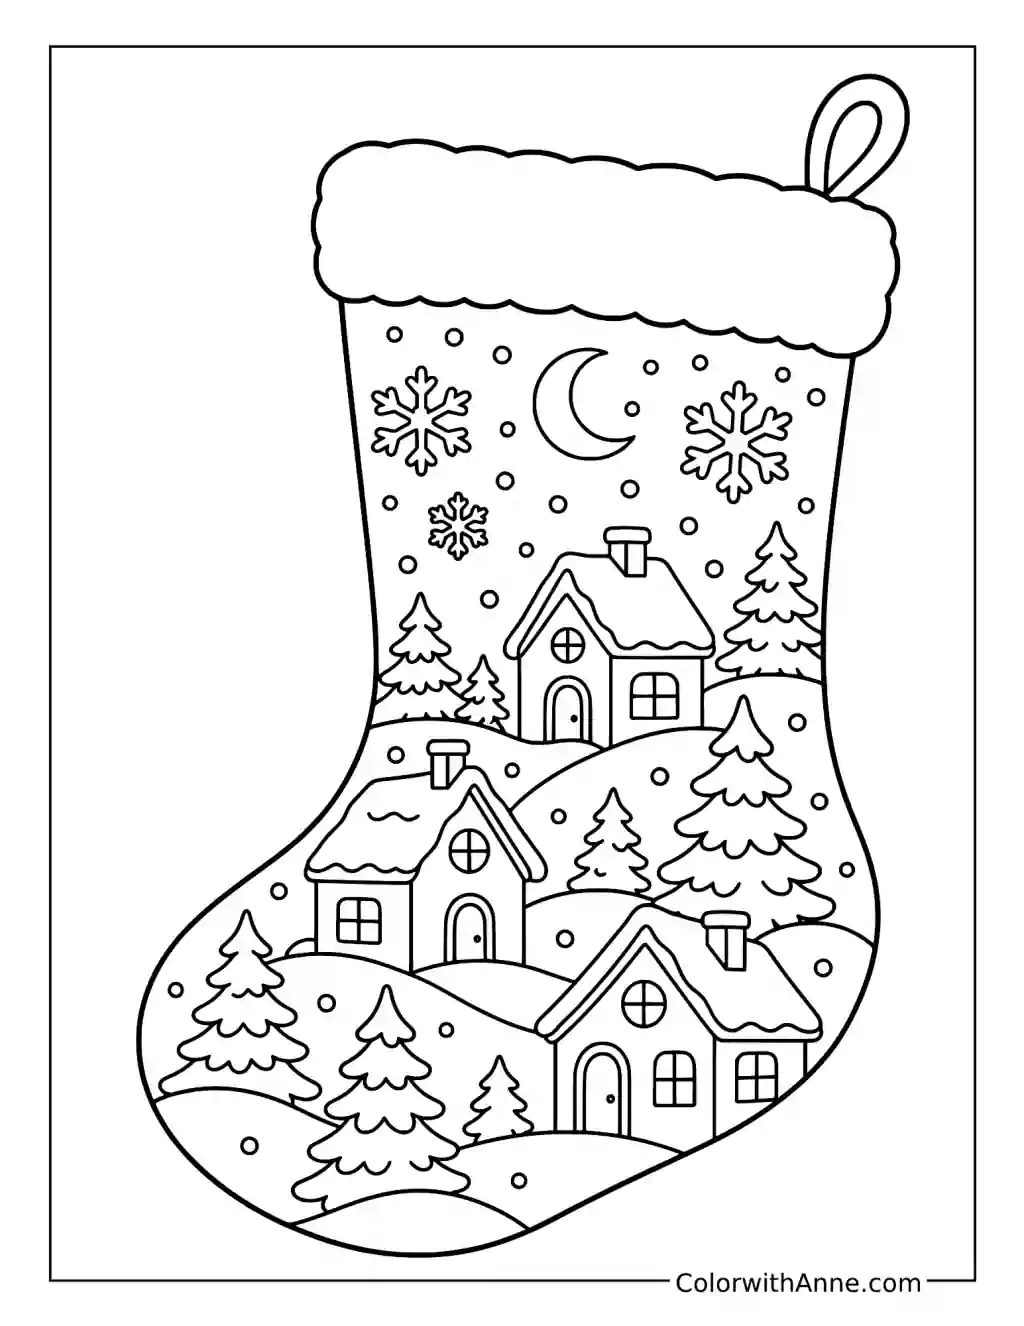
Add Another House to the Snowy Village
The village follows the curve of the stocking, with snowy roofs, fir trees, and a moon above. The tiny buildings make this a pleasant page for someone who enjoys miniature scenes.
A navy background will bring out the white snow. Try warm yellow windows, muted red roofs, and dark green trees.
On a separate scrap, design another house that would belong in the village. Borrow a roof shape or window detail, then give the new building one distinctive feature. Keep it beside the finished stocking as a companion drawing, or continue developing a whole winter street.