
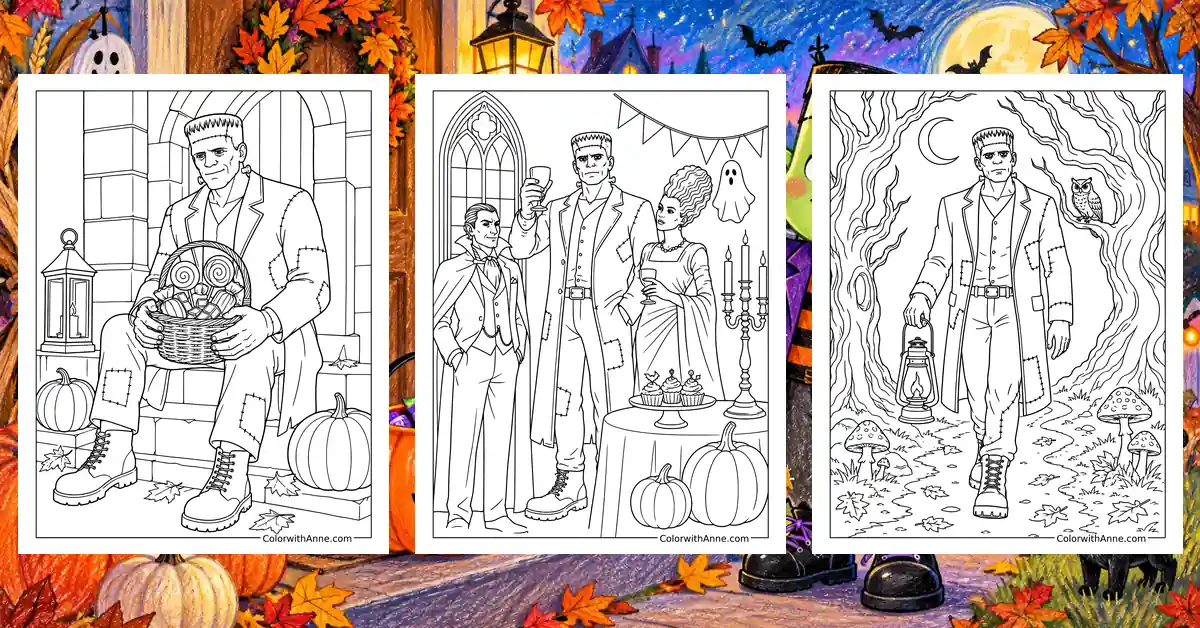
A square-headed figure with neck bolts can be recognized before anyone finishes describing the Halloween costume. Frankenstein’s creature has become such a familiar sight that he can seem almost friendly beside a porch pumpkin. Then a stiff walk and a solemn expression remind everyone that frightening people was supposed to be part of the arrangement.
Frankenstein coloring pages leave room for both reactions. Some fans enjoy the old monster-movie atmosphere; children may be more interested in a face that looks puzzled by all the attention. A finished page can join the October decorations, perhaps looking considerably less threatening than its creator originally intended.
Free Printable Frankenstein Coloring Pages
Click any coloring page below to open the PDF, then print on US Letter or A4 paper.
Did you find what you needed?
Help us choose what to create or improve next.
Coloring Ideas for Frankenstein Pages
Try one of these coloring ideas, or use them as a starting point for your own.
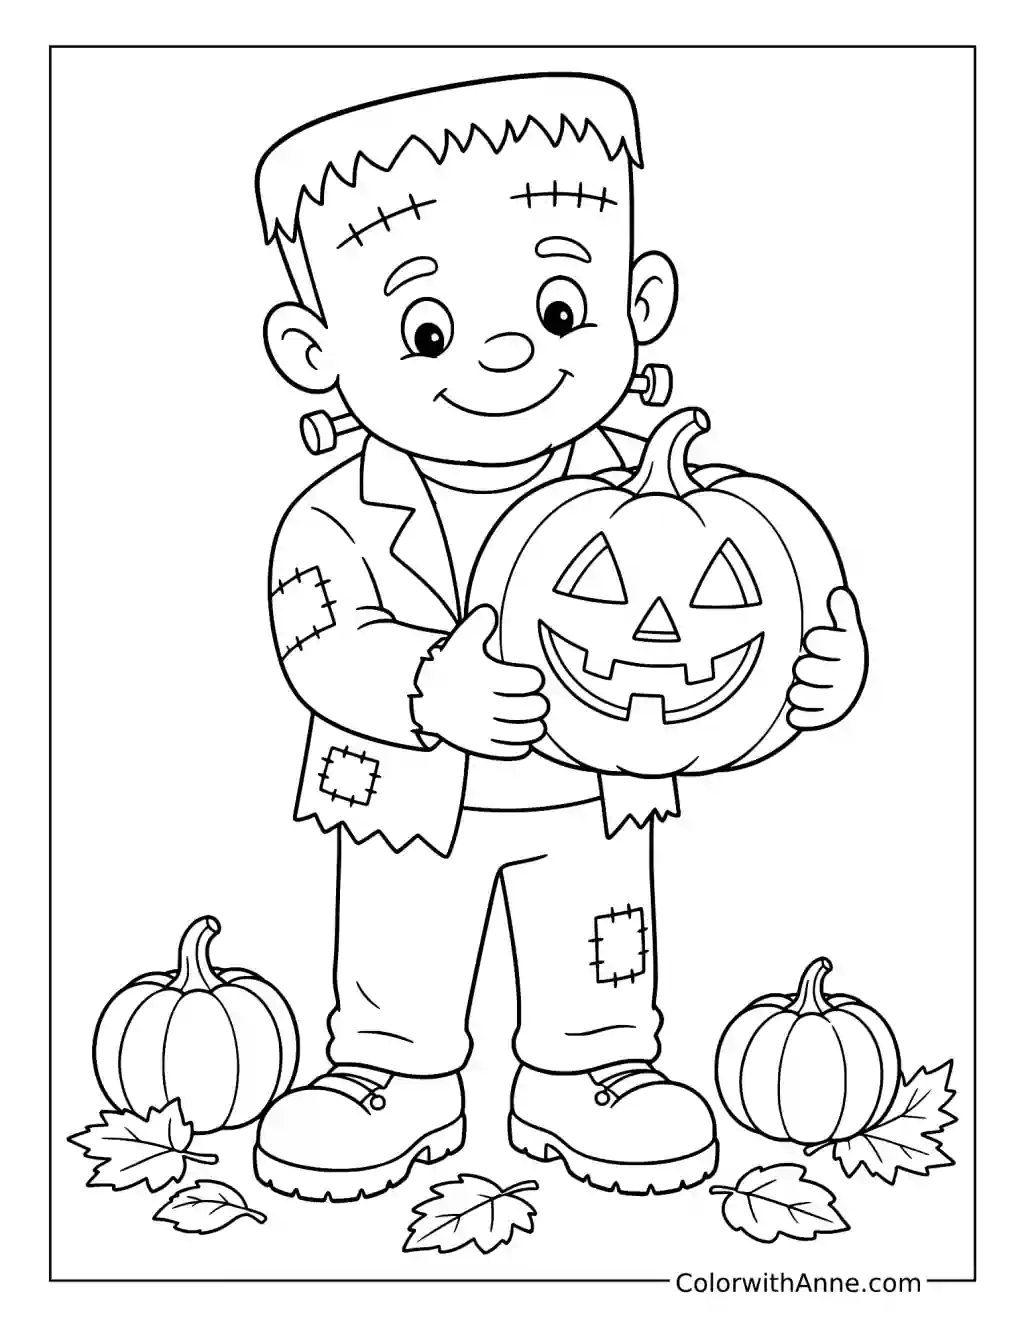
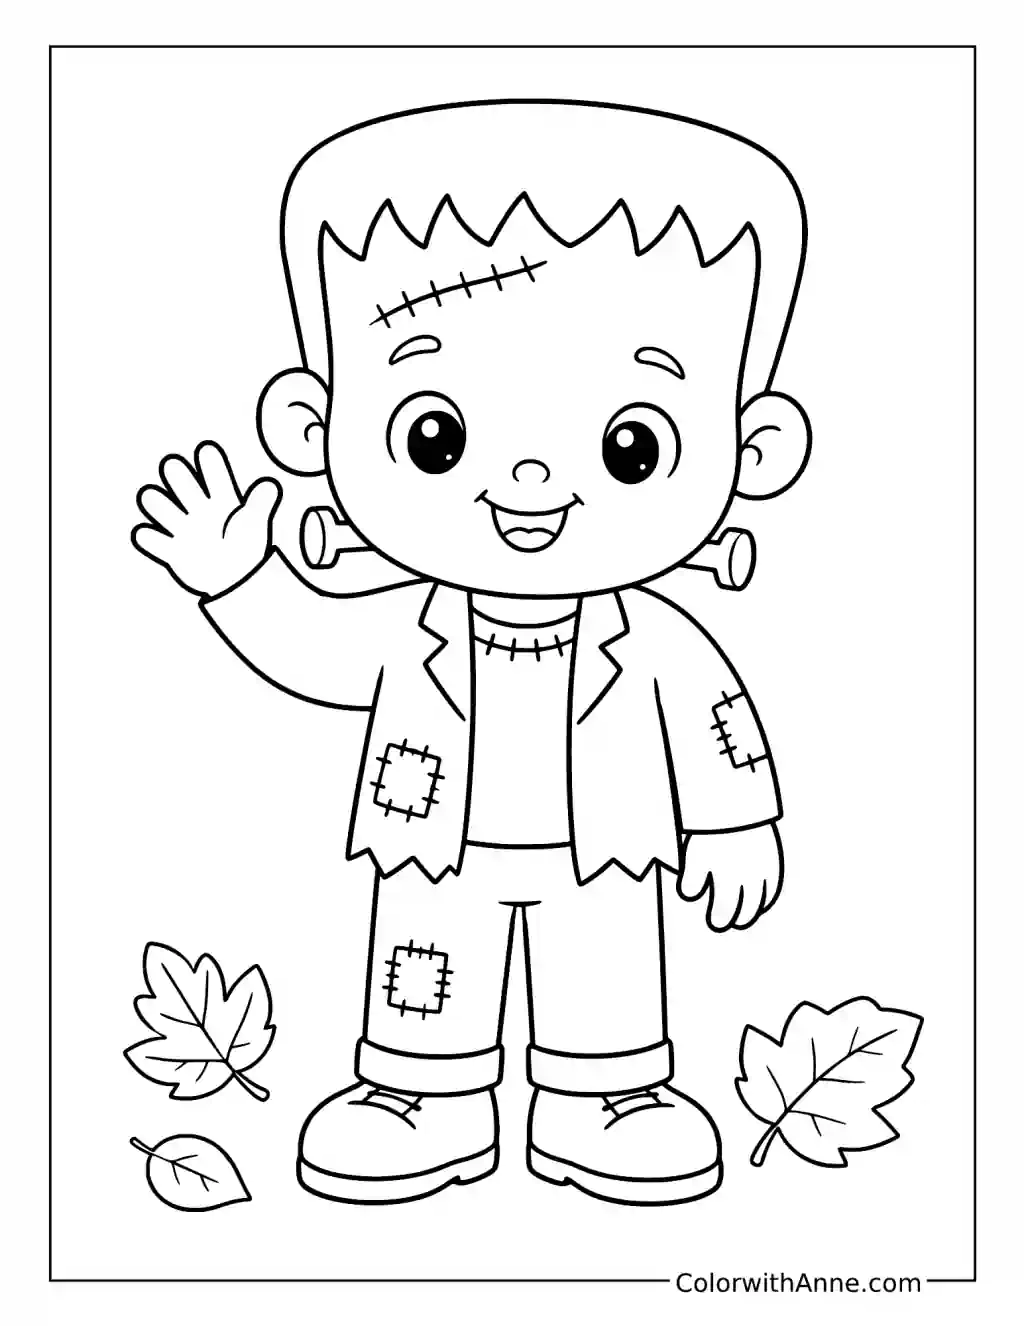
A Well-Loved Jacket for a Waving Visitor
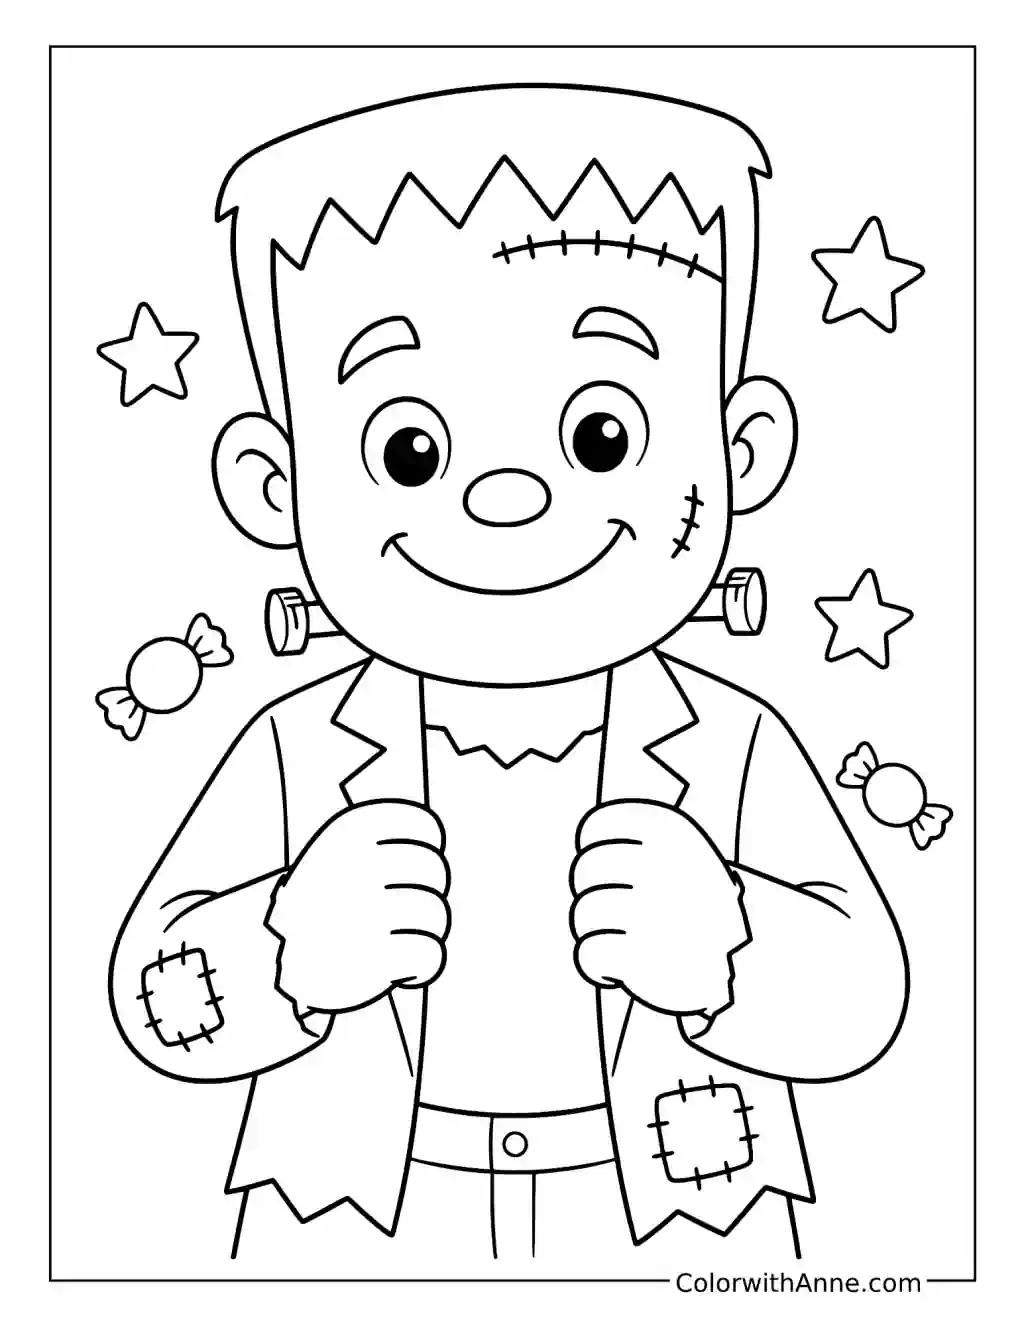
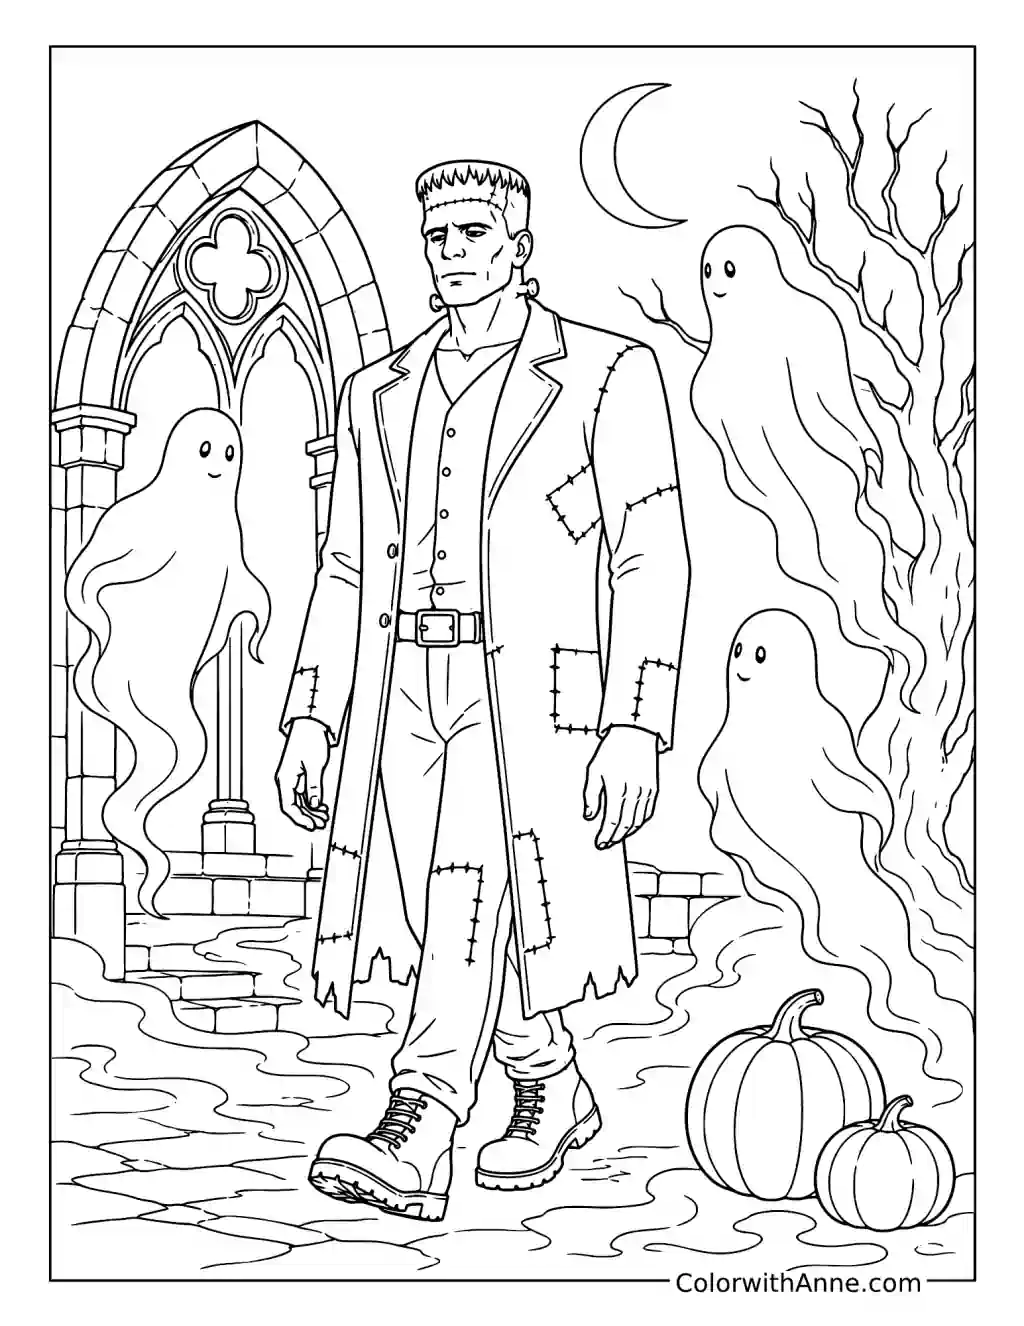
The waving figure’s torn jacket and stitched patches invite a little wardrobe planning. Imagine this as a favorite coat that keeps getting repaired because its owner refuses to give it up. Start with a color you would happily wear yourself, whether that’s denim blue, rusty brown, or a particularly cheerful purple.
Give the patches the look of fabric borrowed from other clothes. One could suggest a checked shirt; another might have a few simple stripes added inside its outline. Leave some patches plain so the jacket doesn’t become too busy. Carry one patch color down into the trousers, then finish the boots as a sturdy, slightly mismatched companion to all that mending.
Let the Lantern Find the Path
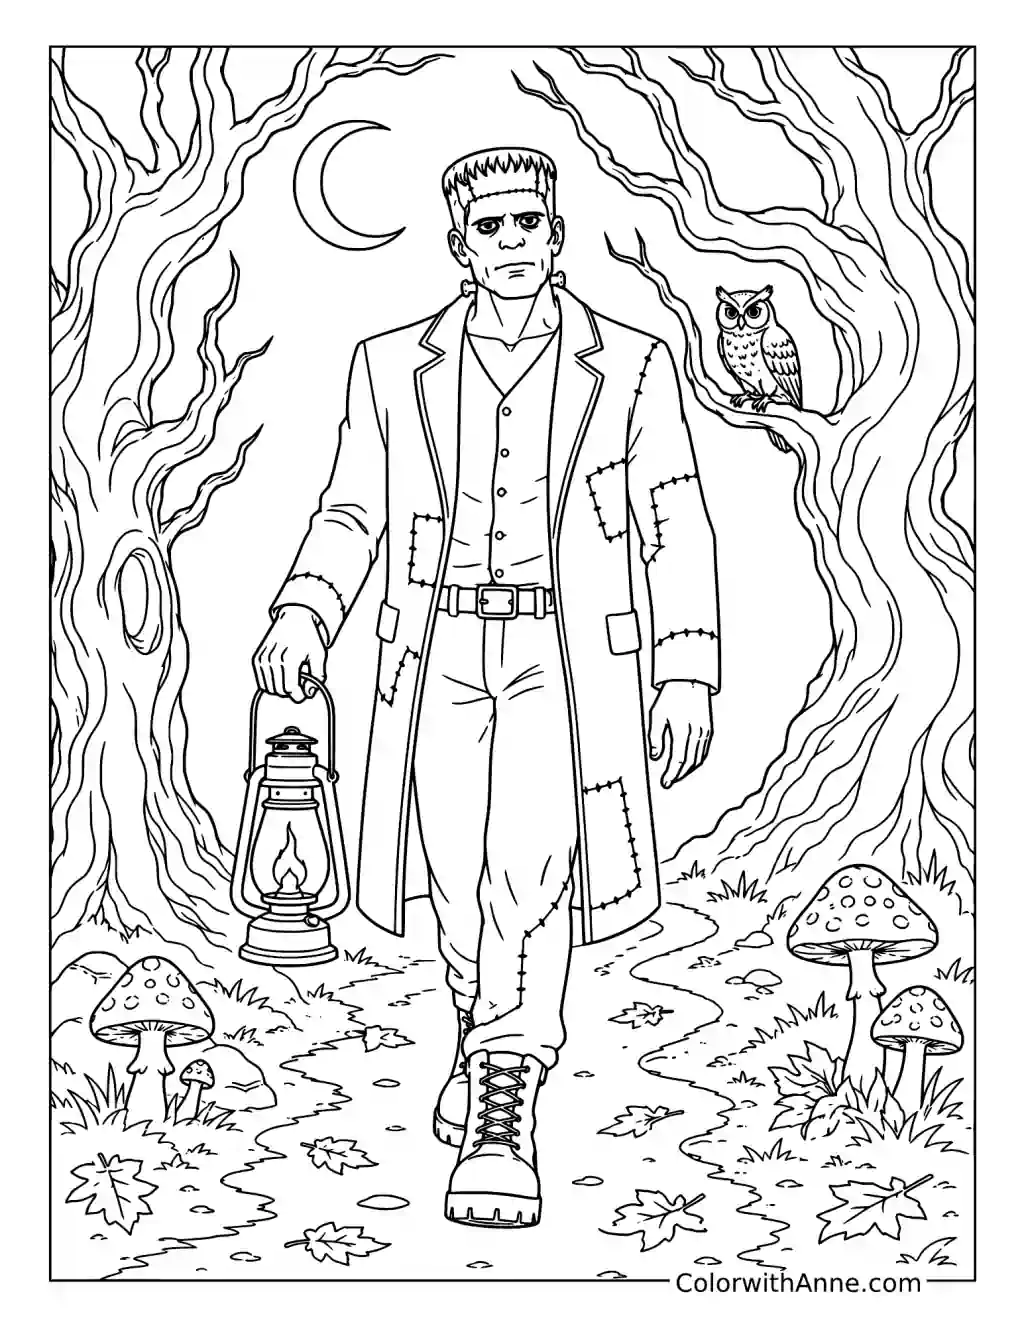
A lantern, a winding path, and an owl on a branch give this woodland scene a clear starting point. Imagine the lantern has just been lit. Before coloring the whole forest, decide which nearby surfaces its light might reach: a piece of the coat, a stone on the path, or the edge of a mushroom.
Place a little warm yellow on those chosen spots, keeping the strongest color close to the lantern. Let the distant trunks stay cooler and darker. You don’t need a glow around every object; a few touches will suggest it. Follow the path away from the figure, gradually leaving less warmth between the stones until it disappears among the trees.
Choose the Pumpkin’s Expression First
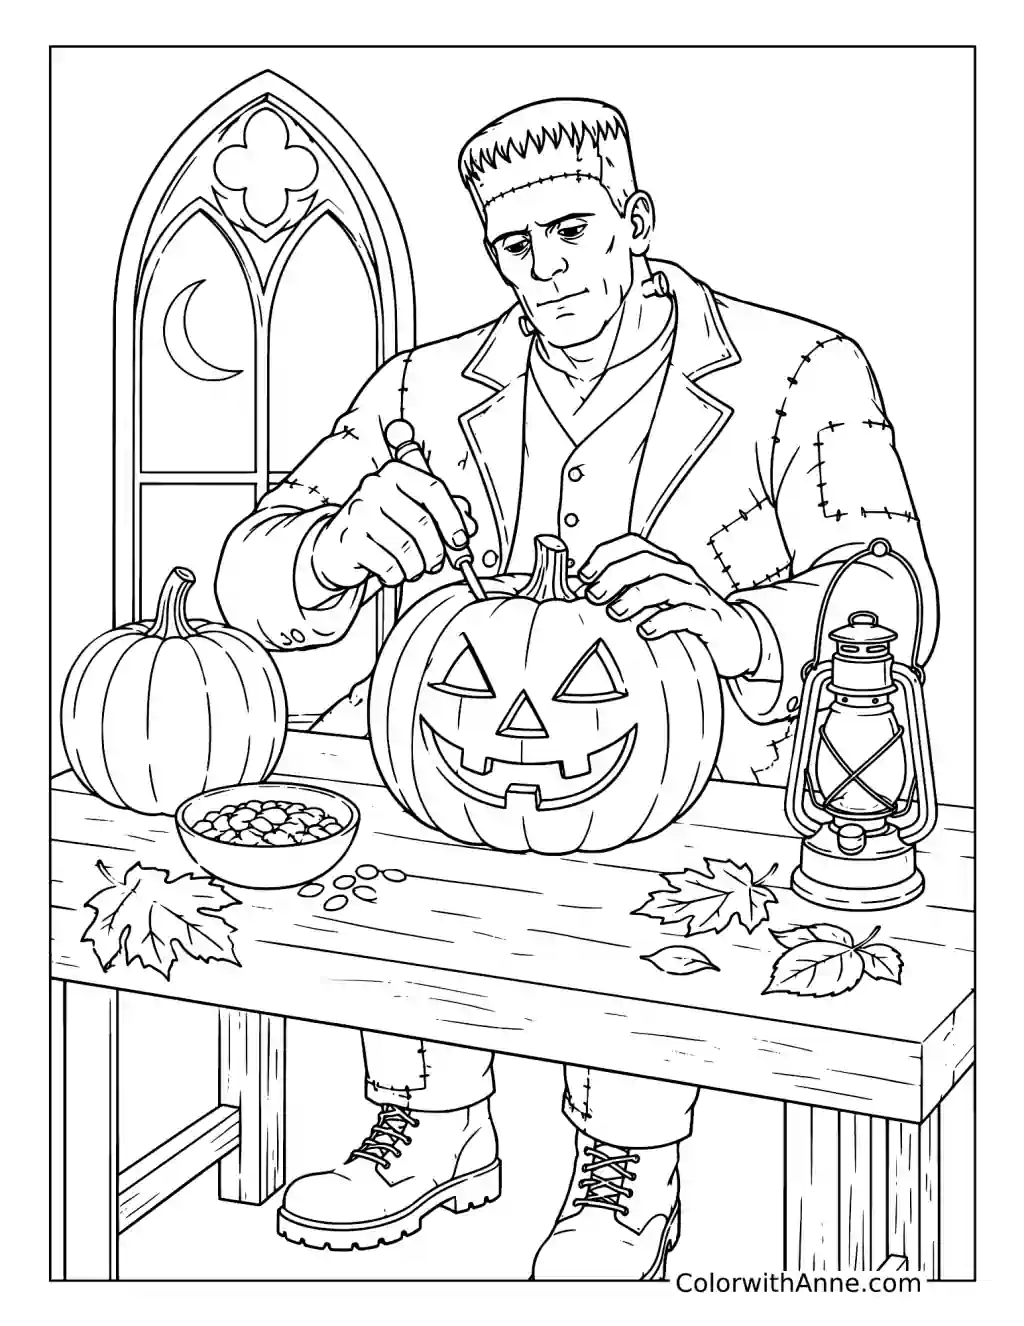
The carving scene catches a pumpkin midway through its Halloween preparations, with a hand holding it steady on the wooden table. Its triangular eyes and jagged smile deserve first attention. Color those openings before the pumpkin skin so you can decide whether the face should read as dark and toothy or warmly lit.
For an imagined light inside, use yellow in the openings and a deeper orange around their edges. For an unlit pumpkin, try a deep brown inside the same shapes. Then color the skin around that expression. Keep the two additional pumpkins quieter, with softer orange or pale cream, so the one receiving all this careful work remains the first face you notice.
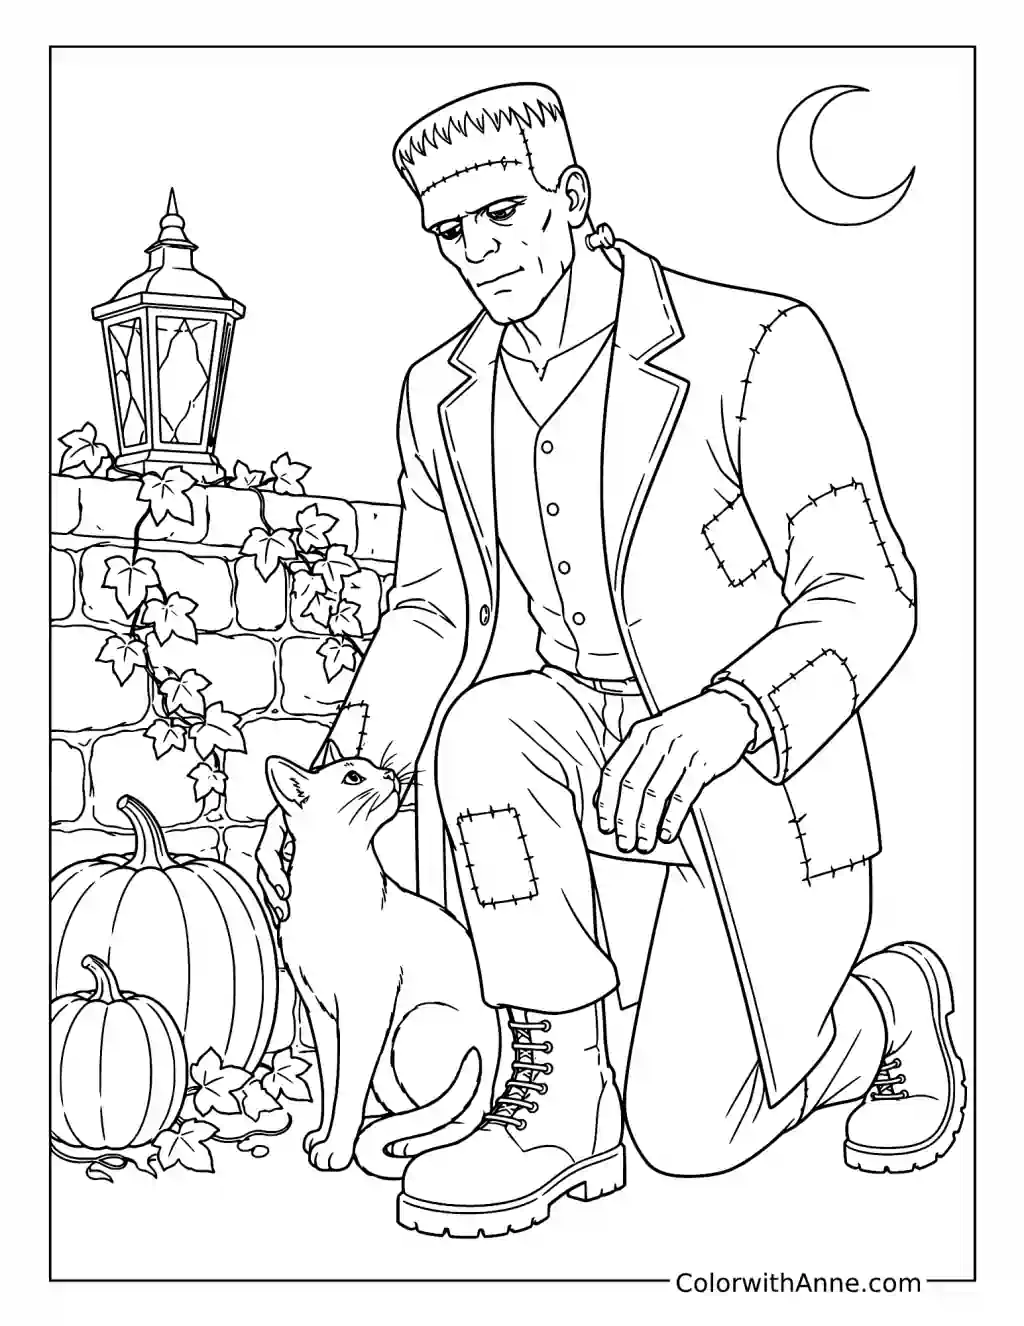
A Familiar Cat in an Unusual Setting
The kneeling figure looks down while the cat looks up, making this a surprisingly companionable corner of Halloween. You could give the cat markings borrowed from one you know: white paws, a ginger back, or a dark patch around one eye. Add those shapes within the cat’s outline before filling in the surrounding fur.
Work around the face carefully enough to keep that upward look visible. Then choose a coat color that lets the cat stand out beside the figure’s hand. The ivy-covered wall and pumpkins can wait until this small encounter feels right. If you are coloring a familiar pet, finish with the particular tail marking or pale chin you would recognize across a room.
Set the Candy Basket Beside the Real Treats
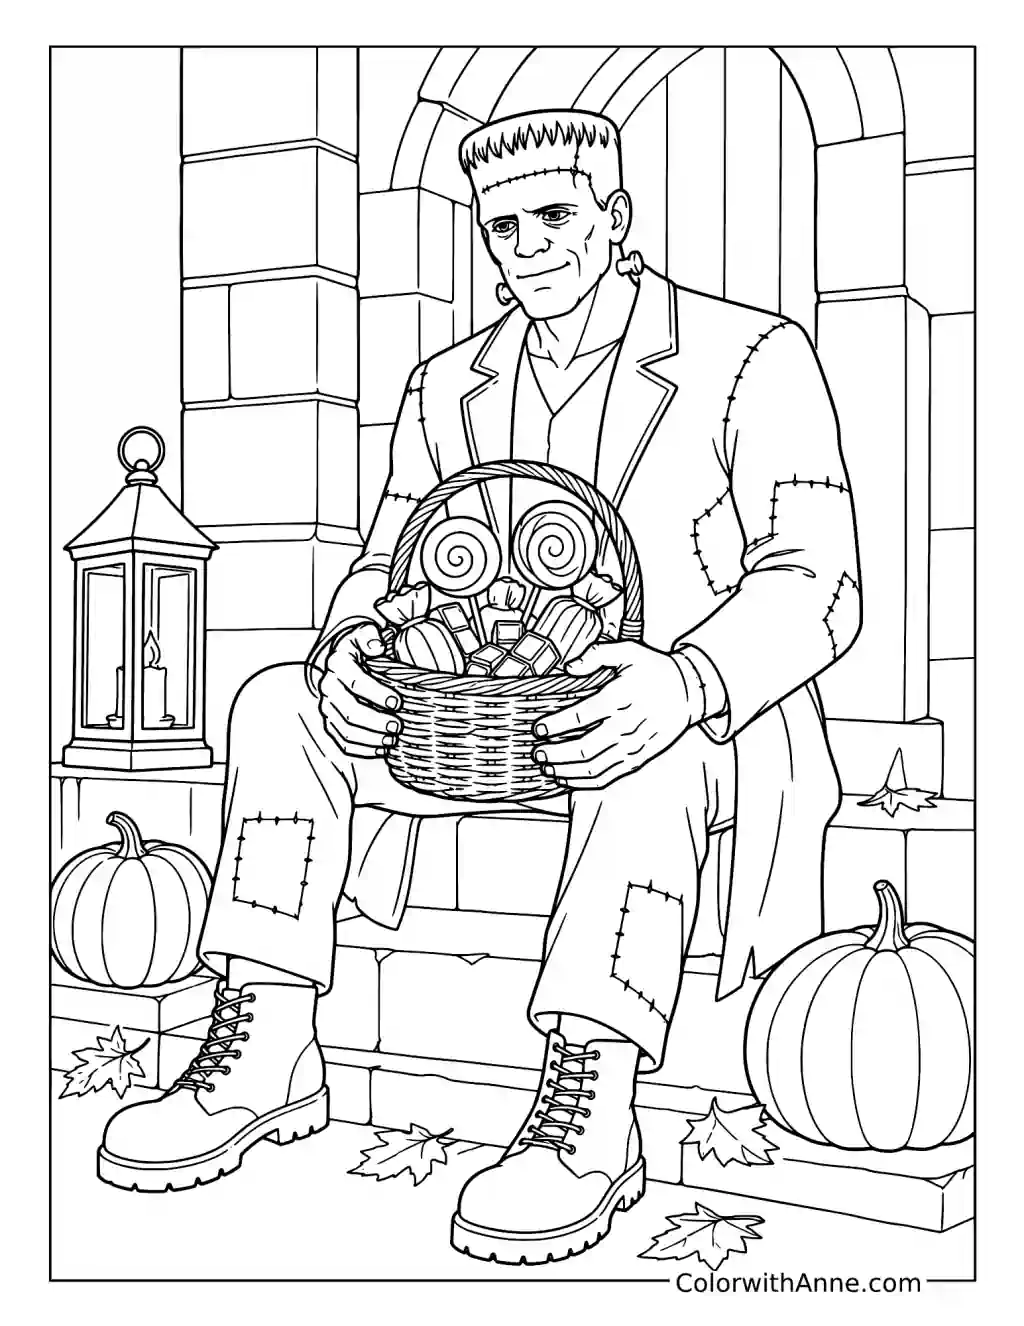
A seated figure holding a woven basket of candy makes a fitting picture to place near a Halloween treat bowl. Start with the sweets themselves. The spiral lollipops offer room for curling bands of color, while the wrapped candies can borrow the bright wrapper colors of whatever you plan to set out.
Keep the basket in warm browns so its weave feels separate from the candy piled inside. You might carry a wrapper color into a small clothing detail, but let the sweets remain the brightest part of the entrance. Once the page is finished, prop it behind the real bowl, with the pictured basket high enough to peek over the treats.
Try Out the Party Decorations
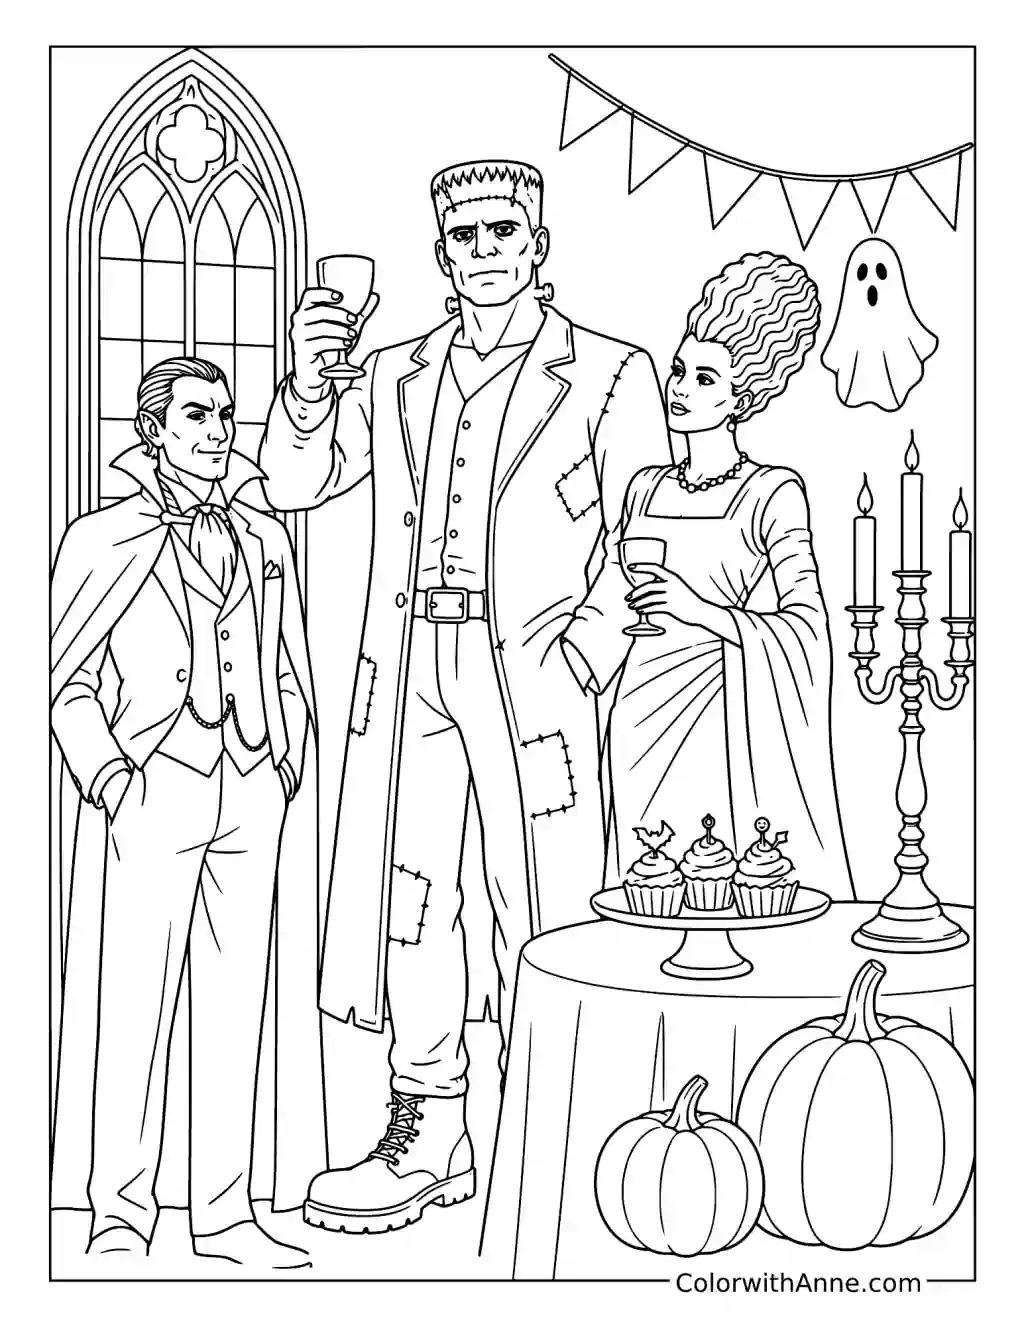
Between the hanging bunting, cupcakes, and candles, this gathering offers a place to try a Halloween decorating idea before putting anything on your own table. Choose the bunting first. Alternating plum and orange flags could set the mood, or you might prefer black with a bright, unexpected pink.
Repeat one of those colors on the cupcake icing and use the other sparingly in the costumes. Leave the ghost decoration pale so it has its own presence among the party details. If the combination appeals to you on the finished page, borrow just one part for a real gathering: a string of paper flags above the food or cupcake decorations in the same colors.
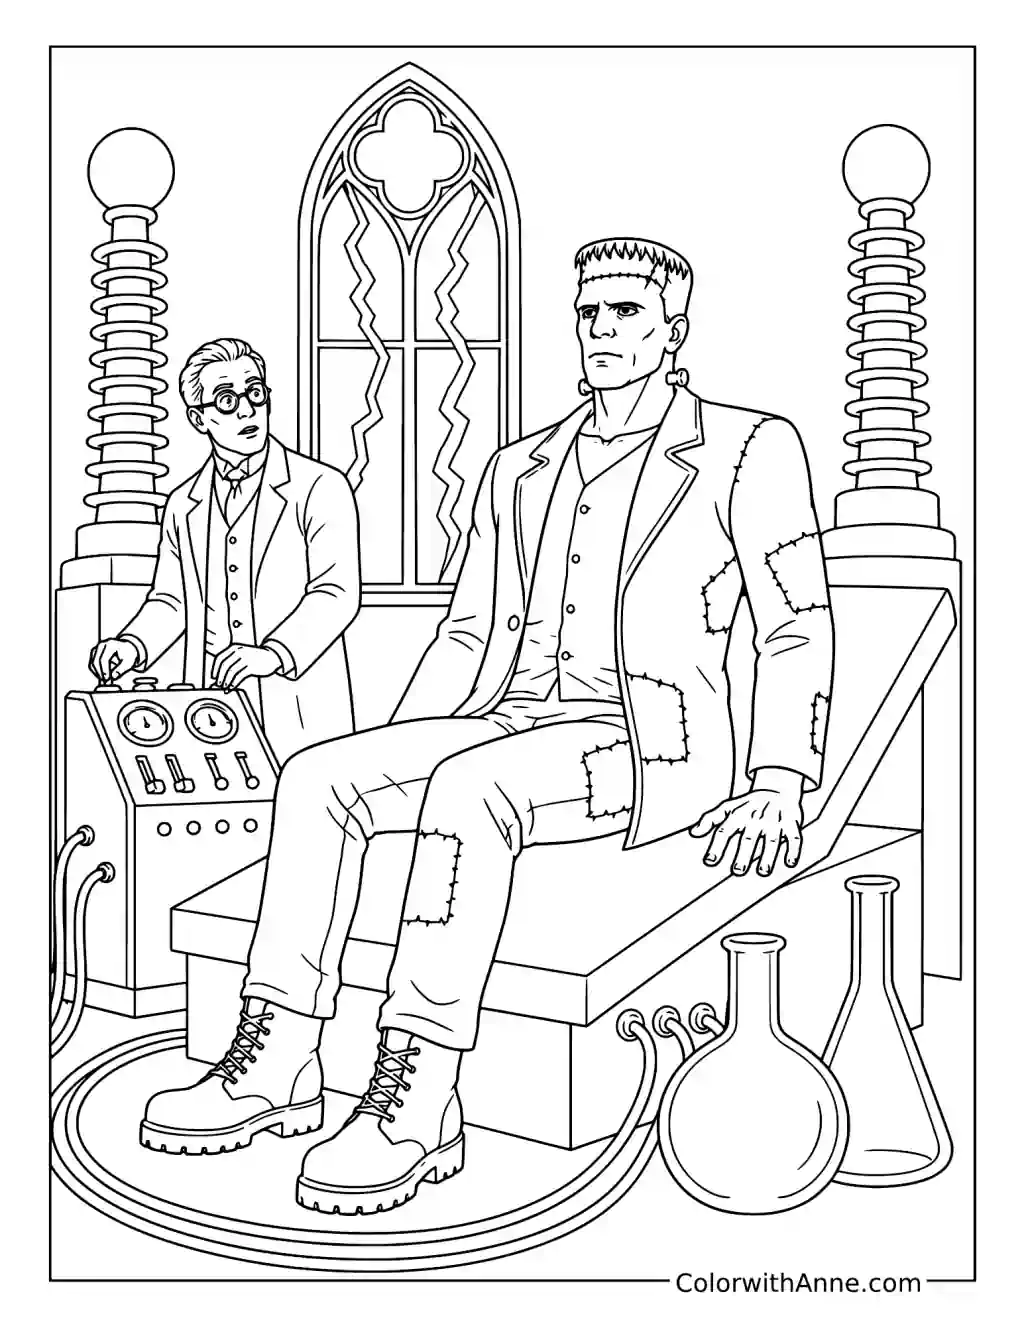
Put Something Curious in the Flask
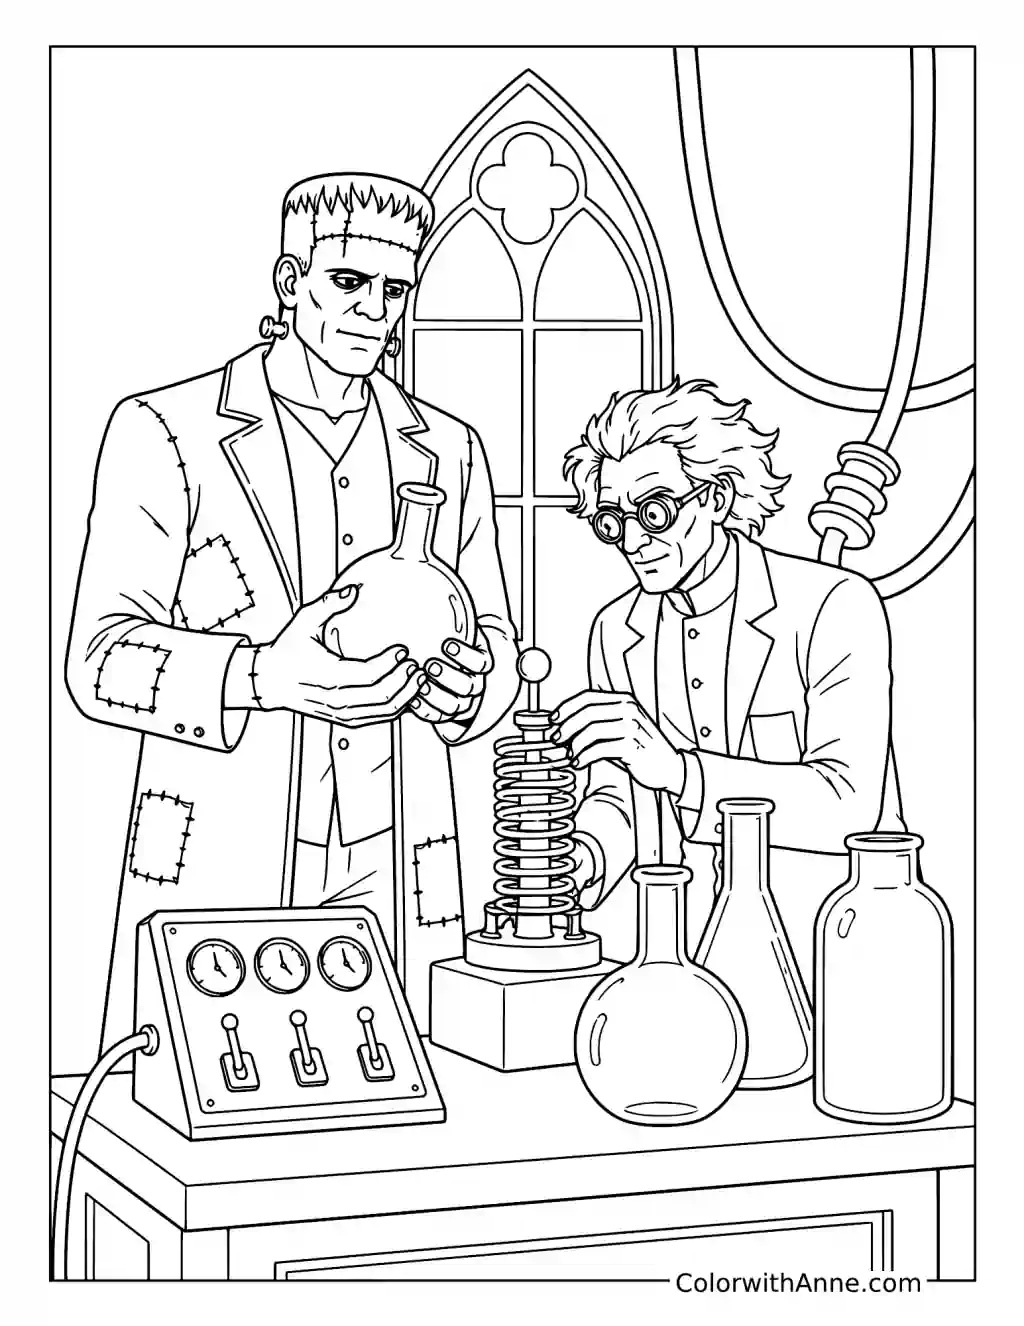
One figure holds a round flask while the other adjusts a coiled apparatus. That raised vessel is a good place to invent the laboratory’s latest mixture. Add a level line inside the flask to show how full it is, then choose a liquid color with a little theatrical confidence: sharp lime, violet, or brilliant blue.
Leave a narrow white sliver along one side of the glass and keep the area above your added liquid line mostly clear. Use quieter colors on the workbench and machinery so the flask catches the eye. A second vessel could hold a paler version of the same imaginary mixture, as though a small sample has been set aside.
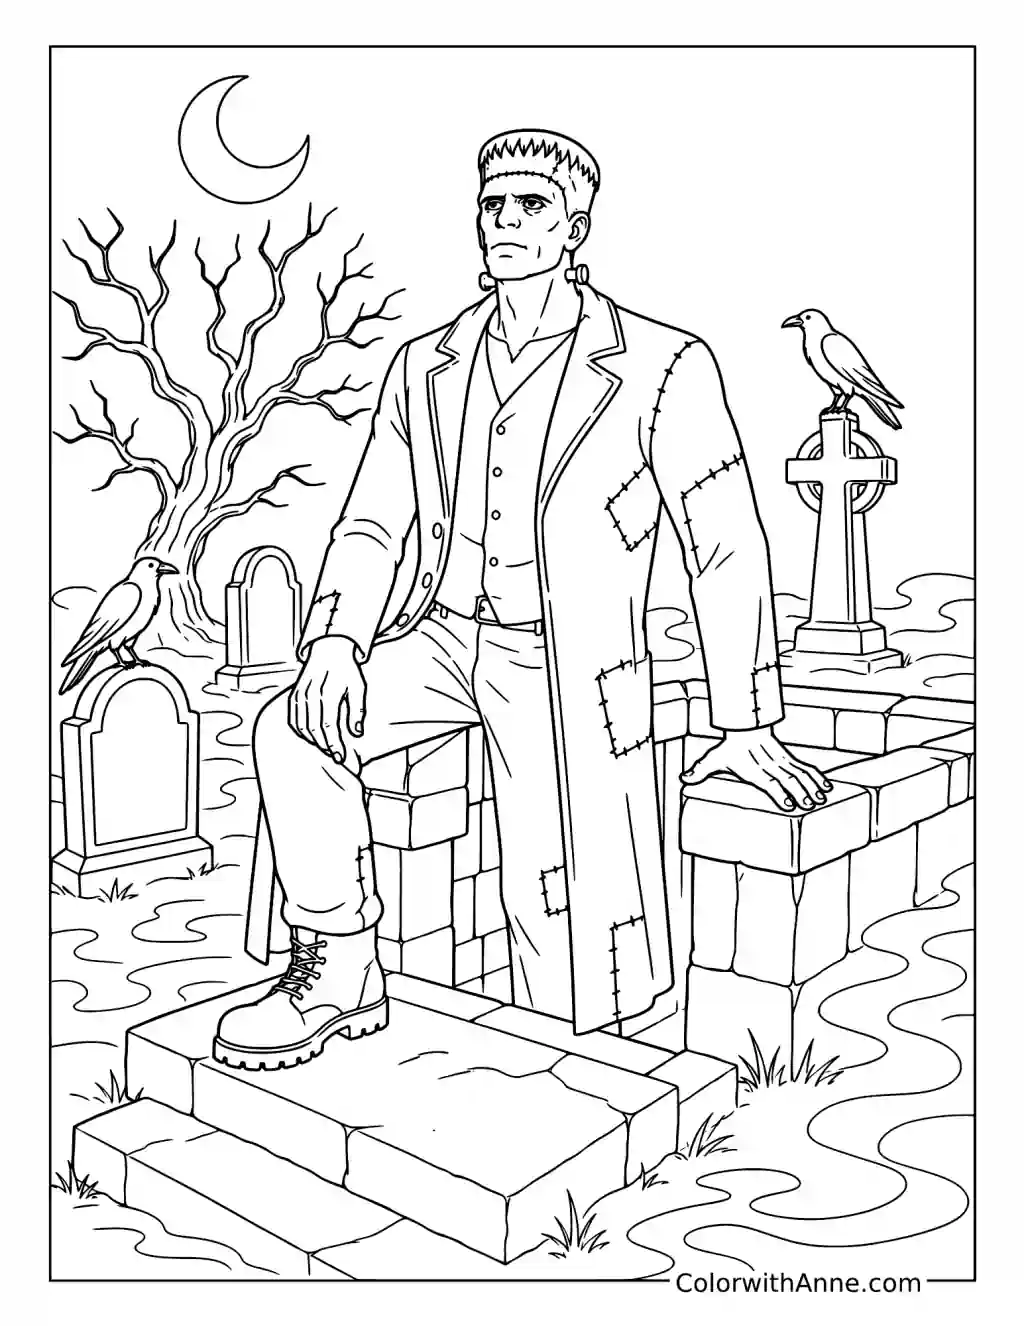
Leave Room for the Graveyard Mist
The curling mist already has a route through the cemetery stones. Treat those shapes as areas to preserve while the rest of the scene takes color. Start beside a curl, filling the neighboring stone in gray or muted brown, and watch how the untouched mist begins to show against it.
Continue along the mist rather than coloring every tombstone in turn. Where it passes near the raised block beneath the figure’s boot, keep the stone edge distinct. Add only a faint cool tint inside the mist if you want one; broad white areas can stay. Finish the perched birds and bare branches in darker tones, leaving the pale curls winding beneath them.