
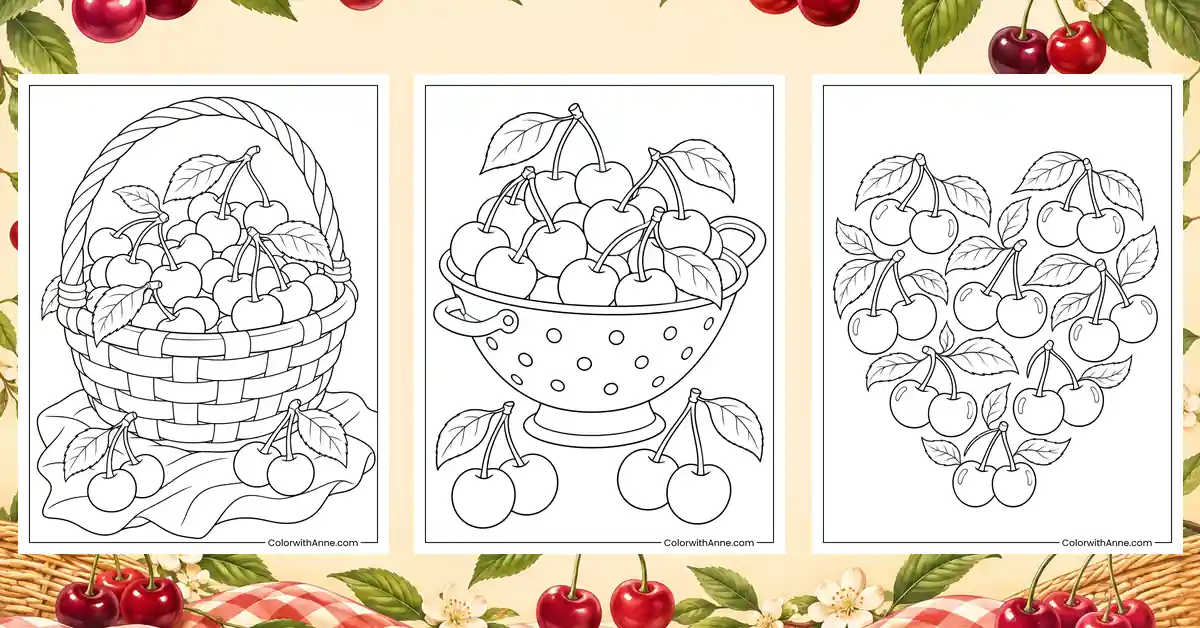
Cherries are the sort of fruit that can disappear while someone is still looking for a bowl. Their shiny skins do most of the persuading. Later, the linked stems might bring to mind an old kitchen print or the little cherry motif on a favorite summer dress.
Cherry coloring pages give that familiar shape two moods to choose from. Deep reds can make the fruit feel freshly picked, while pink and green can give the same subject the look of a vintage pattern. Either way, there is something satisfying about finding a red that looks right beside the green of a thin stem.
Free Printable Cherry Coloring Pages
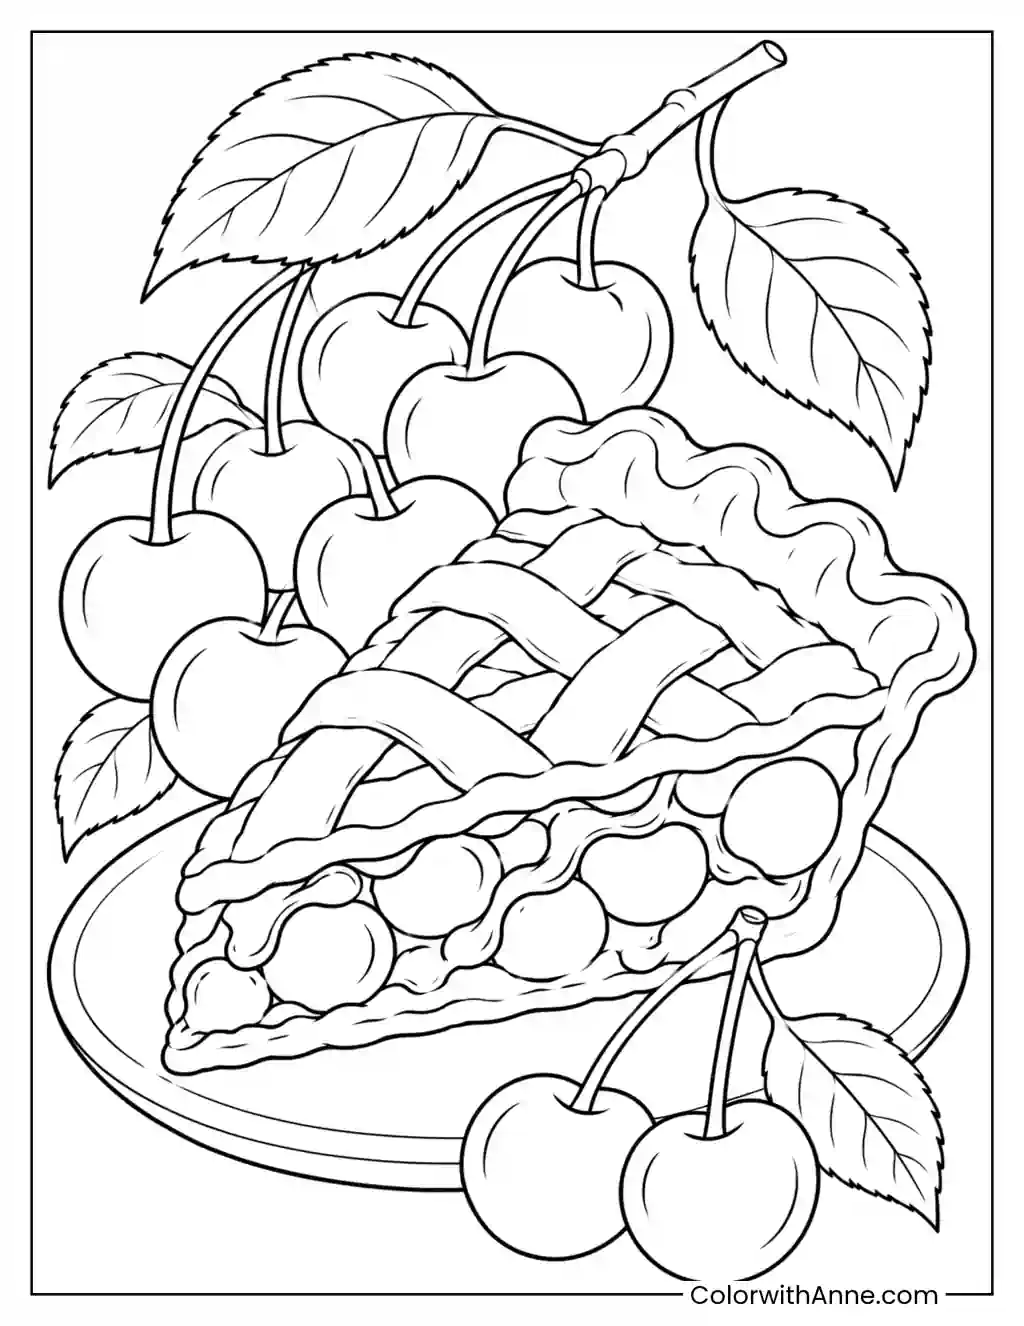
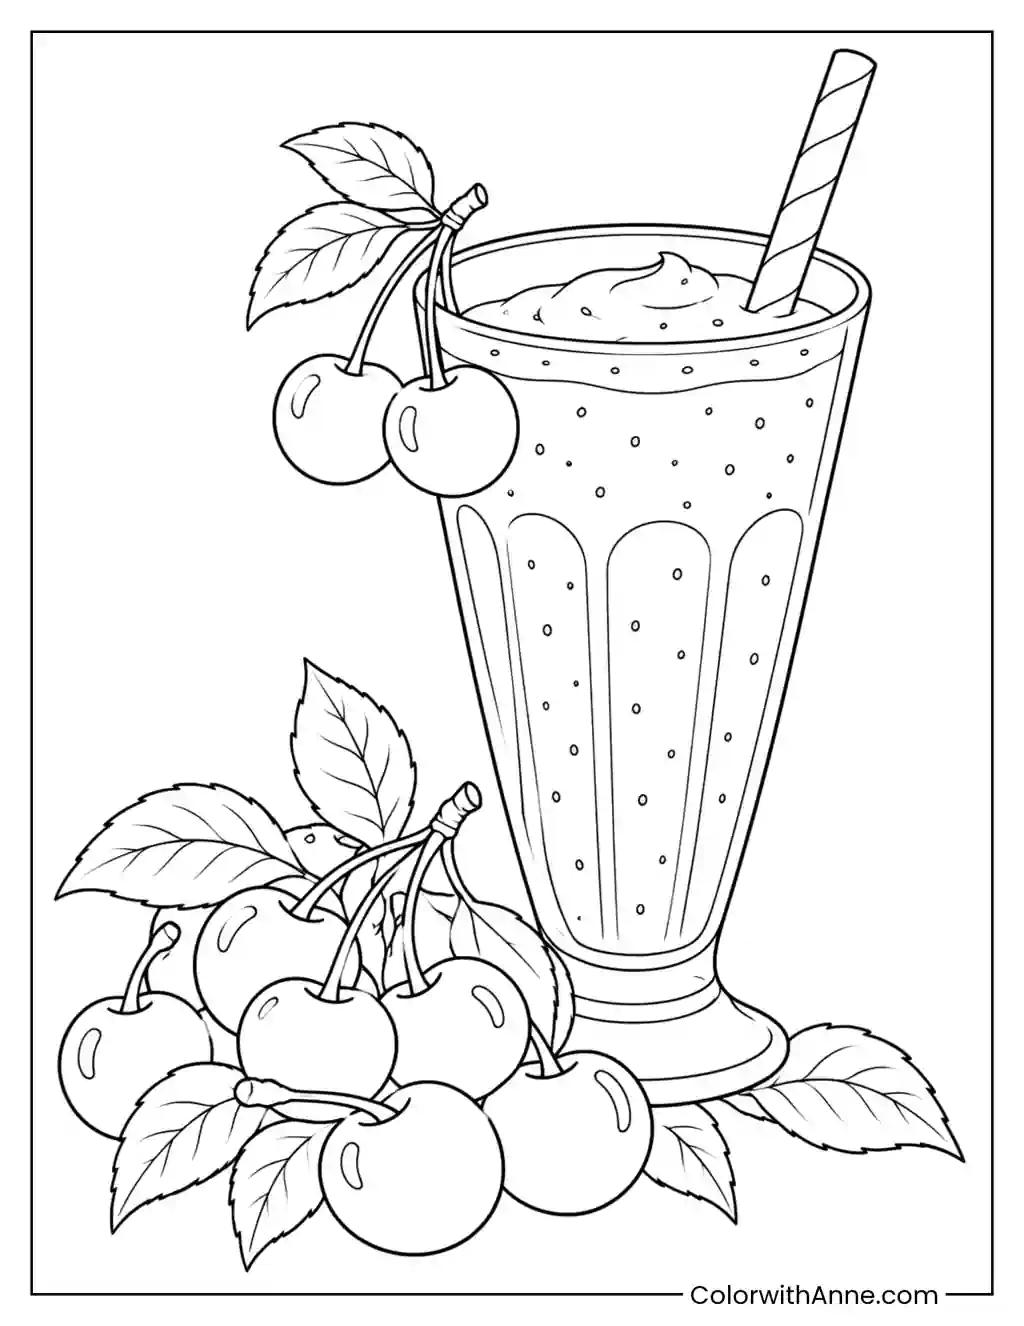
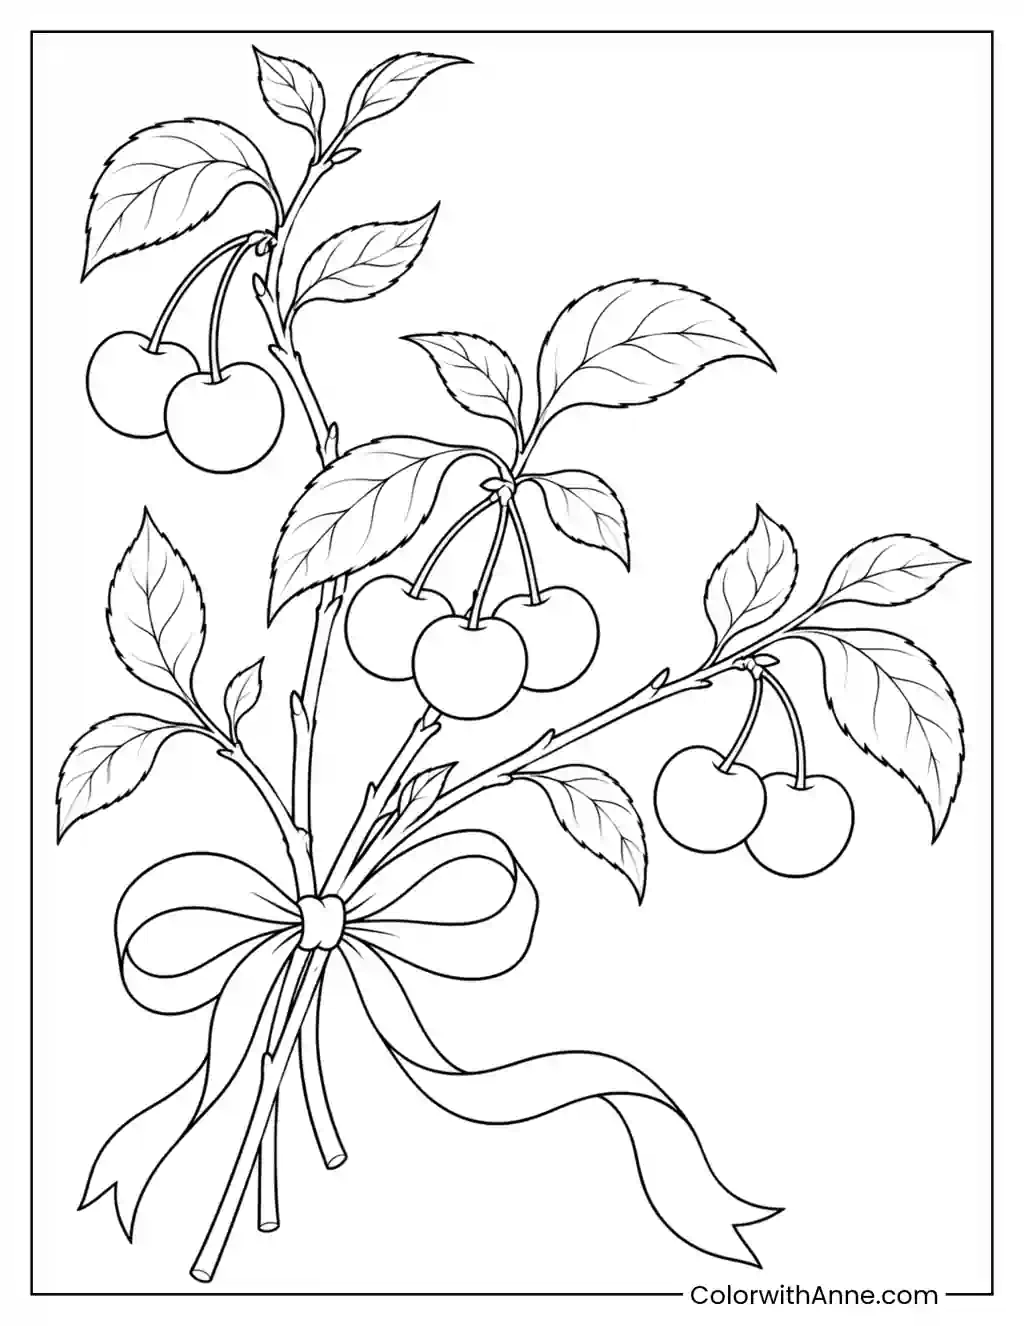
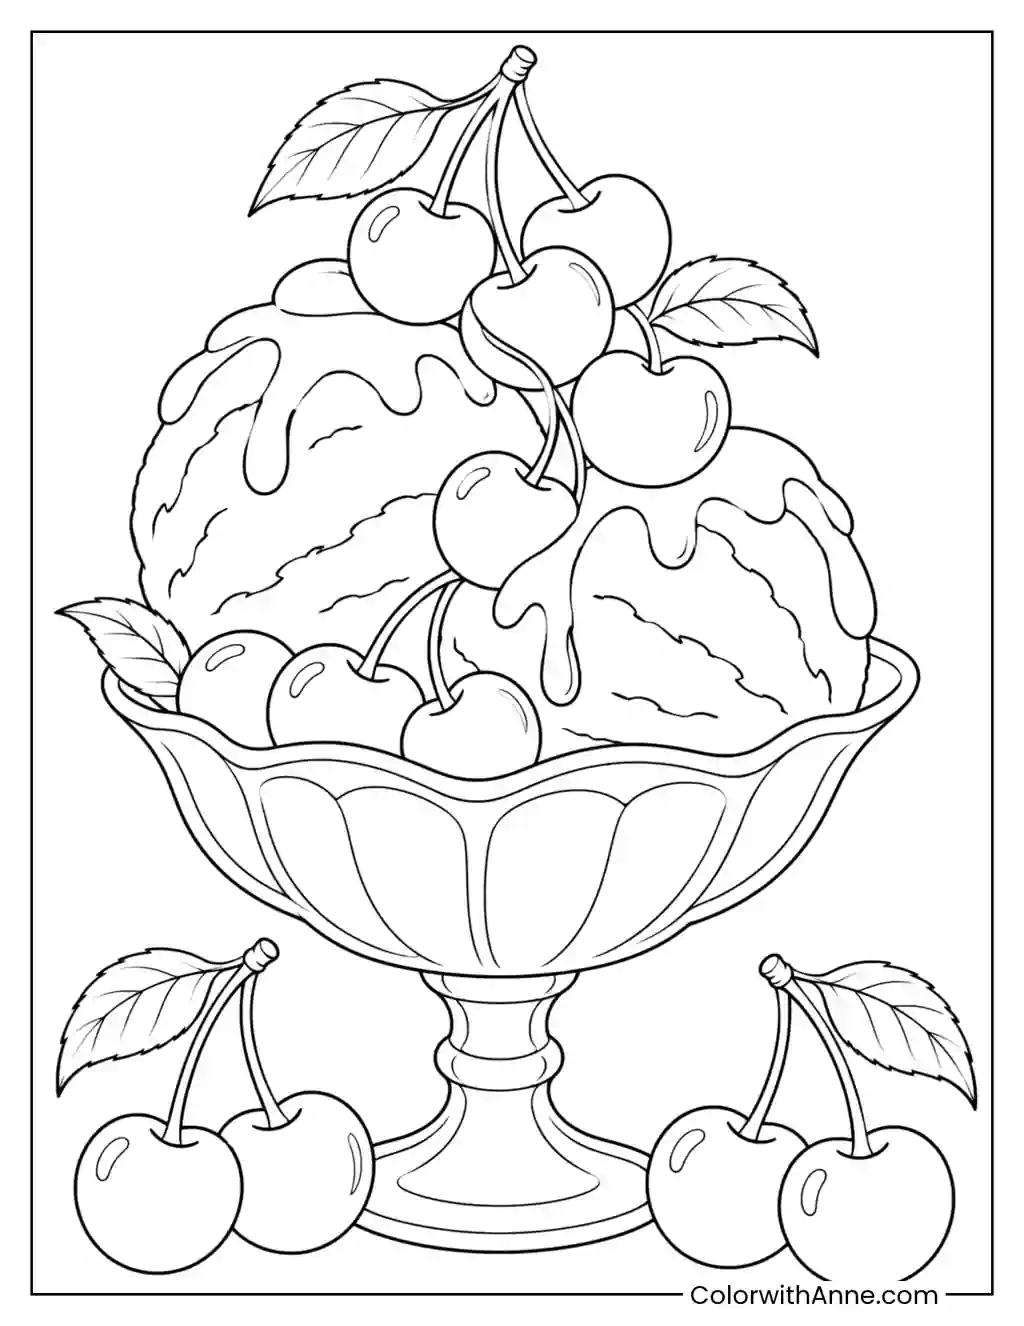
Click any coloring page below to open the PDF, then print on US Letter or A4 paper.
Did you find what you needed?
Help us choose what to create or improve next.
Coloring Ideas for Cherry Pages
Try these creative ideas to make the most of your coloring sheets.
Label a Basket for Someone Who Shared the Harvest
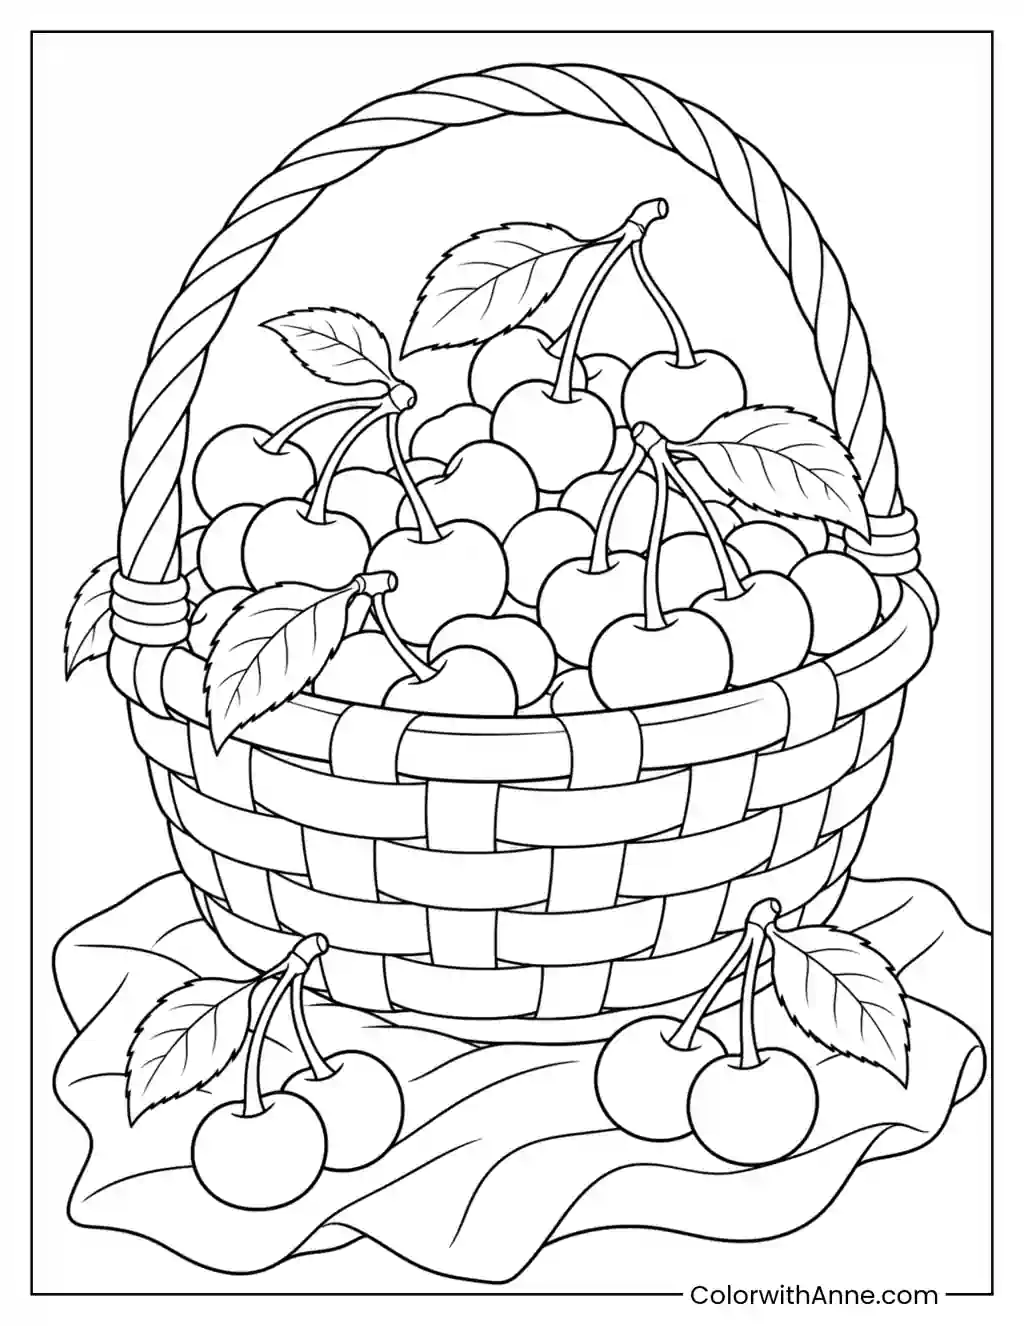
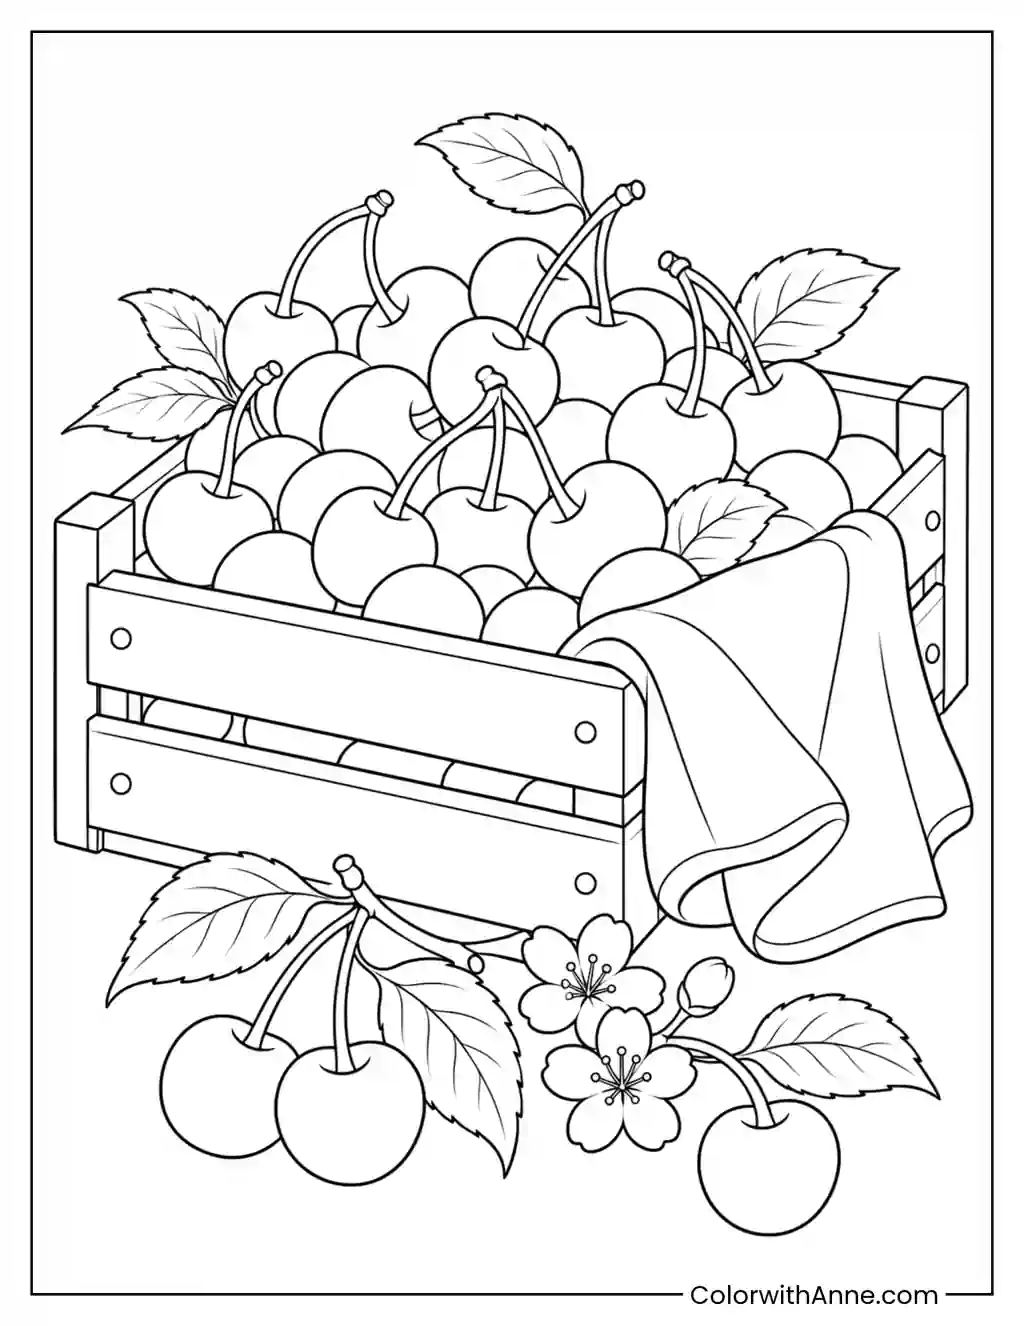
Cherries and leaves fill a woven basket. Two extra pairs rest on a loosely folded cloth, where their stems are easier to see than those tucked into the pile.
Use two or three reds to give the fruit some variety. Warm tan and brown will bring out the weave, and a soft blue or cream cloth will keep the cherries on it easy to spot.
If someone sends you home with cherries, use a small print as a thank-you note. Write what you ended up doing with them, even if the answer is “ate half before I got home.” The basket makes that one line feel right at home.
Give the Colander Page a Spot in the Kitchen
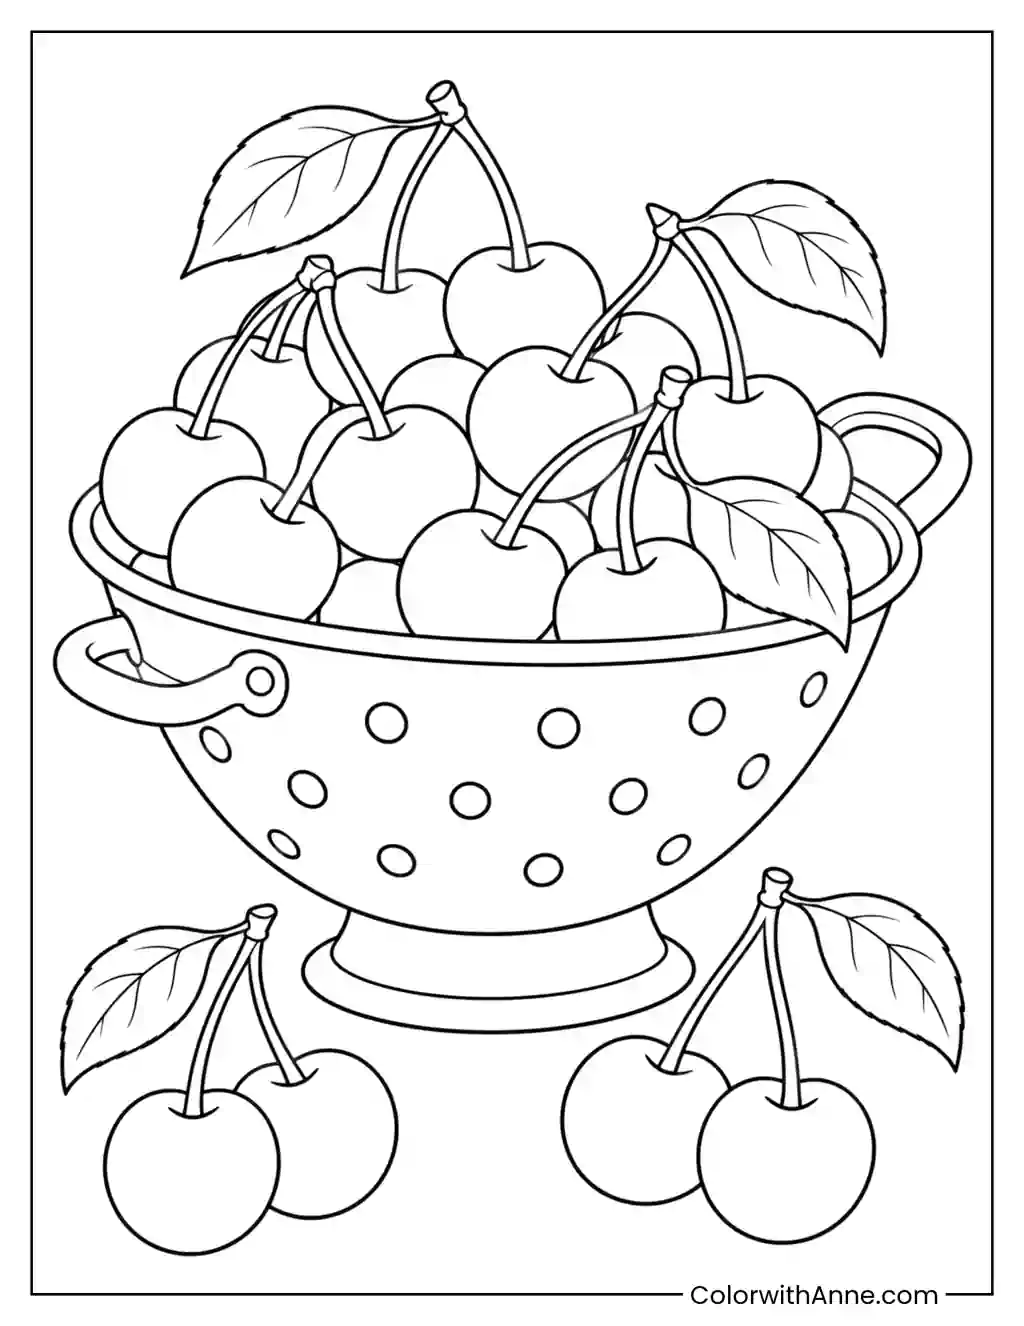
Cherries and veined leaves fill a footed colander, with two stemmed pairs below it. The metal bowl has a different texture from the smooth fruit and leafy edges around it.
Use cool gray or enamel blue on the colander and save the richest reds for the cherries. A slightly darker rim and foot can define the bowl without filling each small opening with dark color.
Set the finished page near the sink when you bring home a batch of cherries. Write down what you’re saving them for, such as a pie or tomorrow’s lunch, and how much you want to set aside. It’s a quick reminder before the colander becomes everyone’s snack bowl.
Put an Initial in the Cherry Heart
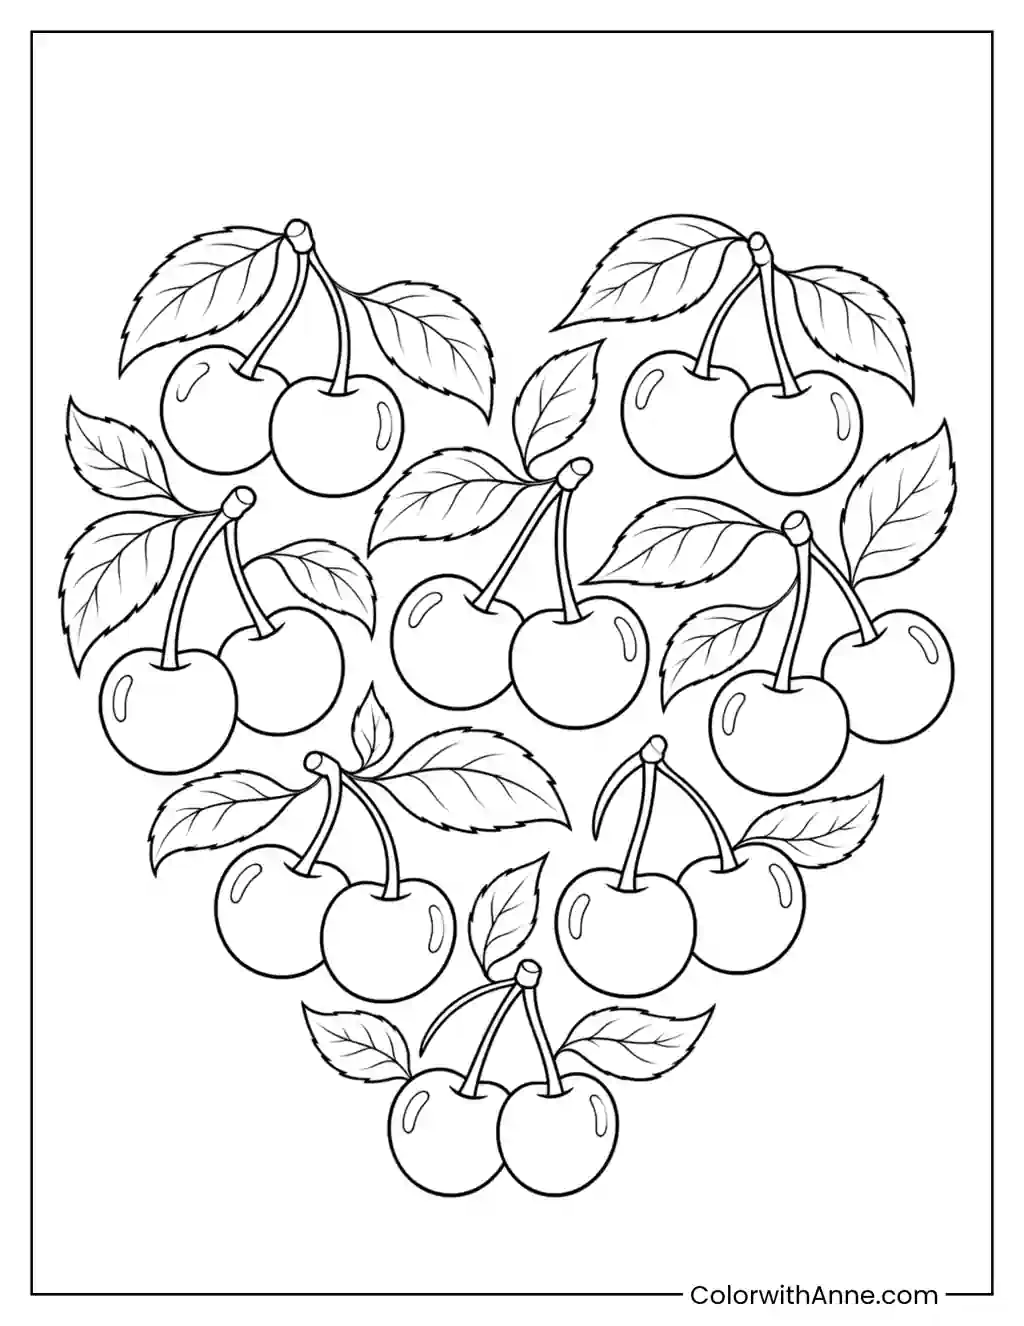
Eight pairs of cherries form a heart. Curved highlight marks repeat across the fruit, and leaves help define the outer edge of the arrangement.
Try warm red on one side and deeper cherry red on the other, or alternate the shades pair by pair. Keep the existing highlights white so the fruit stays glossy throughout the heart.
Add someone’s initials in the open middle and tuck the print into a lunch bag or a card. The heart already carries the message. If cherries mean something specific to both of you, a line on the back about that memory can make it even more personal.
Try a Serving Bowl Before Setting the Table
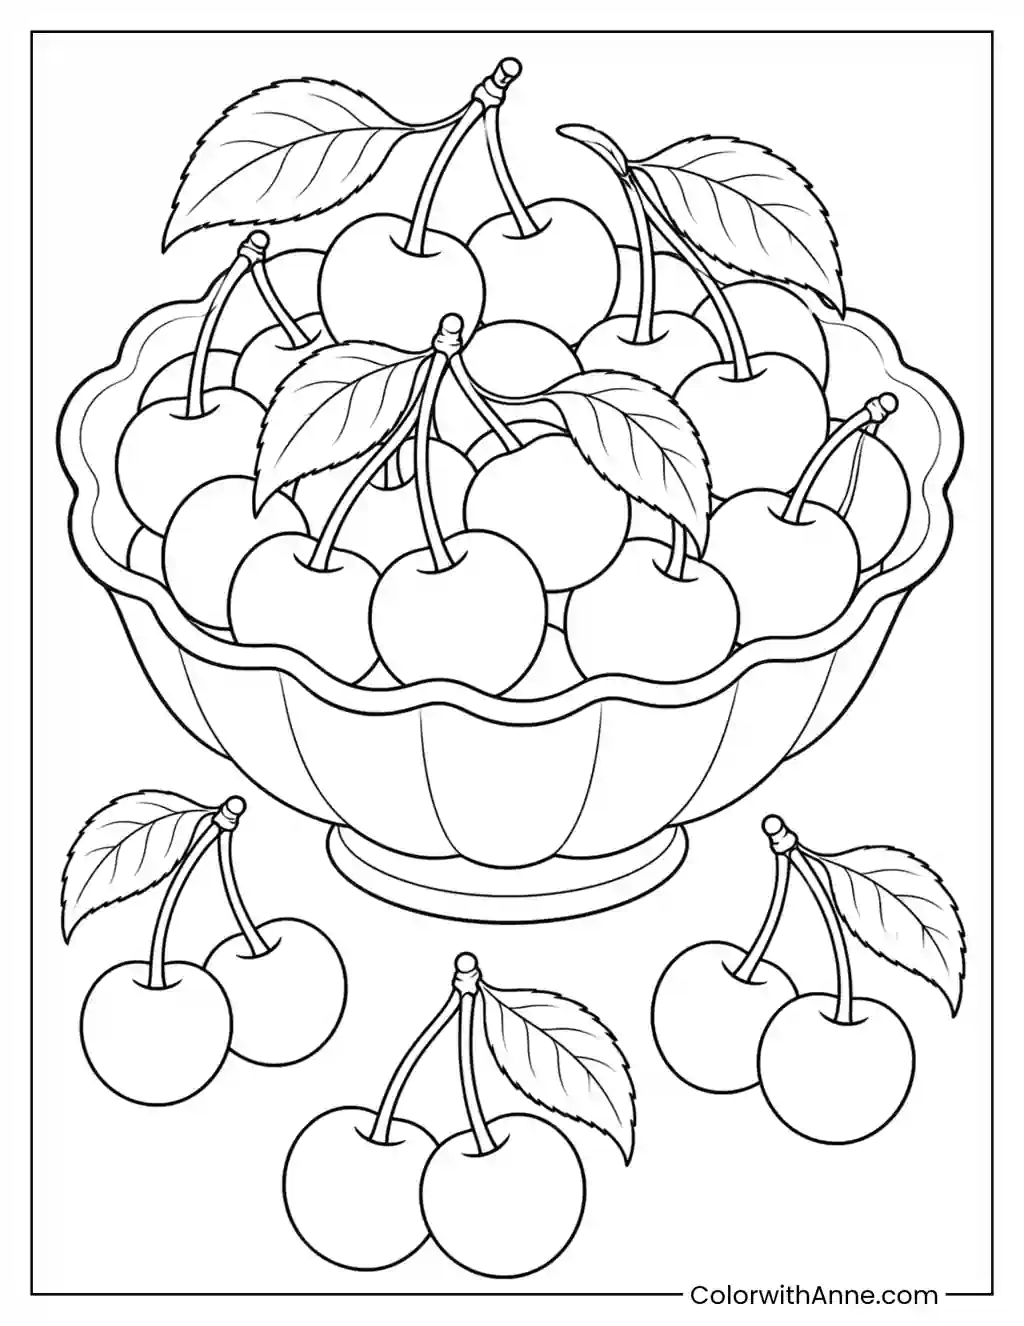
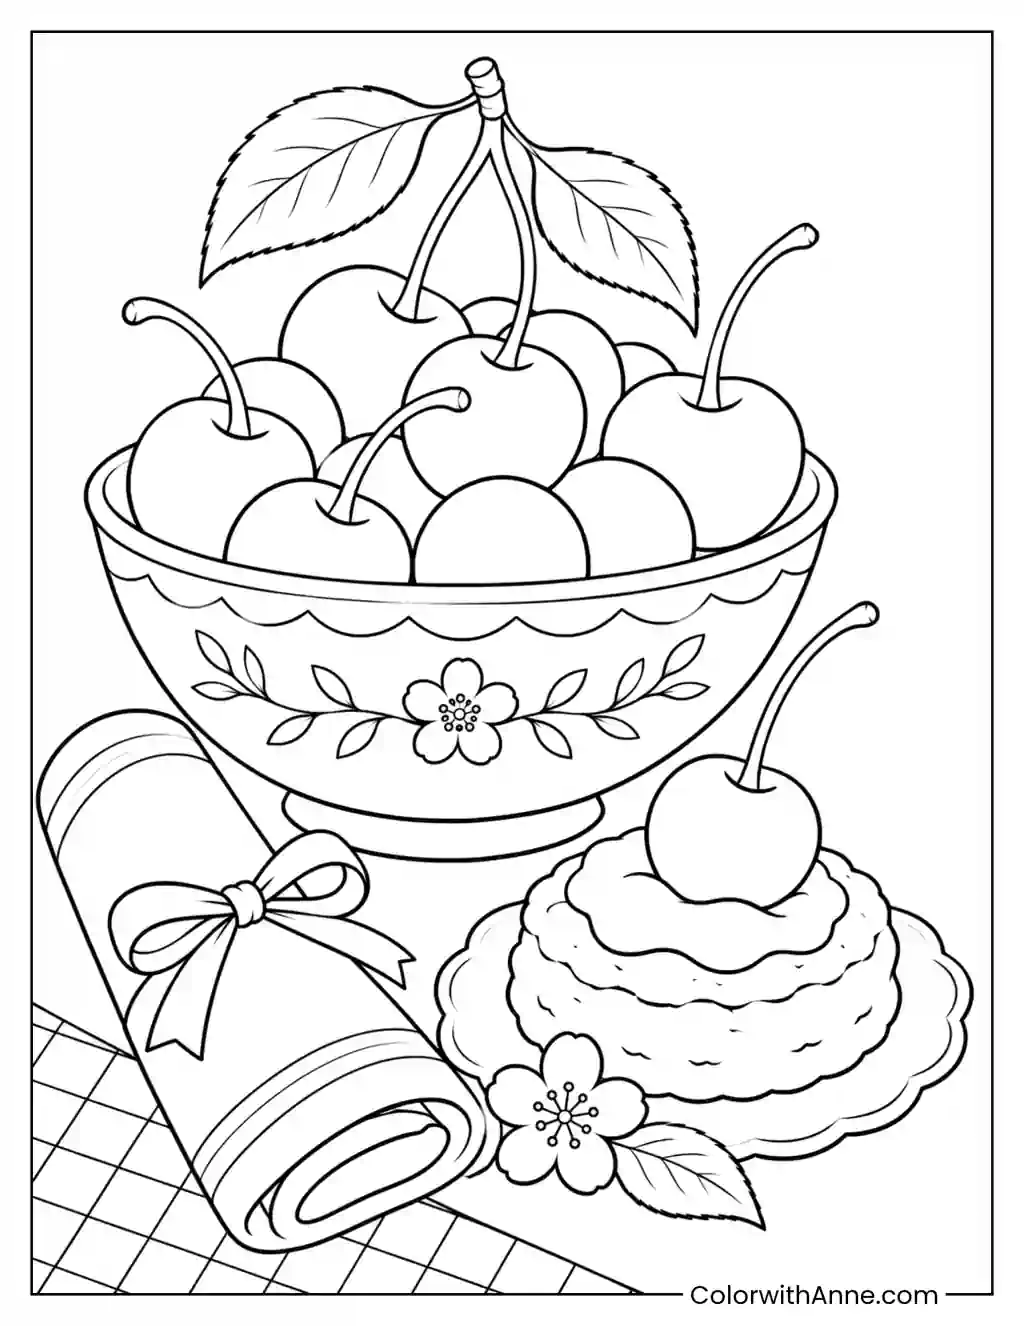
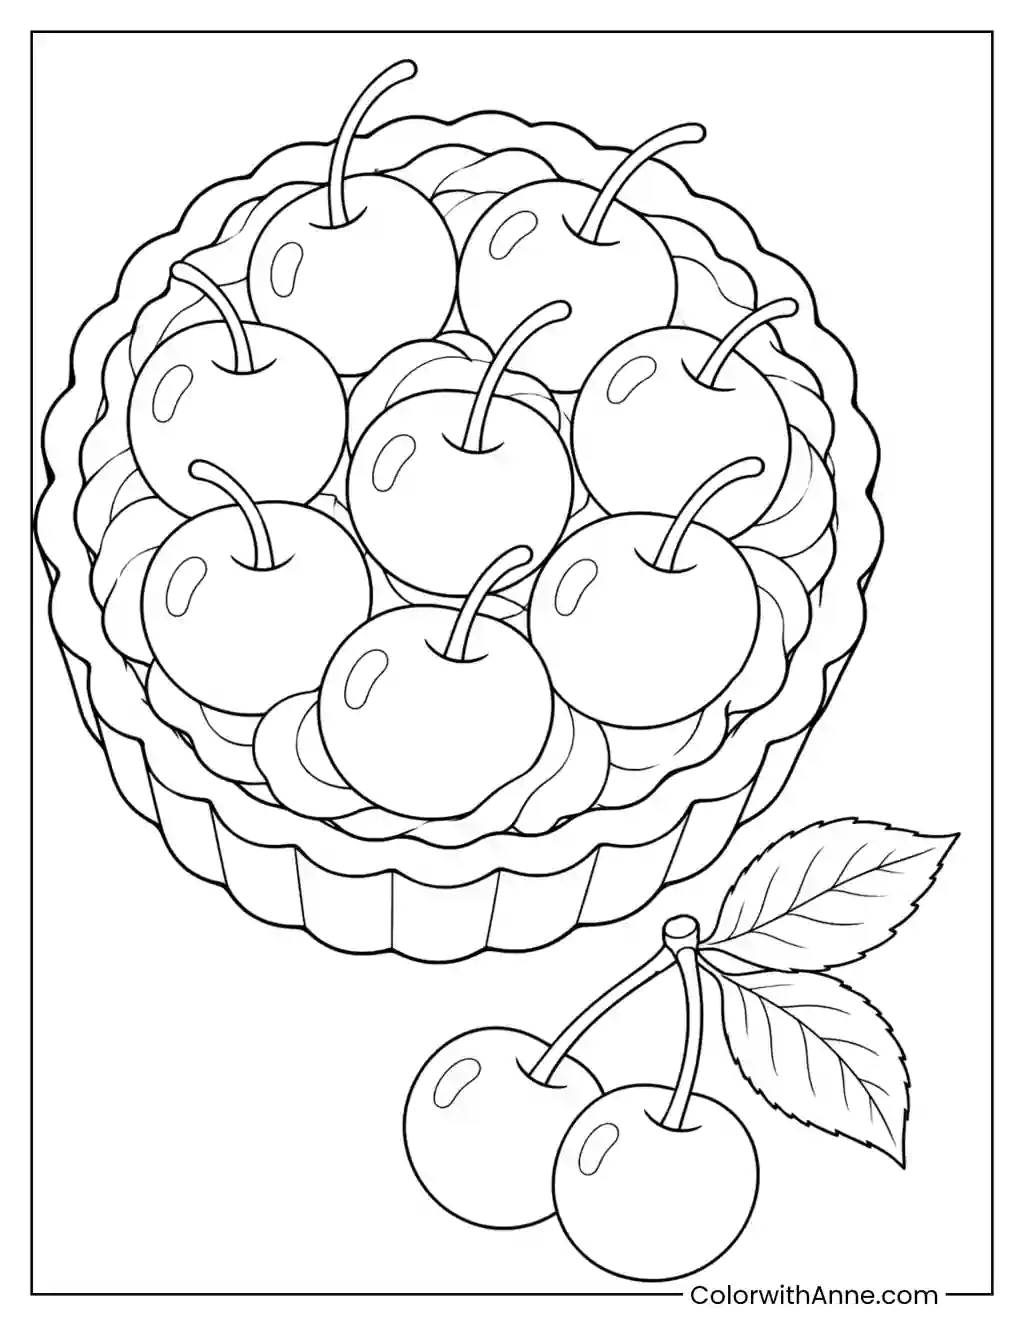
A scalloped pedestal bowl overflows with cherries and leaves. Three pairs sit underneath, where their round shapes echo the softer curves along the rim.
A cream bowl leaves the focus on the red fruit, while cobalt blue makes the pedestal a feature of its own. Try a light shadow under every other curve of the rim to make the scallops easier to see.
If you’re serving cherries with dessert, use the sheet to compare two bowls you already own. Color the drawn bowl like one of them and hold the other beside the picture. The scalloped outline is a good reminder to check how much of the fruit will show above the real rim.
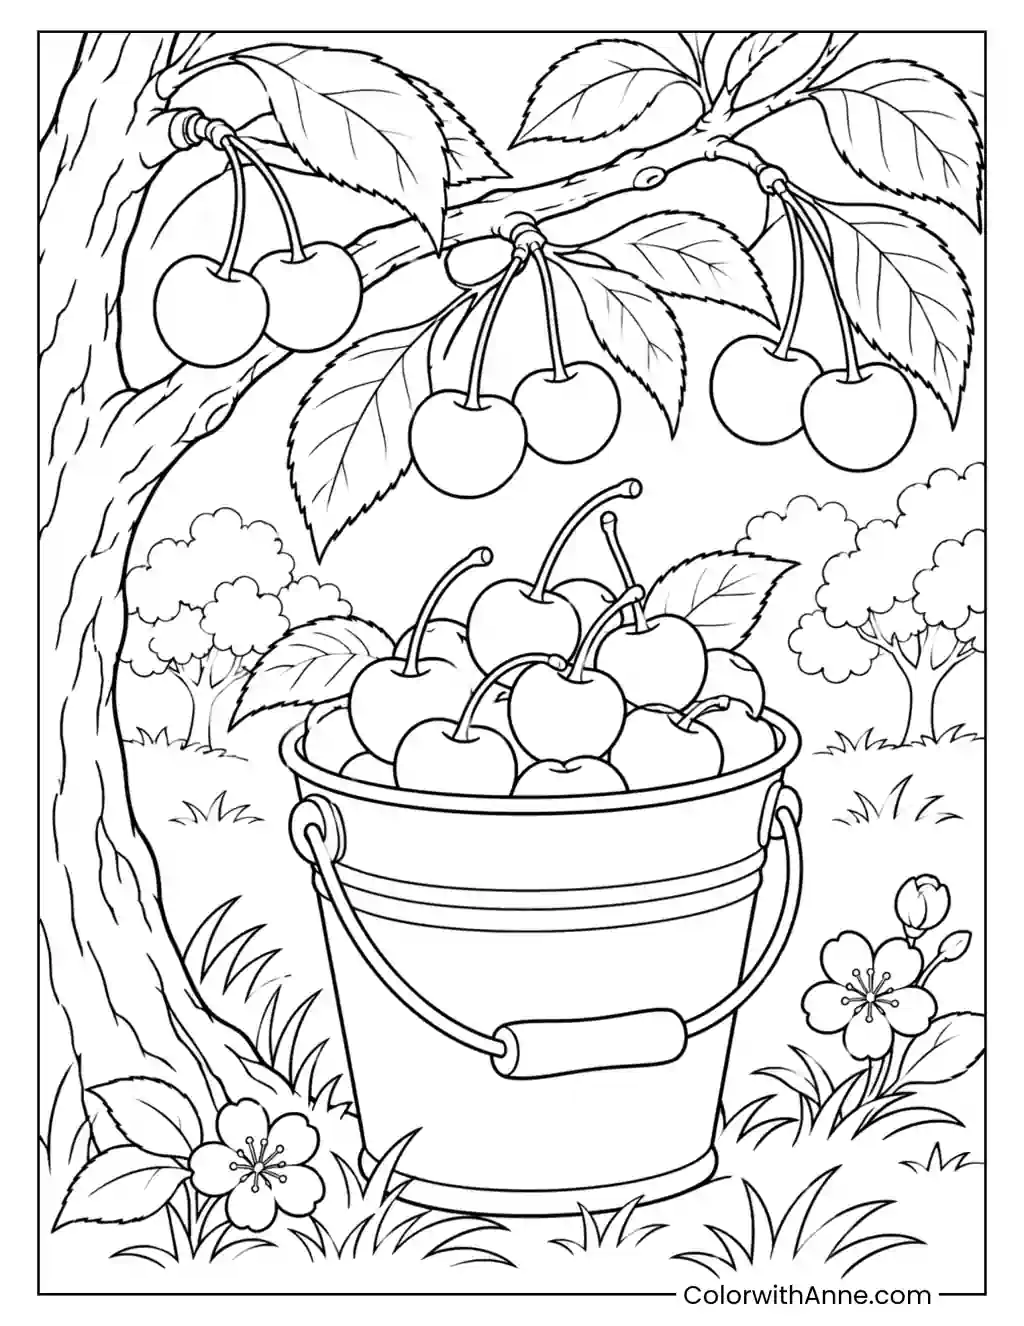
Use the Branch to Notice How Cherries Hang
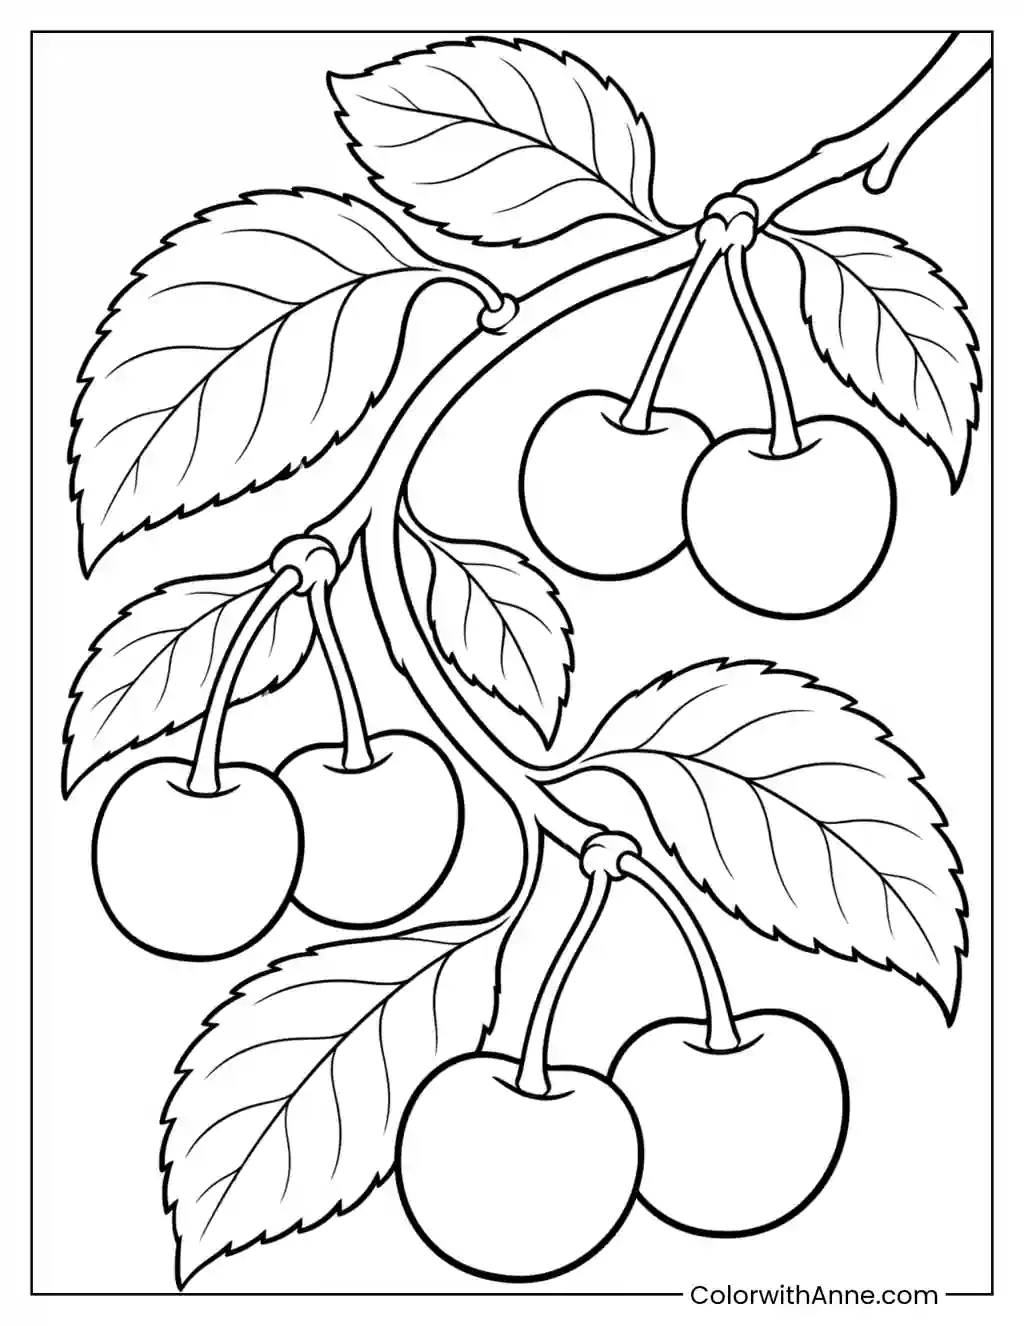
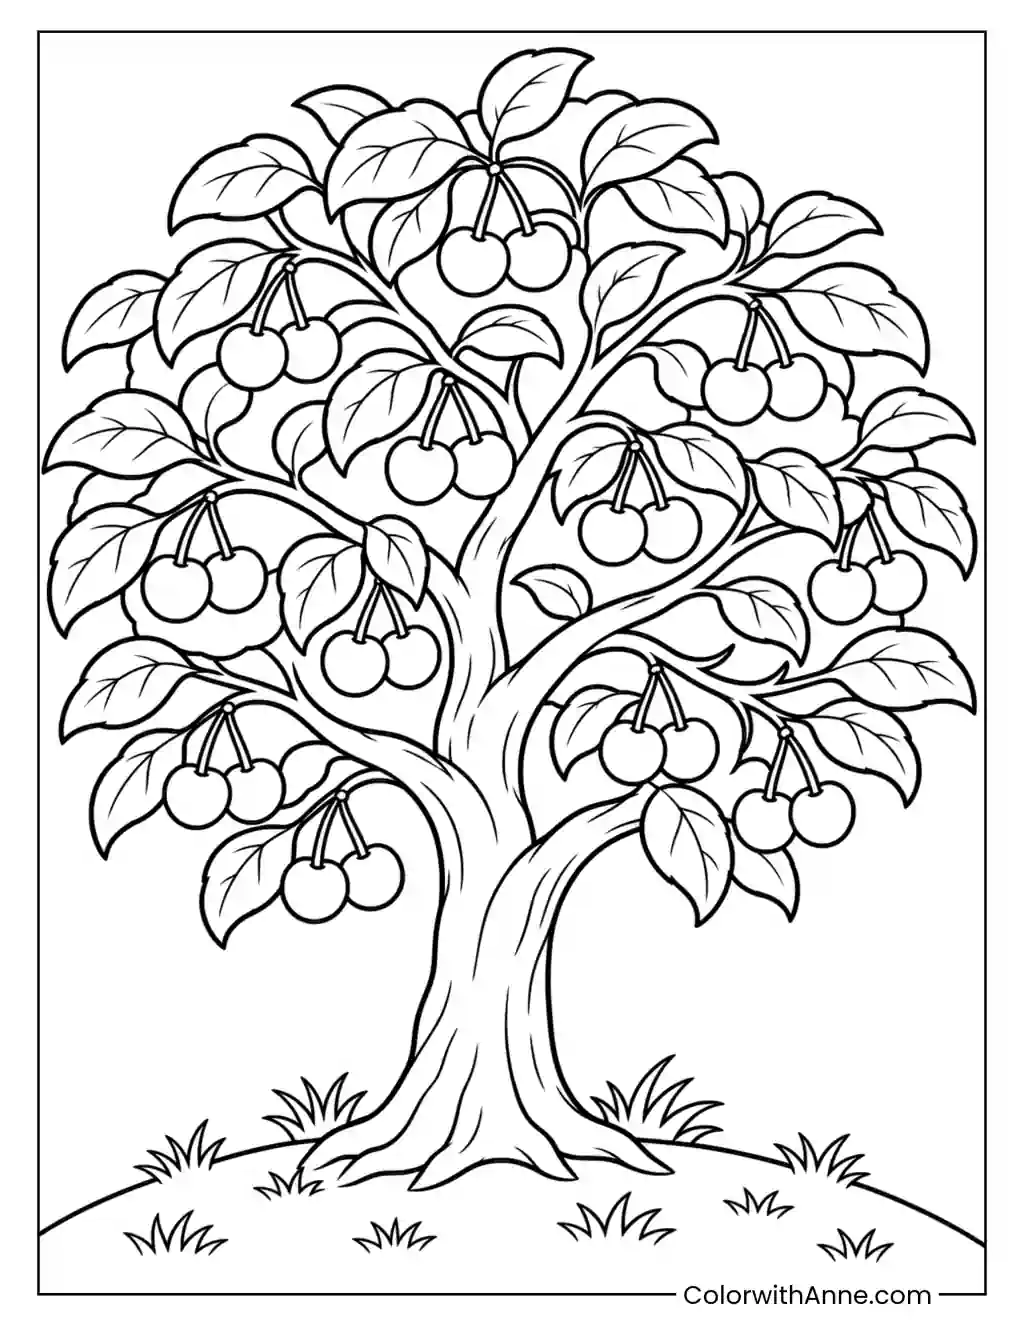
Three pairs of cherries hang from a curving branch among large, veined leaves. Each pair is visible on its own, with enough room to trace the stems back toward the branch.
Use richer reds on the cherries and a lighter green on the leaves nearest their stems. Keeping the branch a quieter brown will help the thin stems show where they join it.
The next time you have a pair still joined by their stems, set it beside this print. Notice whether both cherries hang at the same height and where the stems meet. That one detail is worth borrowing if you want to draw a natural-looking pair of cherries yourself.
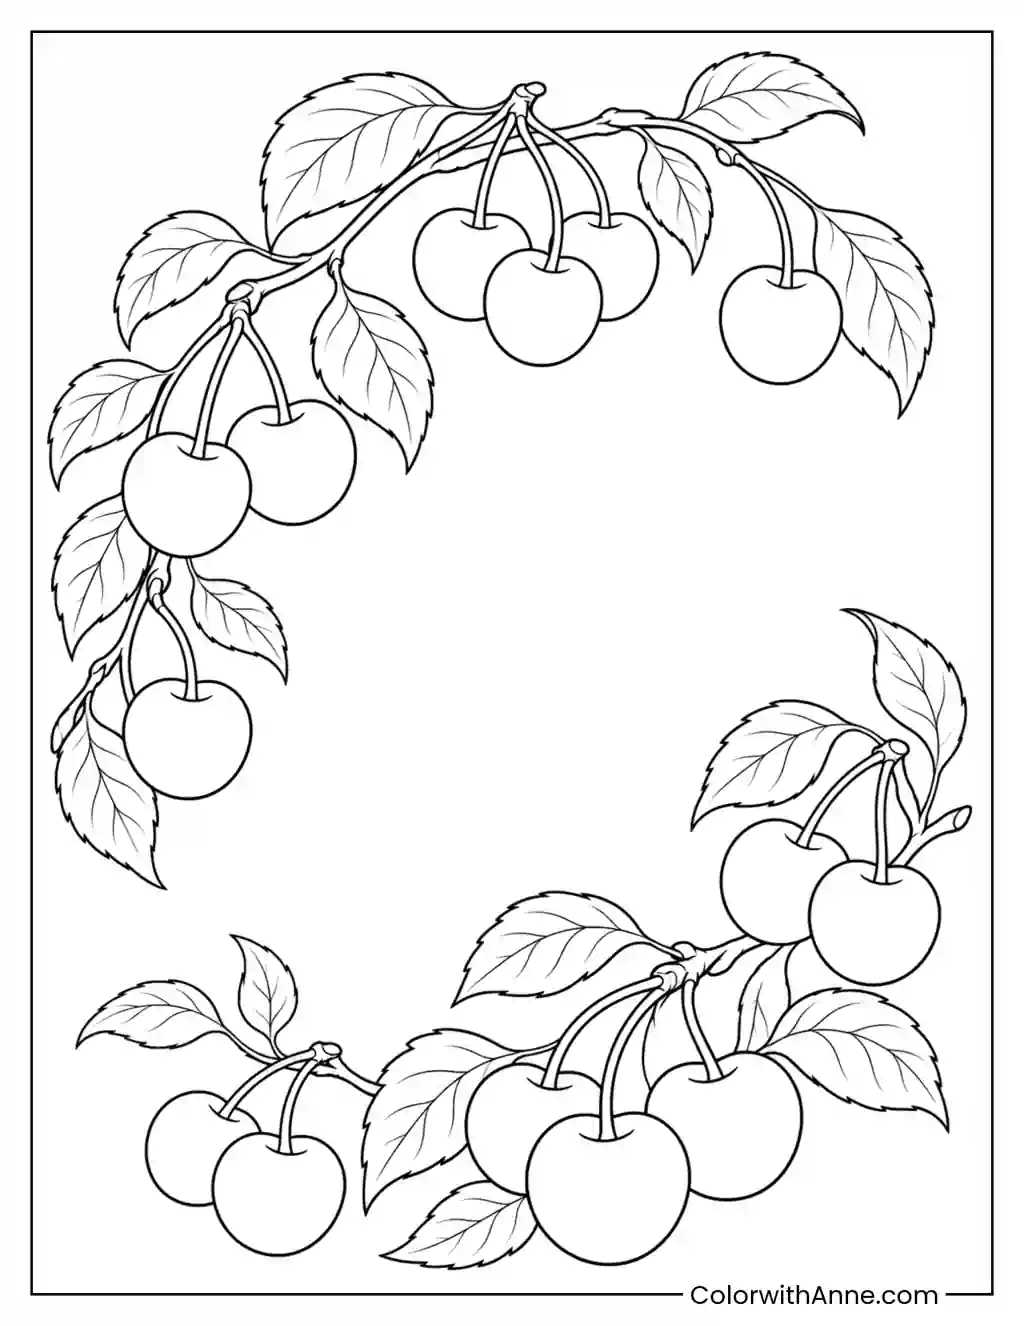
Leave Space for a Recipe Inside the Wreath
Leafy branches and cherries form an oval wreath around an open center. The fruit frames the blank space, with no illustration competing for the middle.
Alternate bright and deep reds around the wreath. Use quieter greens between the cherries and keep the inner edge fairly light so any writing in the center will be easy to read.
Write a short cherry recipe in the middle, or use the space for its name and a favorite serving note. A family recipe can go alongside a jar of jam or a bag of fresh cherries. The wreath gives it the look of a recipe card with very little extra work.
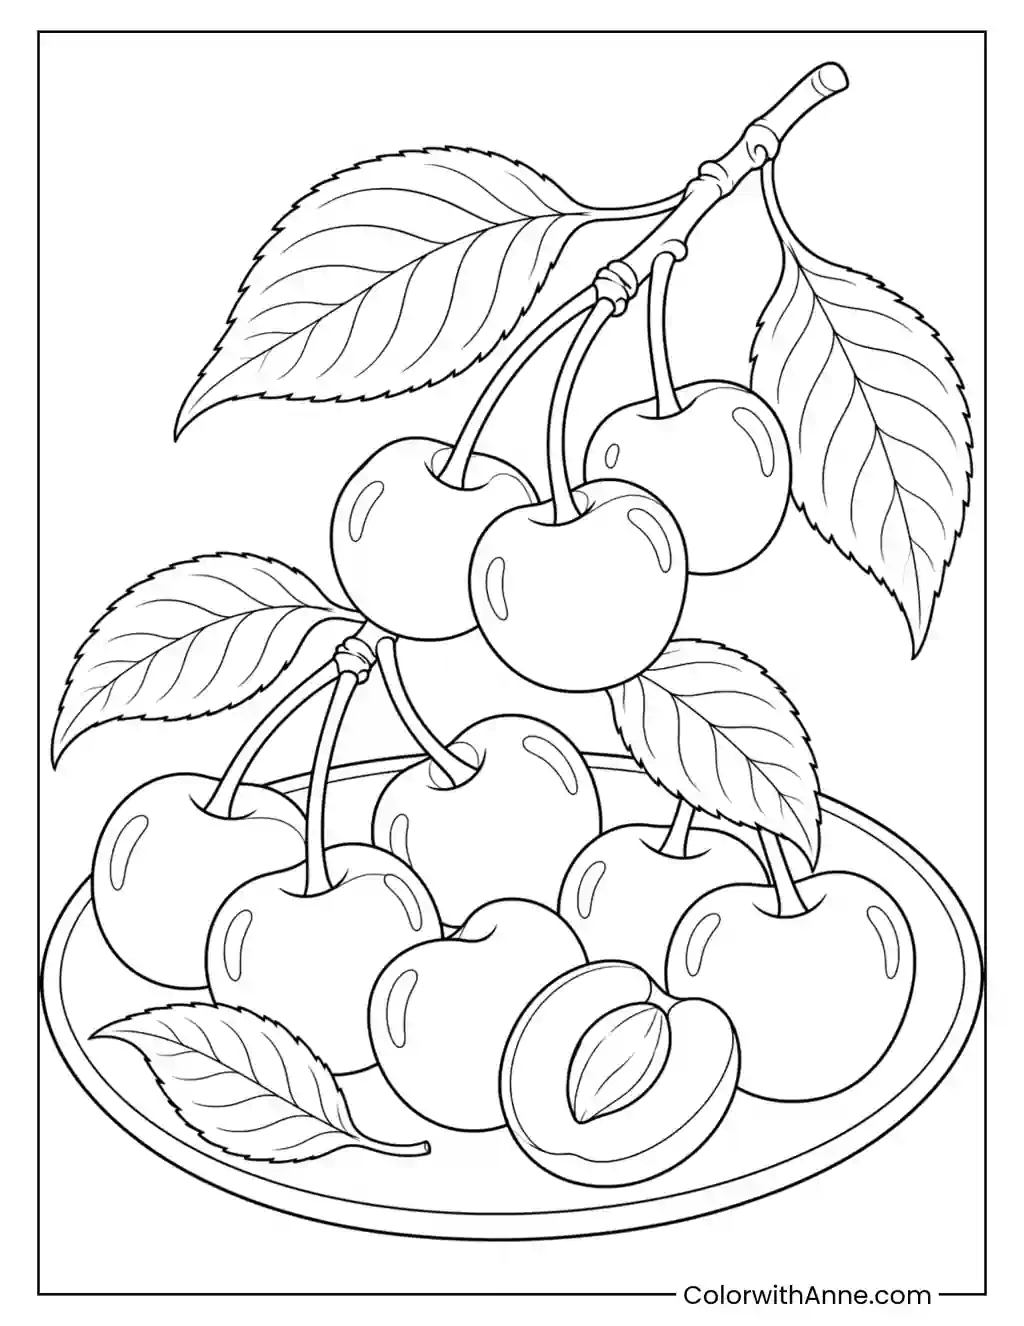
Use the Cut Cherry as a Still-Life Reference
An oval plate holds whole cherries and a cut cherry with its pit showing. A leafy branch hangs above, while the plate brings the skin, flesh, and pit into the same view.
Try a deep, smooth red on the skin and a softer shade on the exposed flesh. A warm brown pit and a clear highlight on one whole cherry will make the three surfaces easier to compare.
If you’re cutting cherries for a recipe, pause to look at one half before it goes into the bowl. See how much the inside differs from the skin and borrow one of those shades for the print. The cut fruit often gives you a color you wouldn’t think to use from memory.
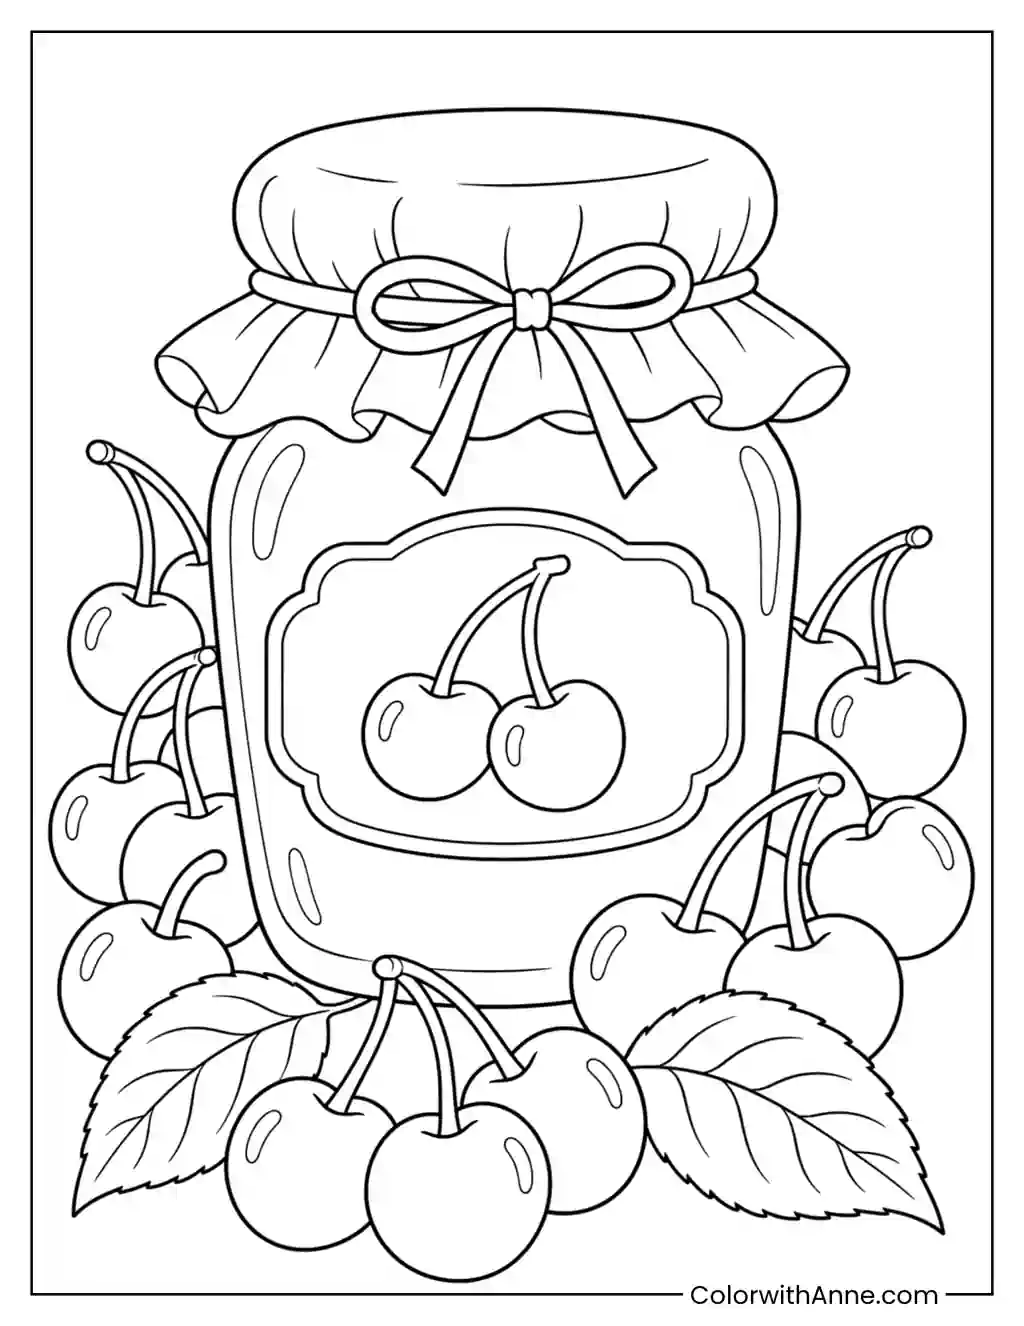
Keep the Jam Batch on Its Own Label
A jar of cherry jam stands among fresh cherries and broad leaves. A bow ties the cloth over the lid, giving the top a separate shape and pattern to work with.
Use a deeper red for the jam and a brighter shade for the fruit outside the jar. A few pale checks or stripes on the cloth will give it a fabric finish. Keep the bow simple so the pattern stays clear.
For a batch of homemade jam, print the picture small and add the date and one detail that distinguishes the batch, like “sour cherries” or “with vanilla.” Tie it around a jar you’re giving away or tuck it into your recipe notes if you’d like to make the same batch again.