
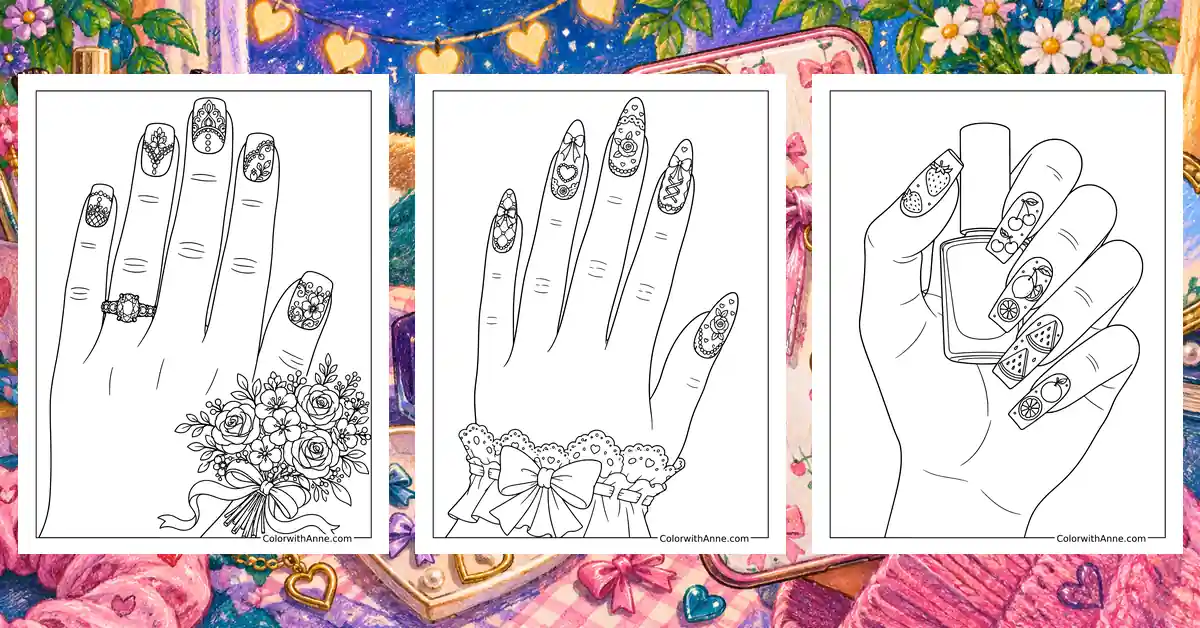
Choosing a nail design can take longer than the appointment itself. A saved picture looks perfect until another one appears, and suddenly the decision needs reconsidering. There is only so much space on a fingernail, yet a tiny detail can change the entire look of a hand.
Nail Design Art coloring pages make that indecision rather enjoyable. An idea can be tried on paper and kept beside another without committing to either. The finished page might become a reference for an appointment or simply a record of a look worth remembering when the next round of browsing begins.
Free Printable Nail Design Art Coloring Pages
Click any coloring page below to open the PDF, then print on US Letter or A4 paper.
Did you find what you needed?
Help us choose what to create or improve next.
Coloring Ideas for Nail Design Art Pages
Try these creative ideas to make the most of your coloring sheets.
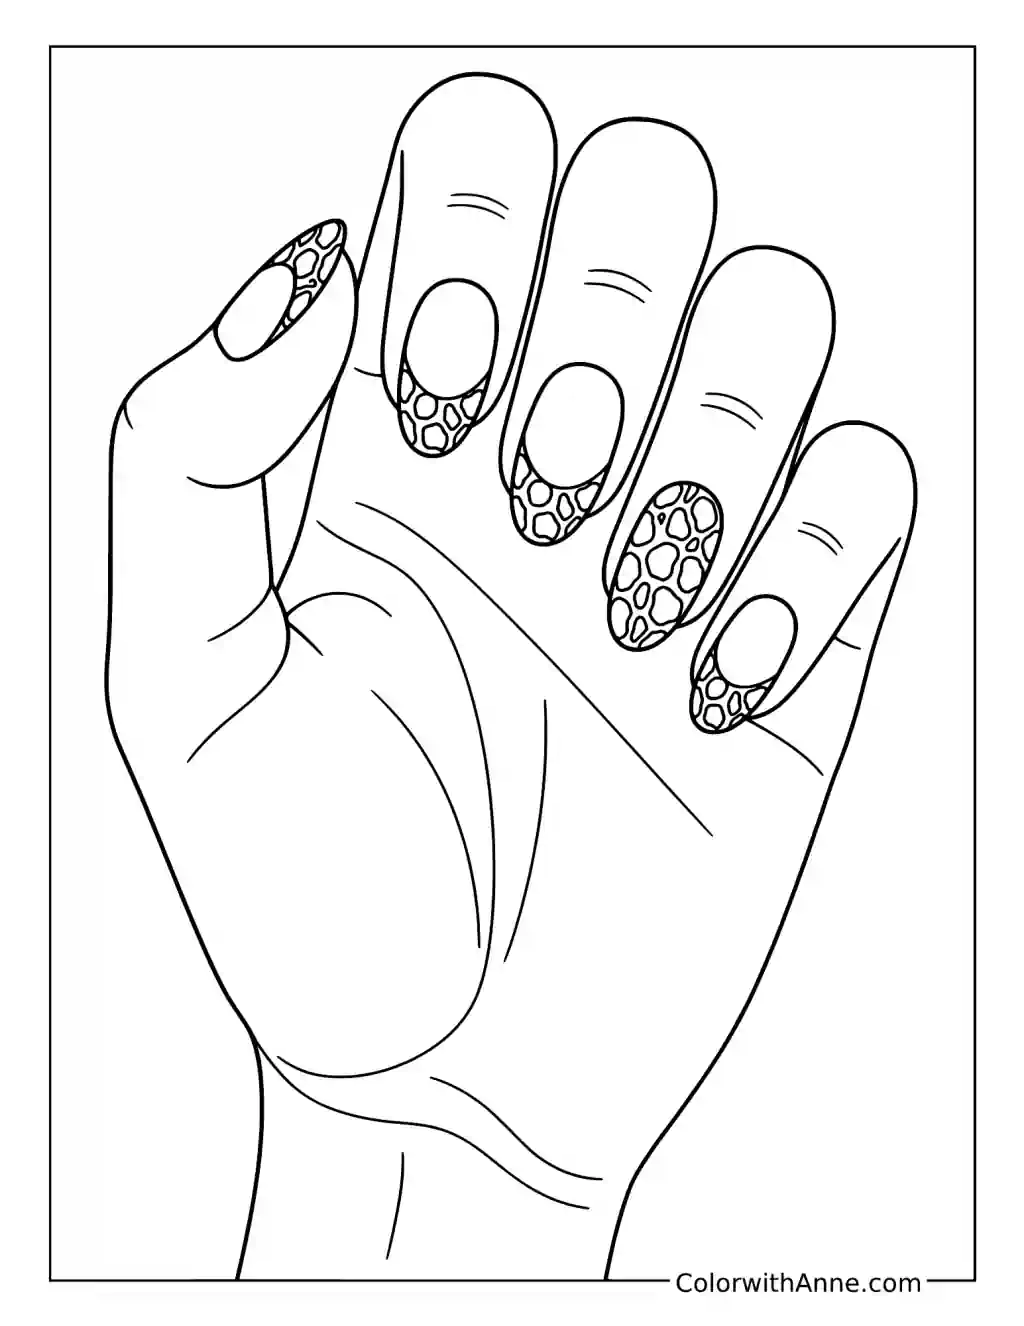
Check the Pattern at the Size It Will Be Worn
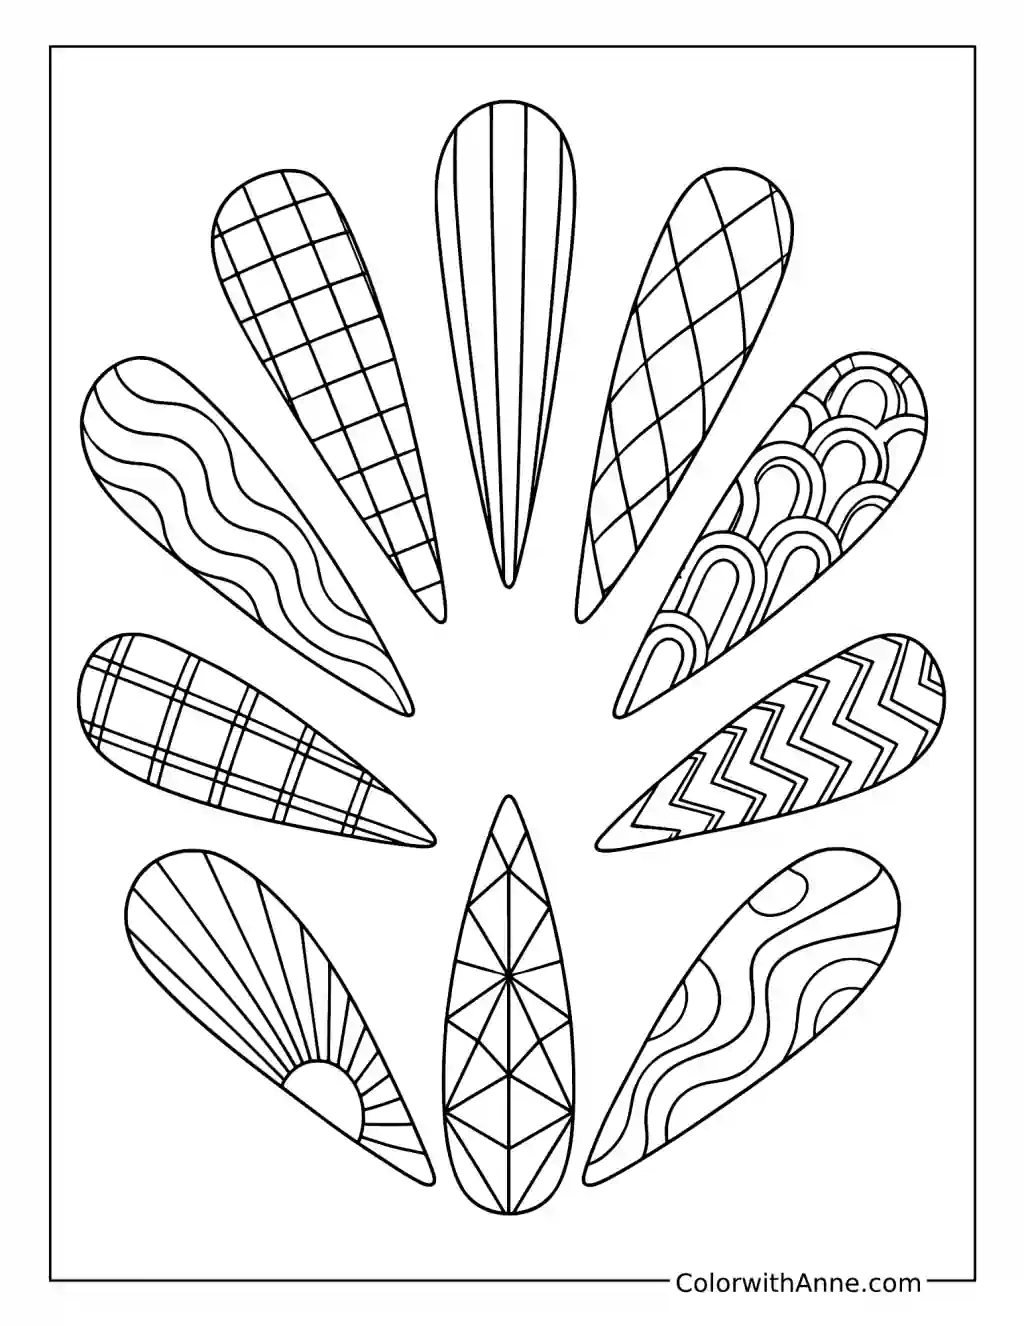
The sample fan offers grids, stripes, and angular patterns across long nail shapes. Some will remain clear when reduced; others depend on the larger drawing.
Finish the favorites, then sketch their main lines inside outlines close to your own nail size. Look at those versions from arm’s length. Keep the pattern that still reads well and note its colors beside it. That small reference will make a manicure discussion easier, particularly when the printed shape is longer than the nails on which it will be worn.
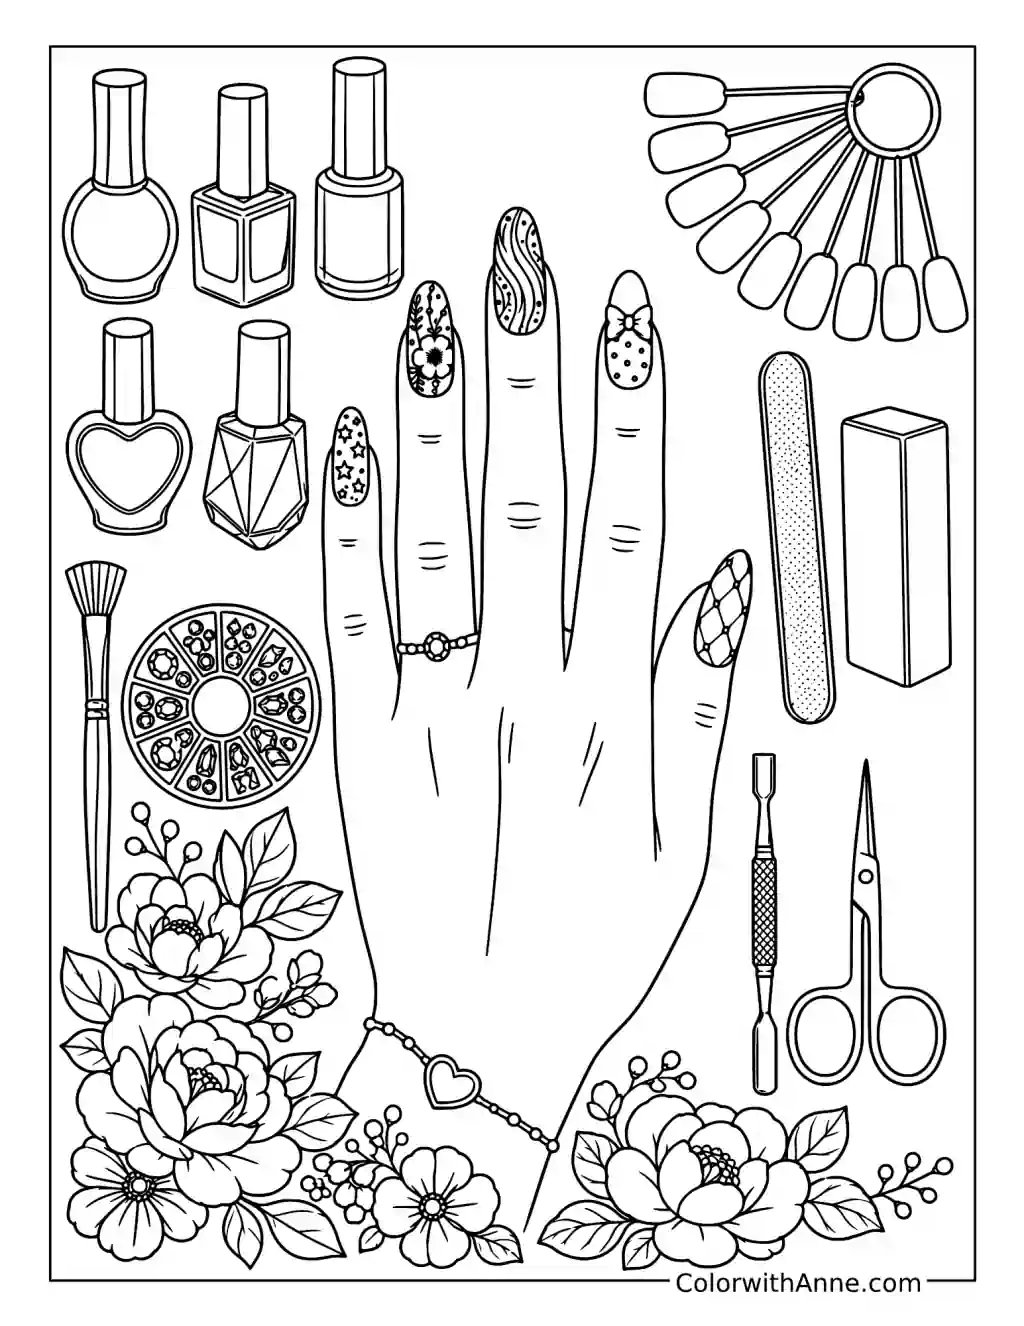
Choose Which Coquette Details Matter Most
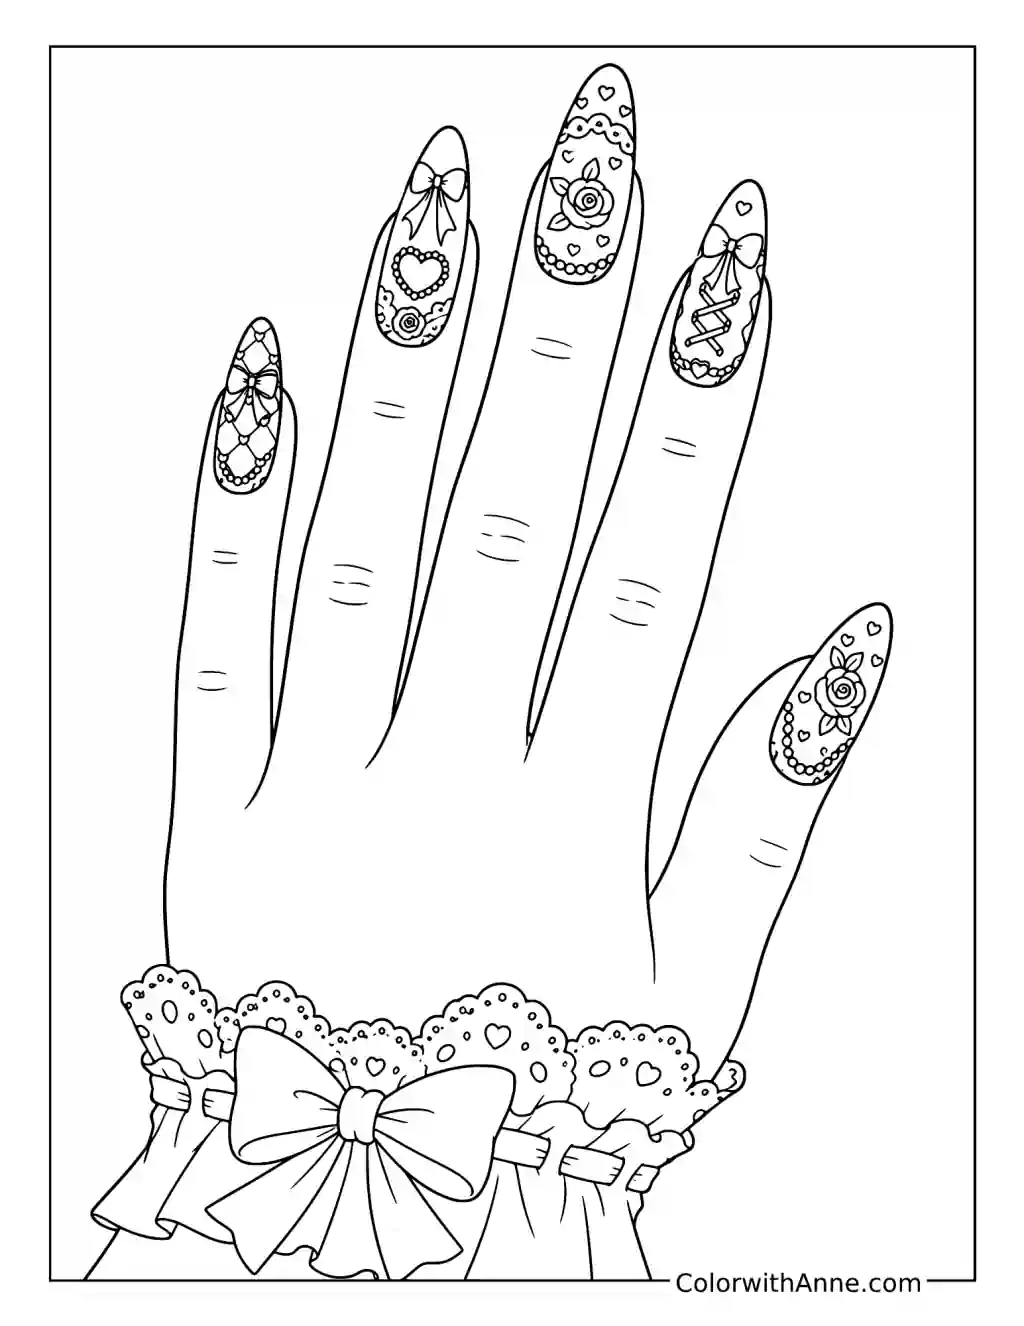
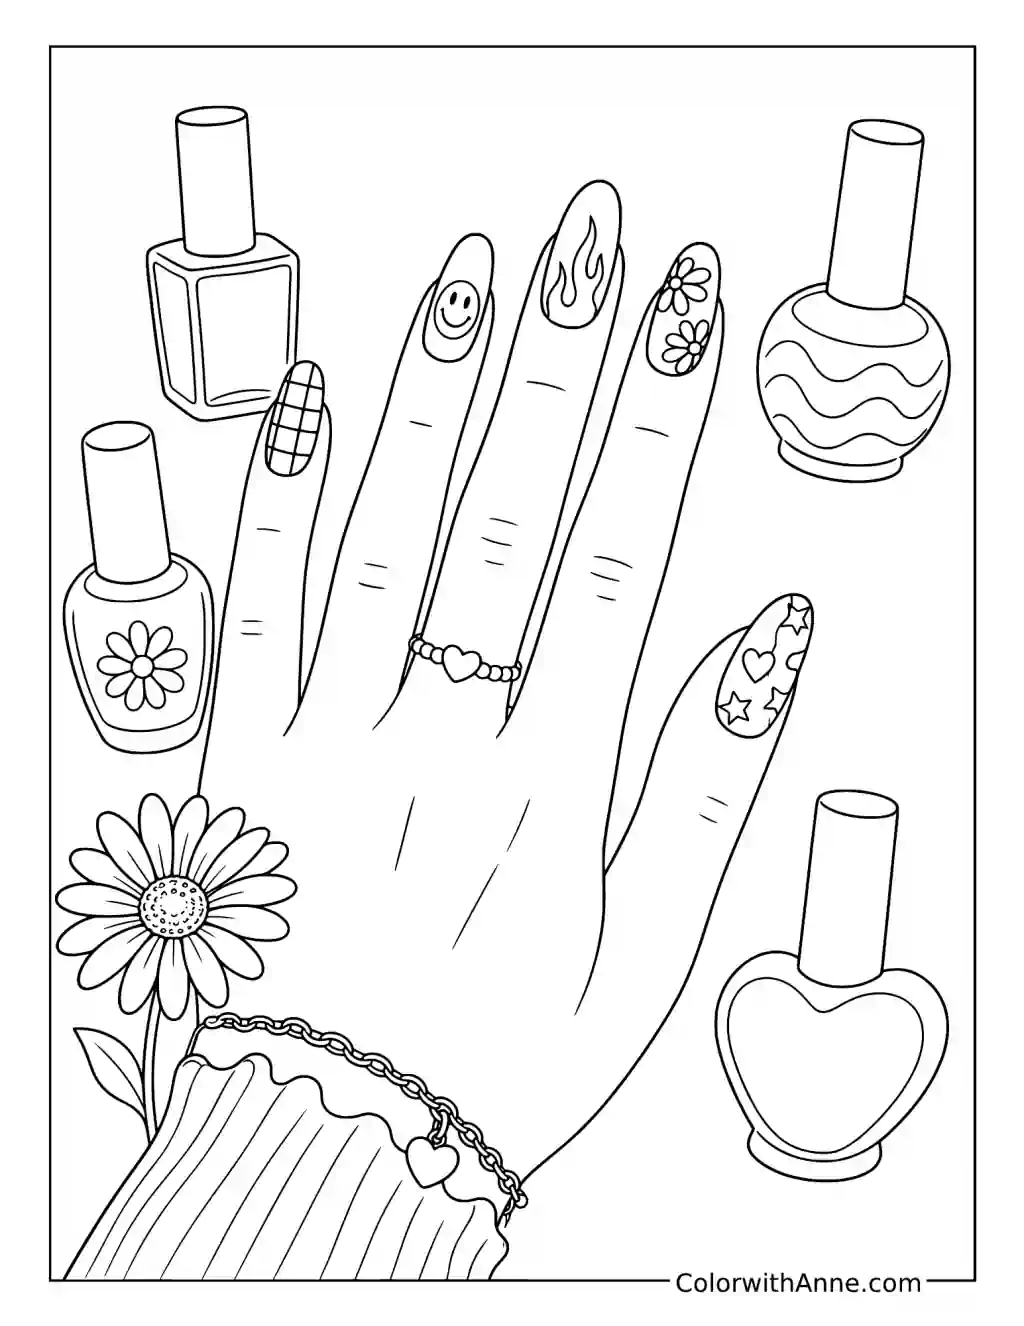
The bows and lace repeat across the hand, with a bracelet echoing the decorative mood. The full view helps judge the amount of detail as a set.
Color the design, then circle the features you would most want in an actual manicure. A favorite bow might deserve one accent nail, with quieter lace elsewhere. Put any ring or bracelet photograph beside the page while deciding. The illustrated version can remain elaborate; the marked priorities explain which parts make the look yours.
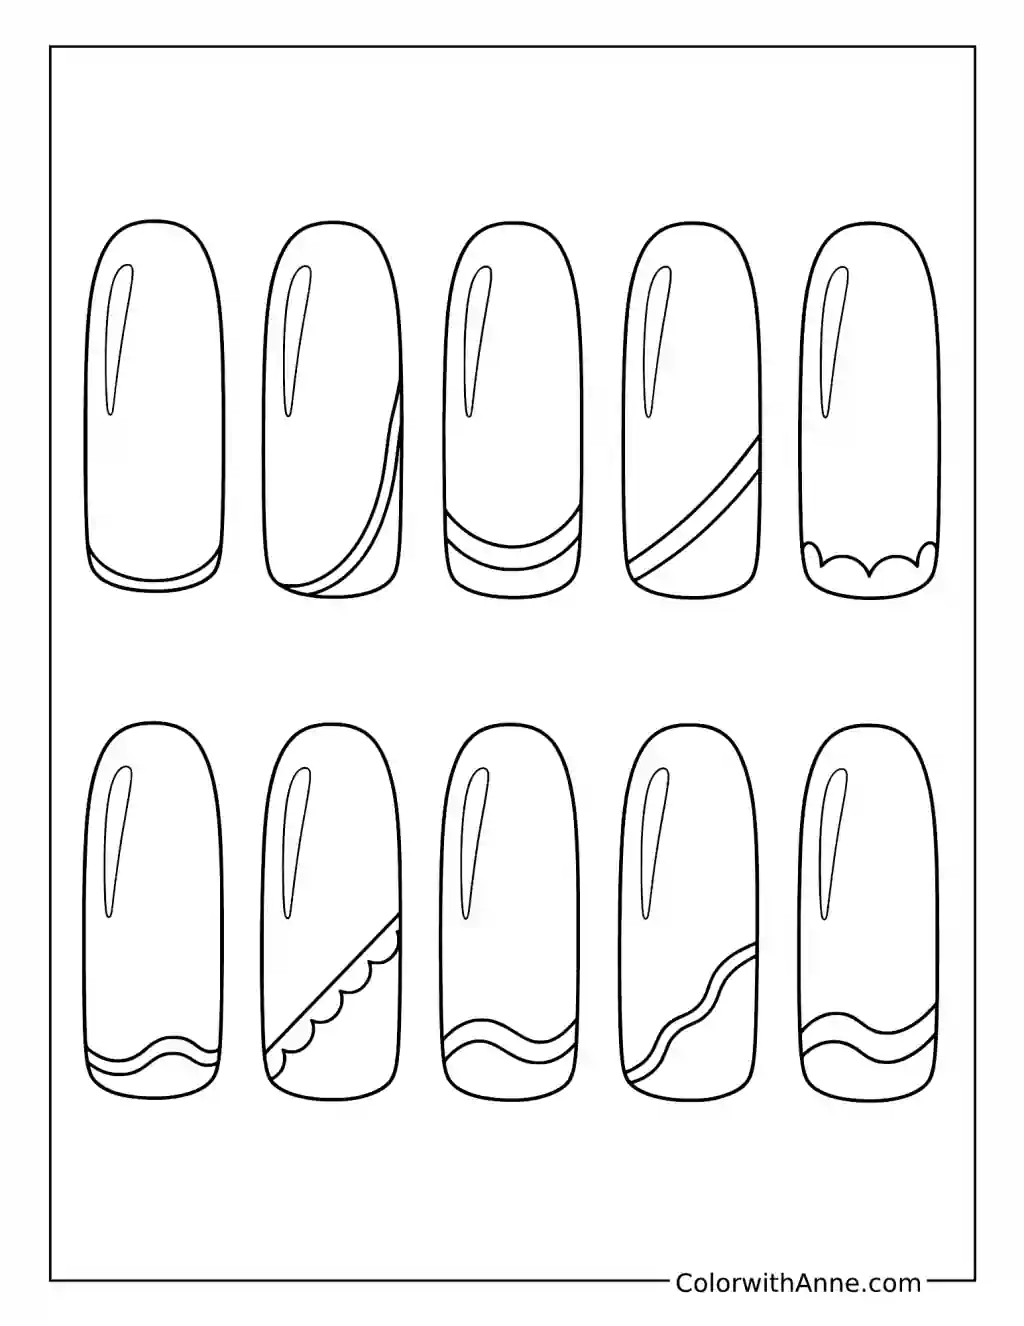
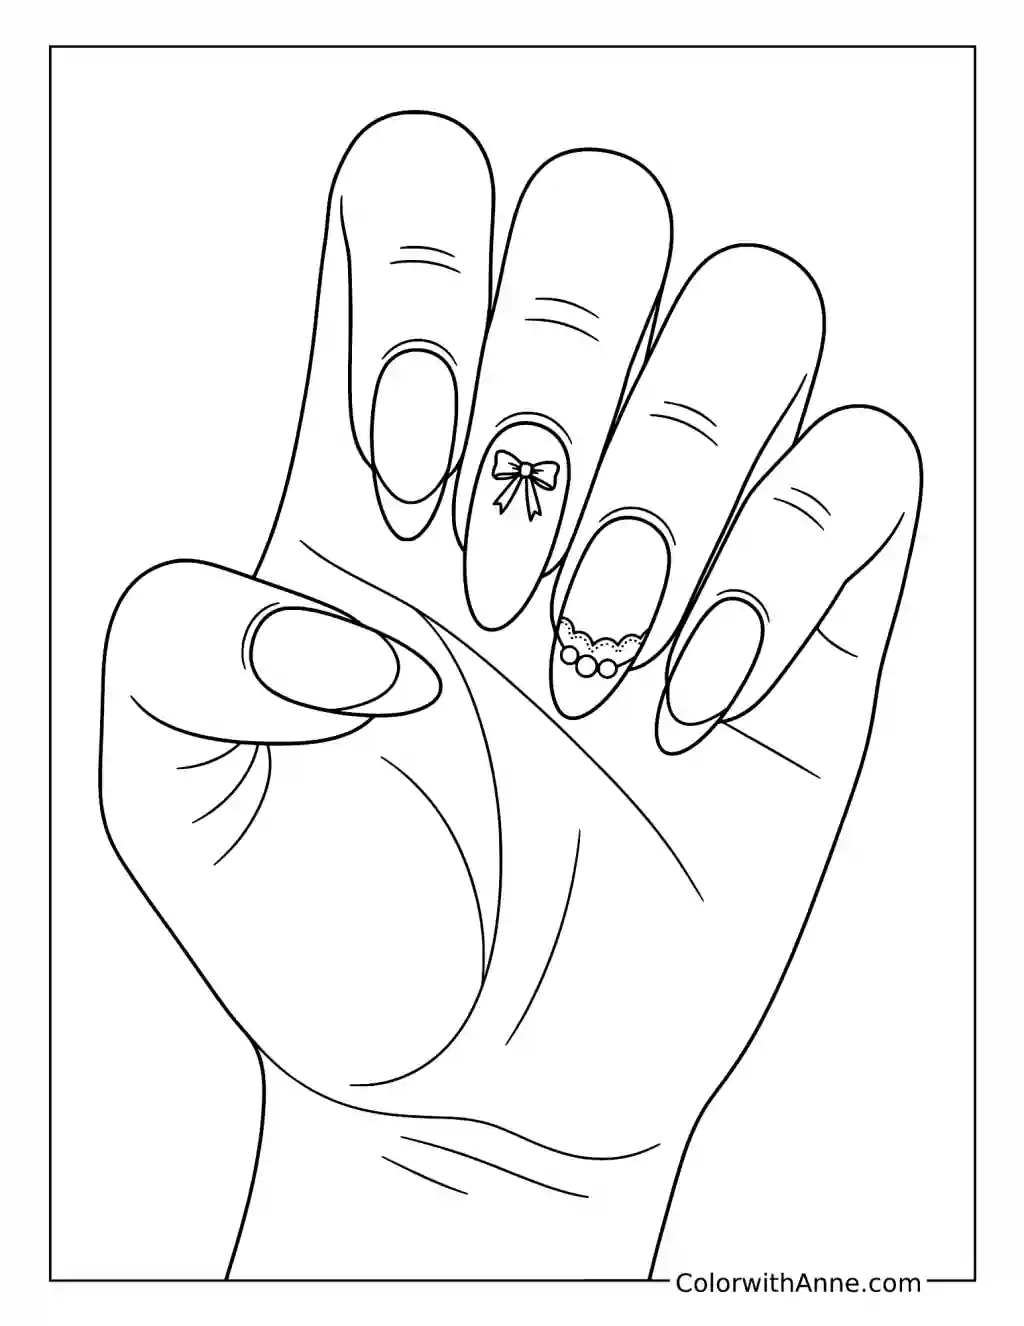
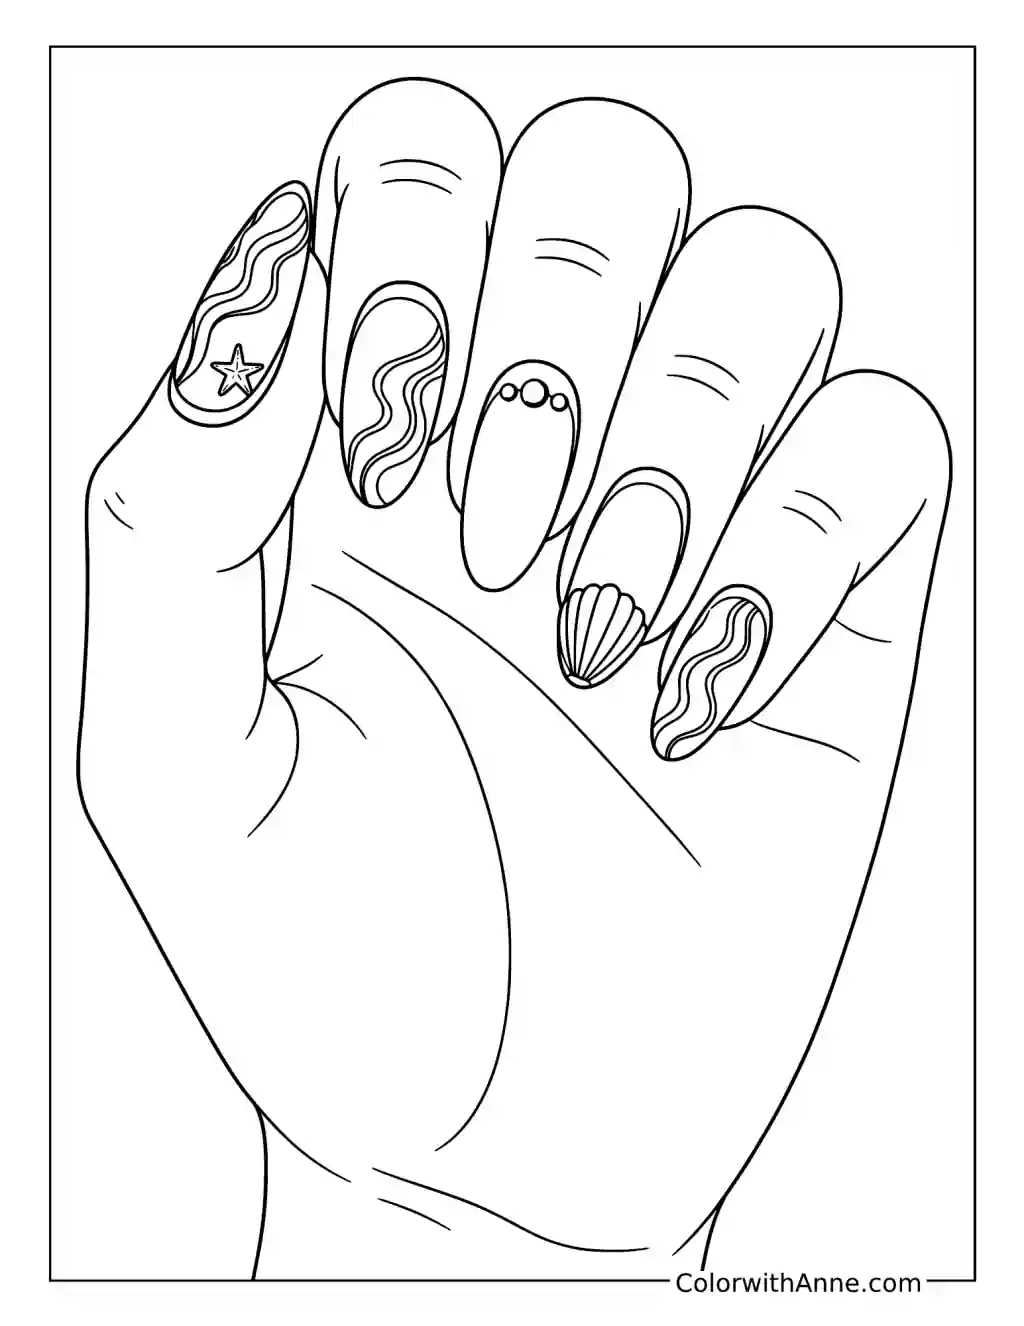
Settle the French-Tip Proportion
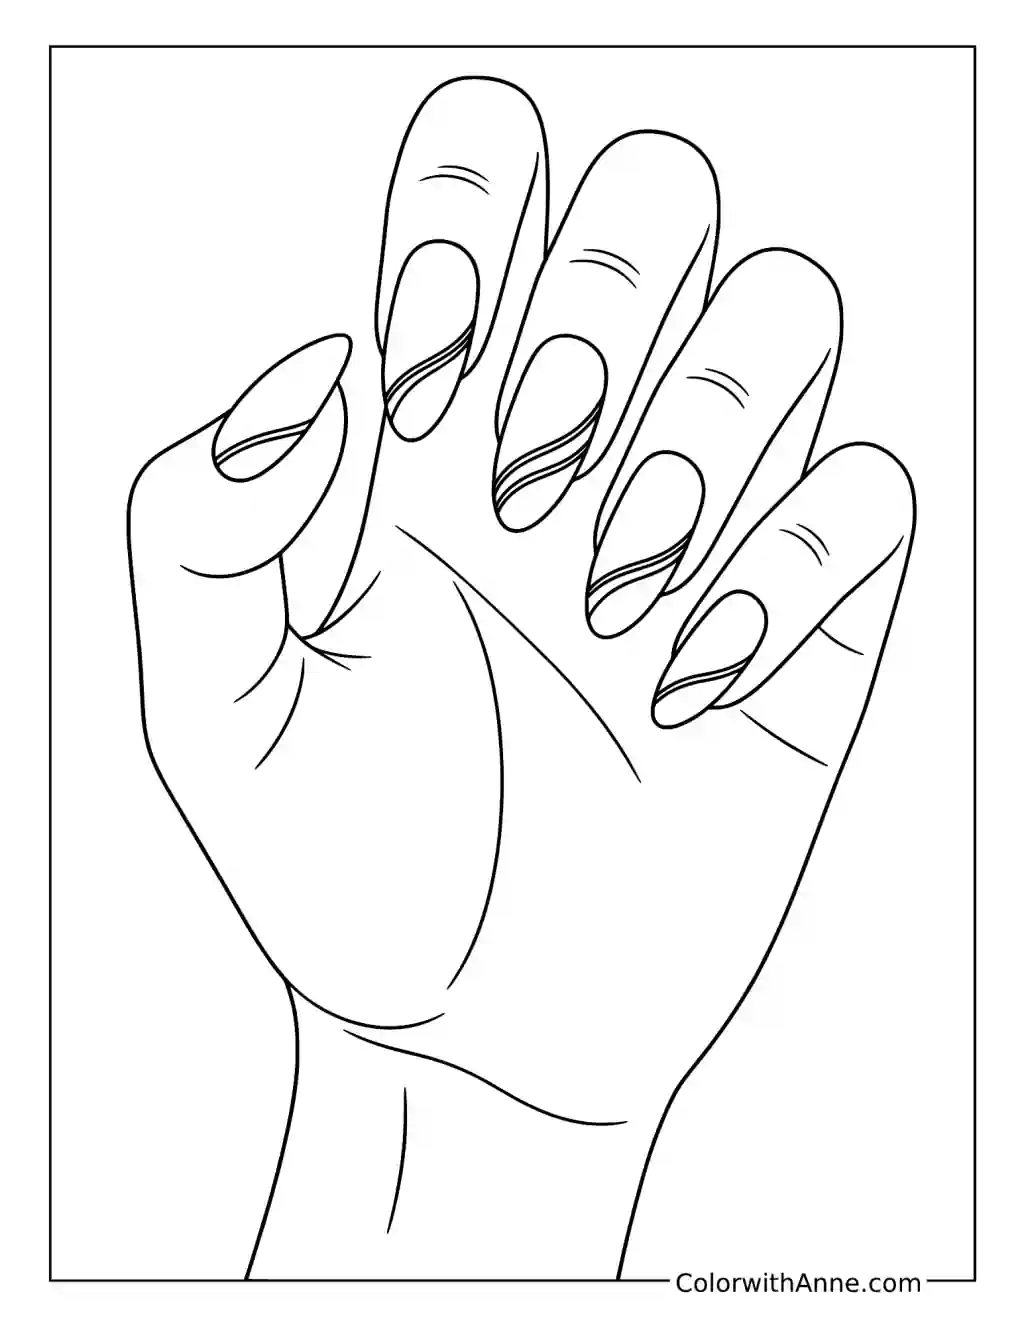
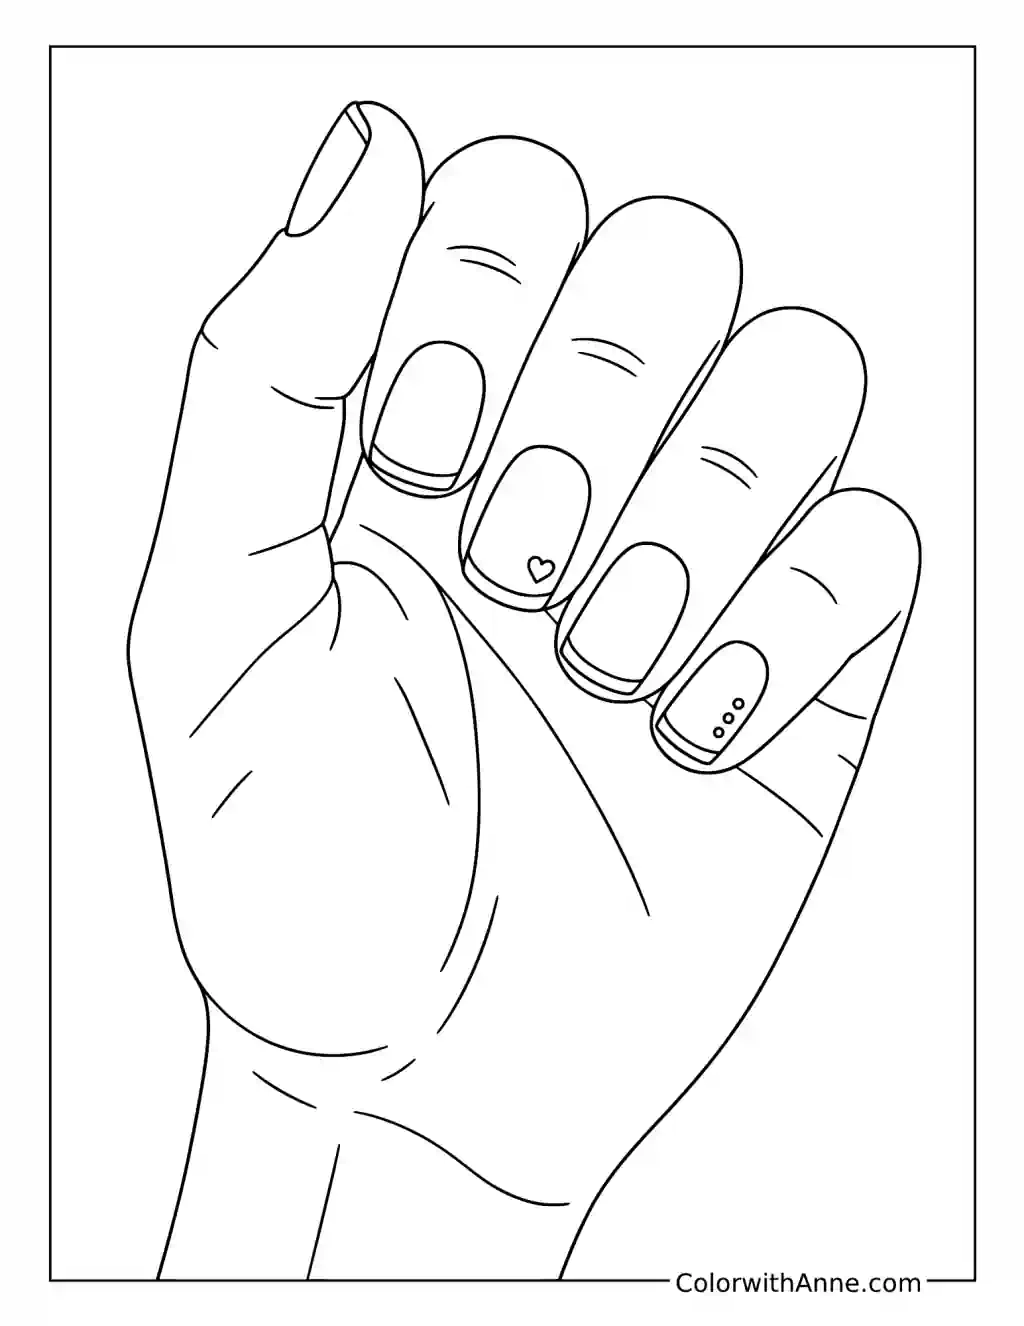
The open nail surfaces and clean tips make width and shape the main decisions. A small change at the edge can alter the whole look.
Use the printed hand for the base and tip colors, then draw a separate nail outline matching your own shape more closely. Mark the tip width there and compare it with the larger picture. Keep both as references for an appointment. The hand communicates the overall finish, while the smaller drawing makes the proportion easier to discuss.
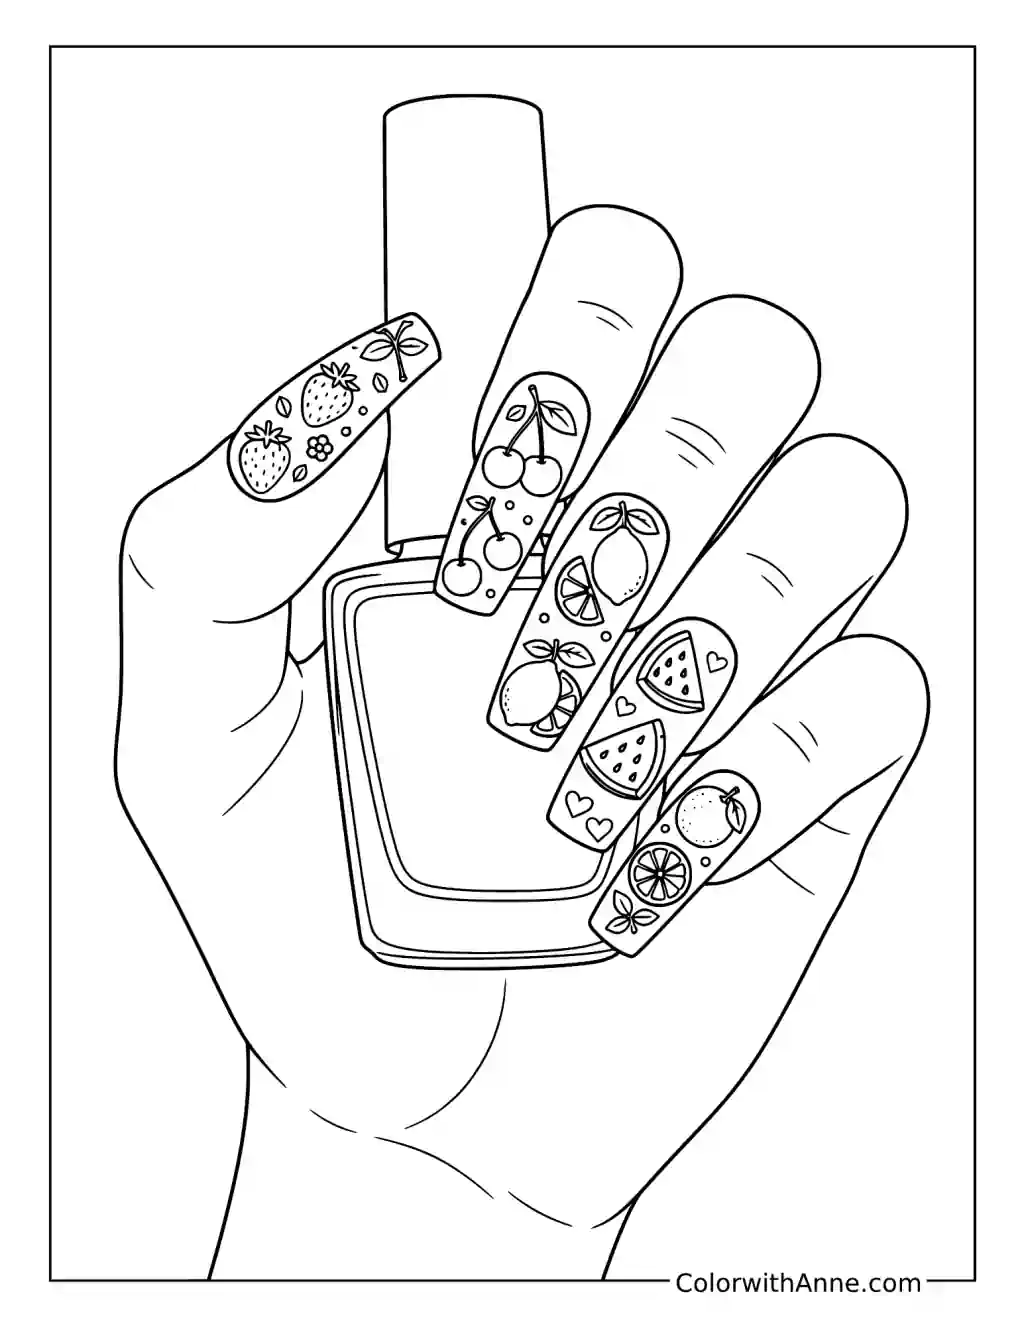
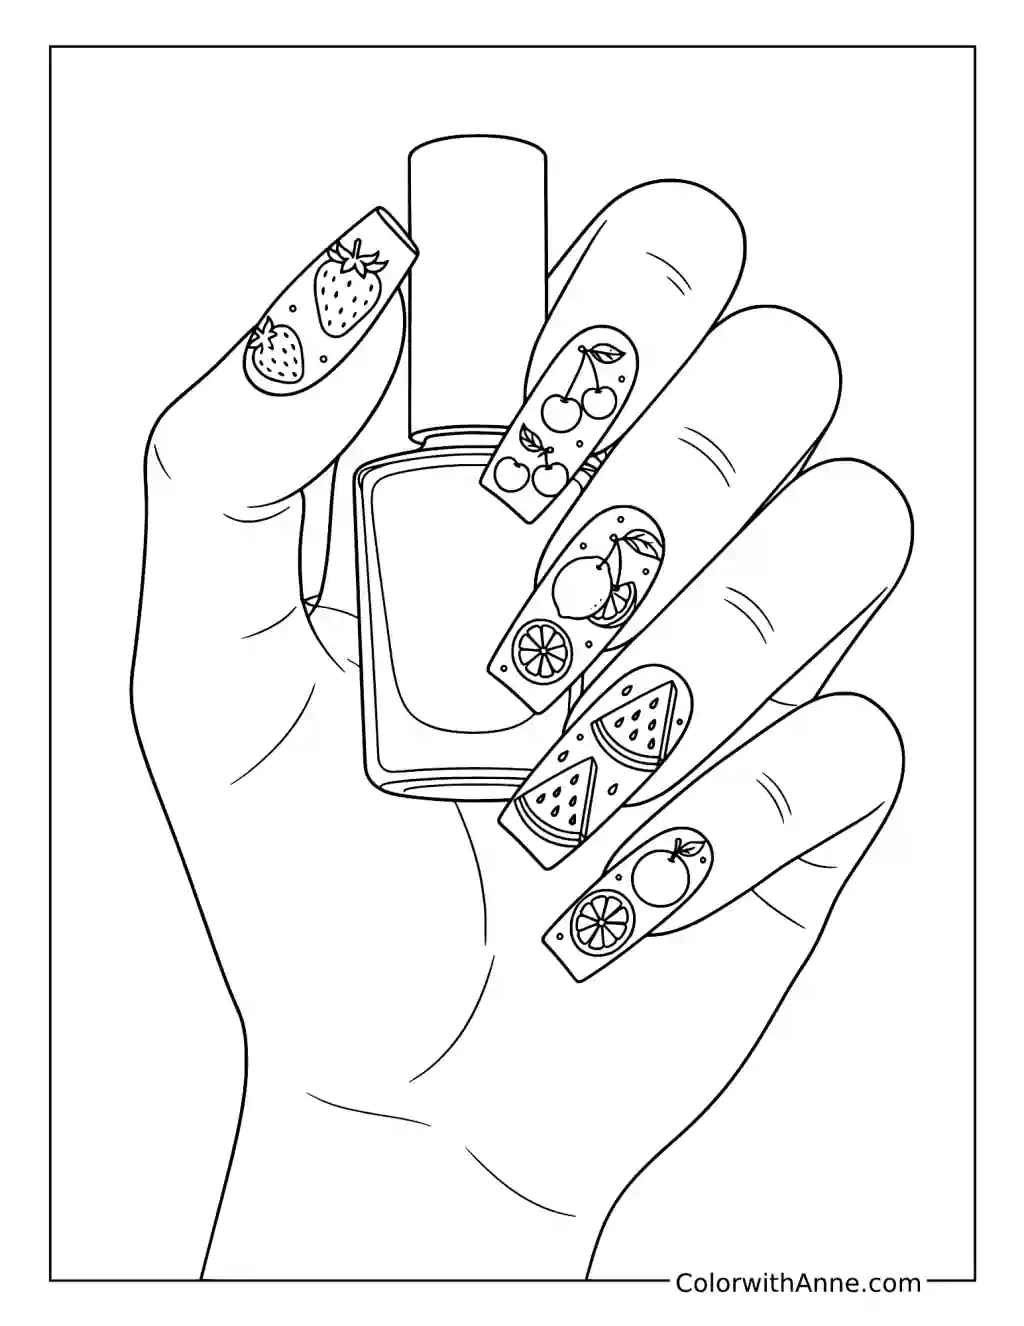
Arrange the Fruit Across Five Fingers
Several fruit motifs share the illustrated hand. Their cheerful variety needs a little coordination when translated into a real set.
Choose a lead motif and sketch a five-nail row beside the page. Assign the fruit to particular fingers, then give the backgrounds a common color or border. Some nails can stay simpler if the main motif is detailed. The finished hand and placement sketch together provide a useful reference, with both the individual artwork and the overall arrangement visible.
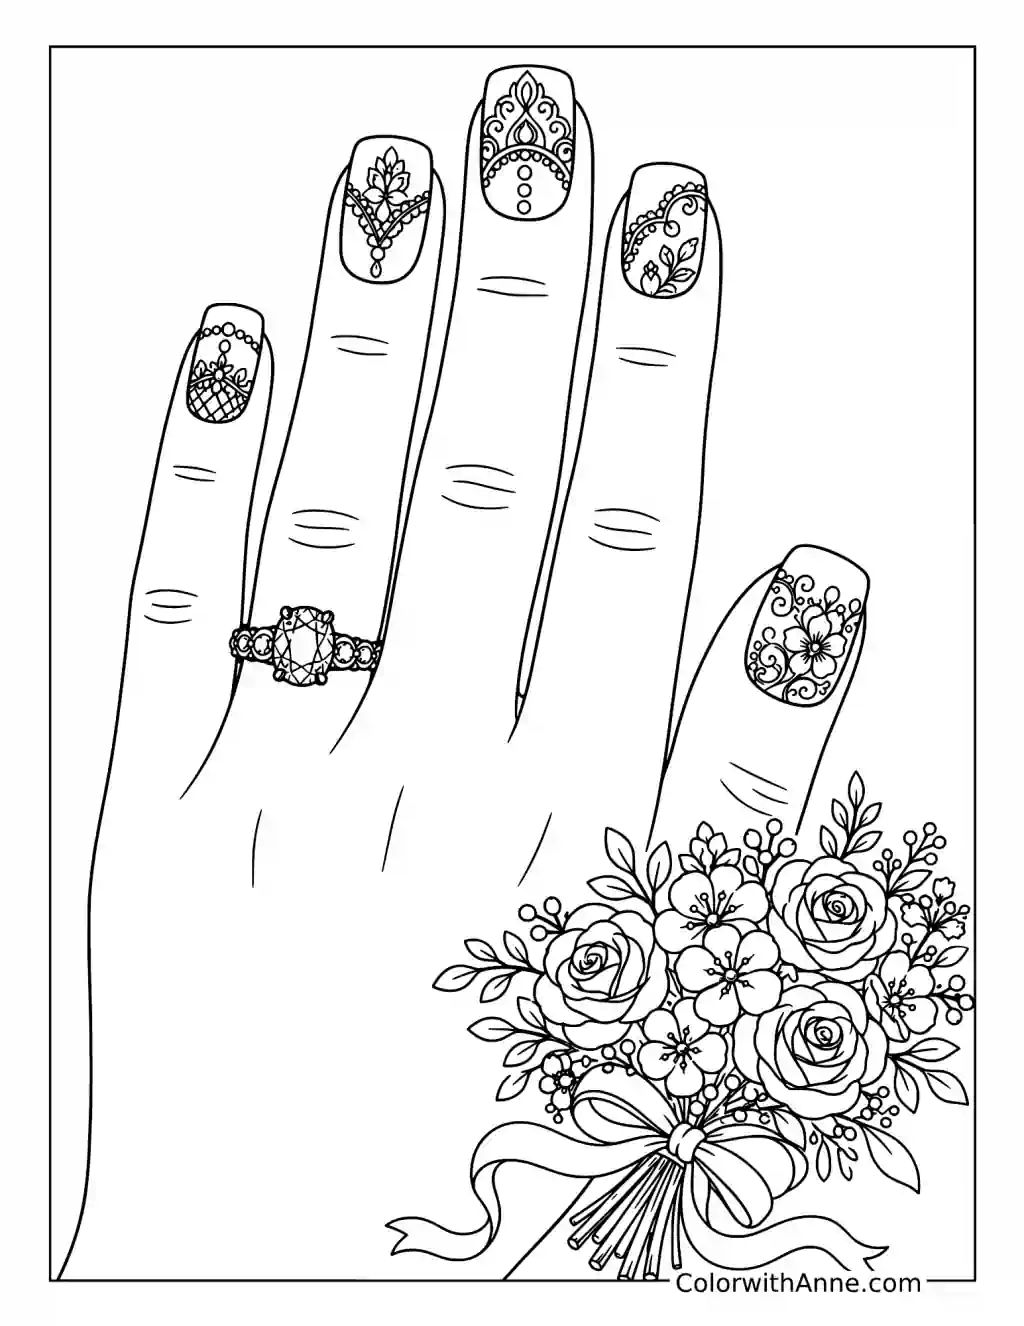
Bring the Wedding Outfit Into the Decision
The bouquet, ring, and lace-like nail details place this manicure within a complete wedding look. It is worth considering those pieces together.
Set the page beside photographs or samples of the actual outfit and jewelry. Look for a detail that can carry into the nails: a lace shape, a pearl-like accent, or a particular tone. Mark the features that matter most before discussing them with a nail artist. The resulting plan should belong with what will be worn, rather than merely matching the bouquet in the illustration.
Build the Halloween Set Around One Motif
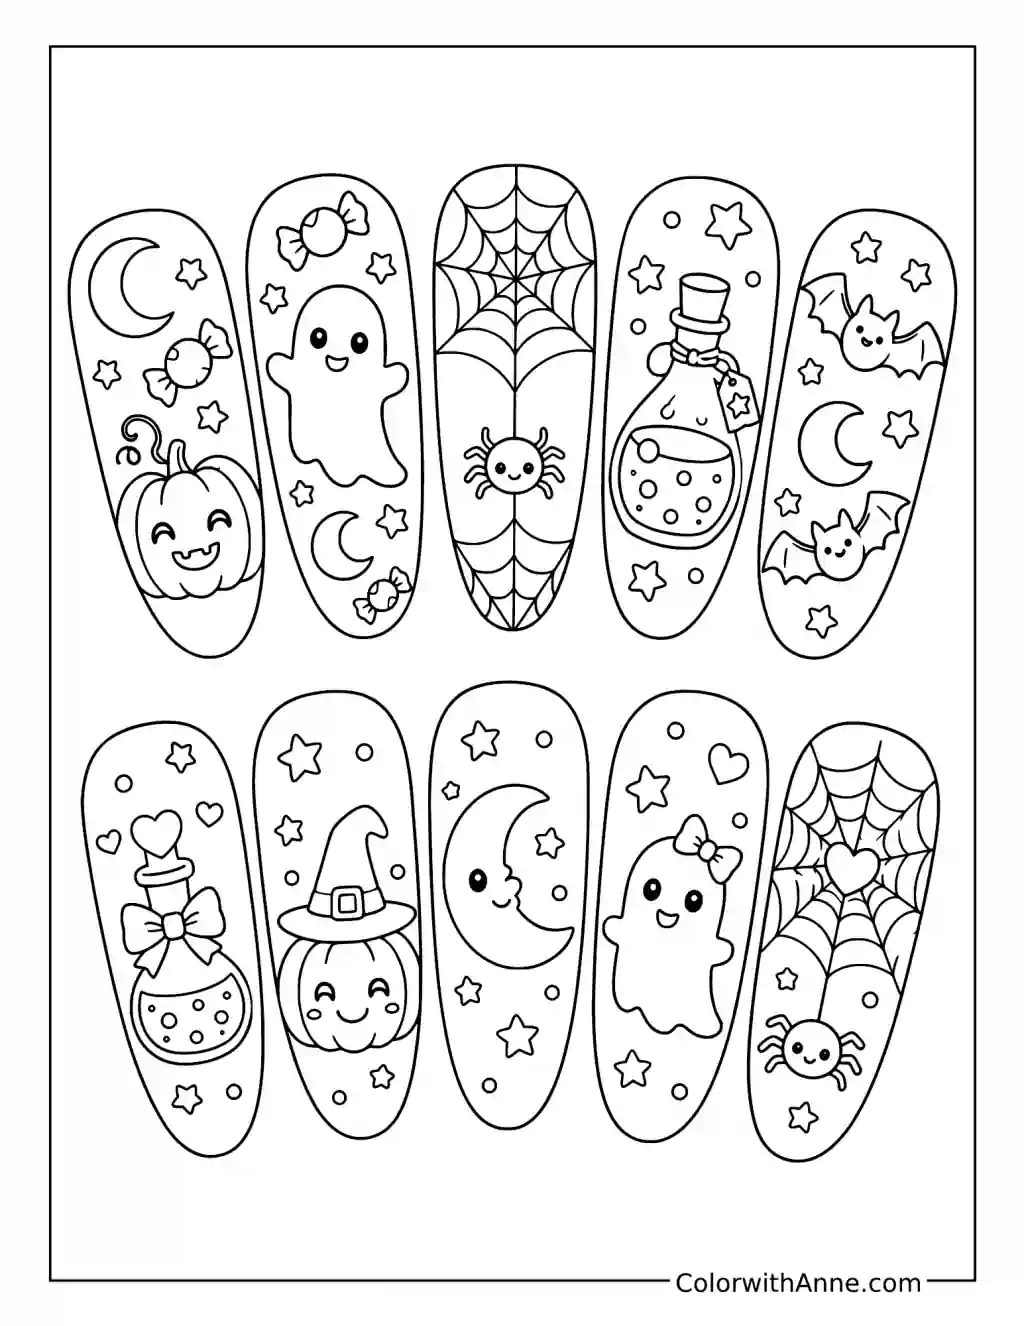
Ghosts, pumpkins, webs, and other motifs fill the samples. The choice is generous enough that using everything can make the set harder to read.
Pick the symbol you would most enjoy wearing, then surround it with simpler designs from the page. Paper copies of the chosen nail shapes can be arranged in a row to test the combination. Keep any remaining favorites for another occasion. The sample sheet is useful precisely because it allows a choice before the design is committed to ten nails.
Simplify a Real Leaf Into Nail Art
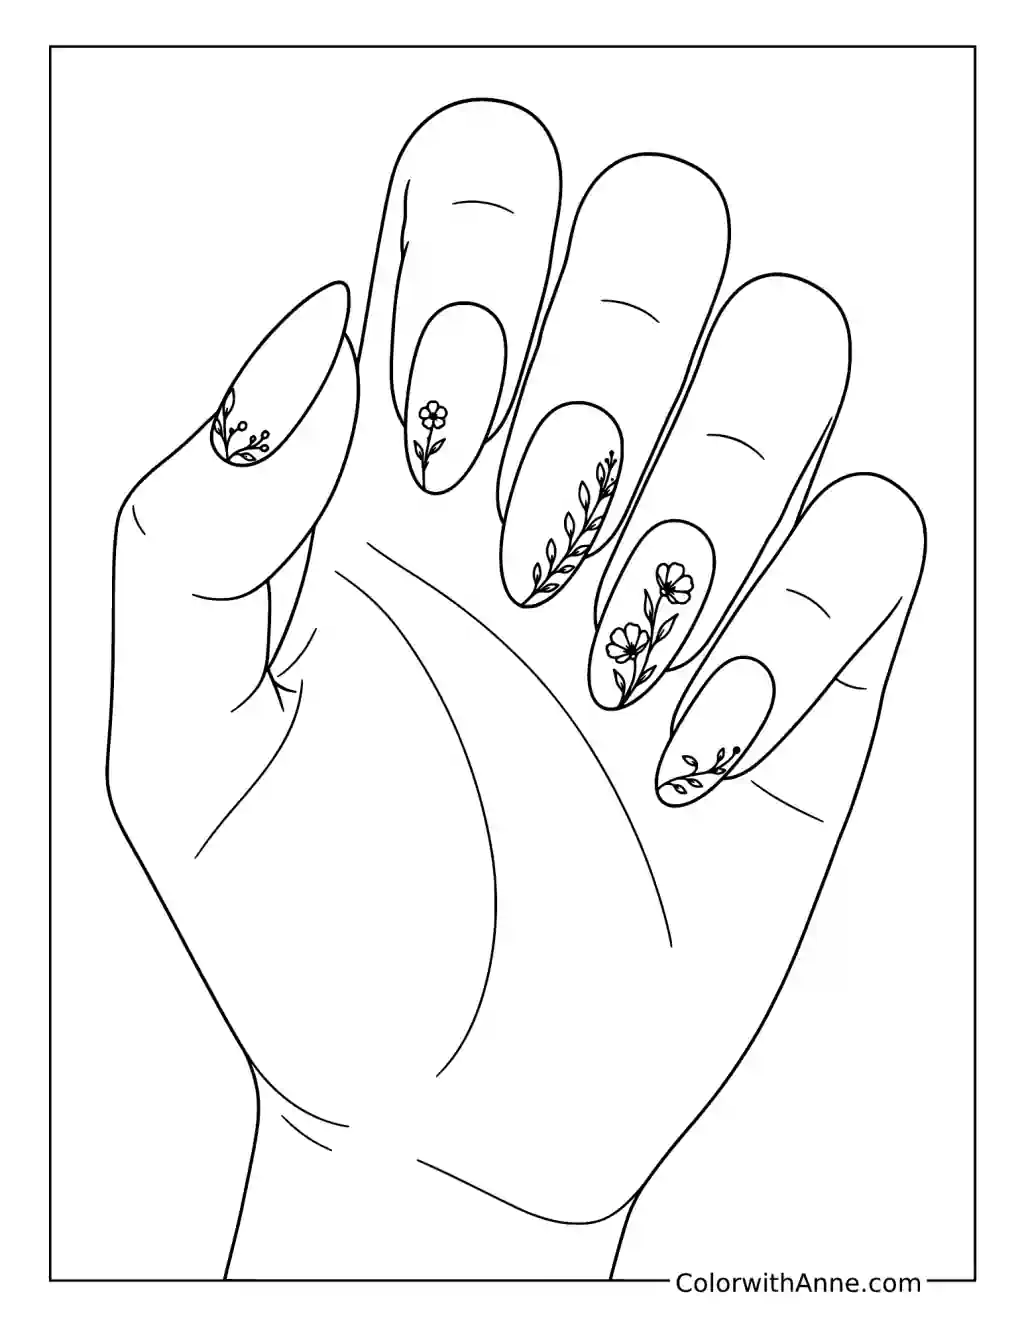
The fine stems follow the nails’ curves, leaving space around the leaves. A recognizable plant detail can be reduced to something equally light.
Look at a leaf or photograph and sketch its main curve, then add only the features needed to identify the shape. Try that motif inside a spare nail outline at actual size. A few well-placed leaves may be more effective than copying every vein. Keep the small sketch beside the printed hand so the intended botanical detail remains clear.
Show Where the Aura Should Glow
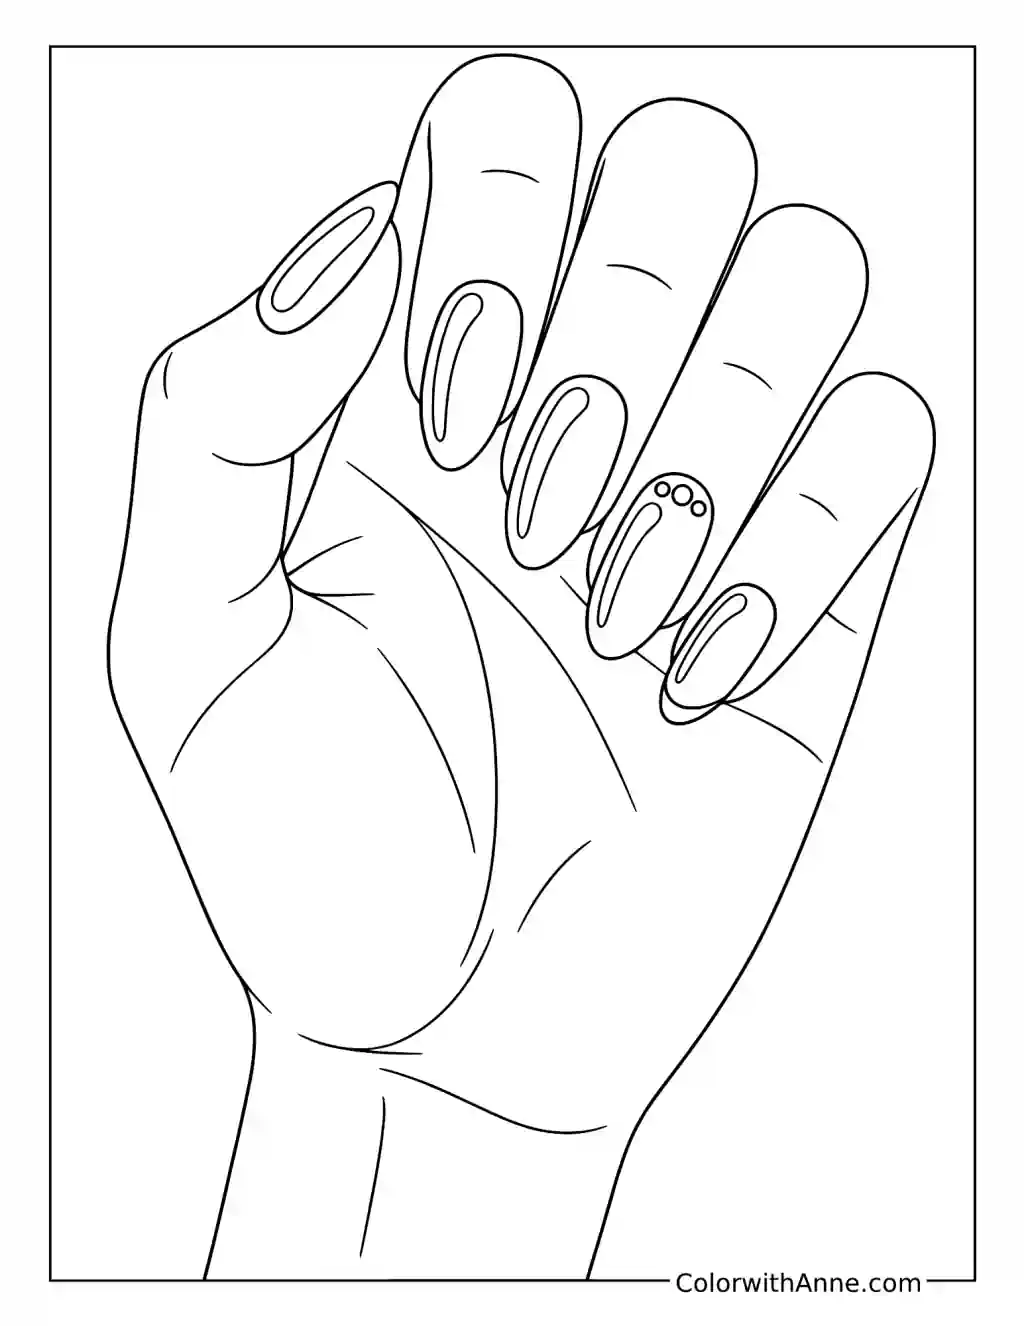
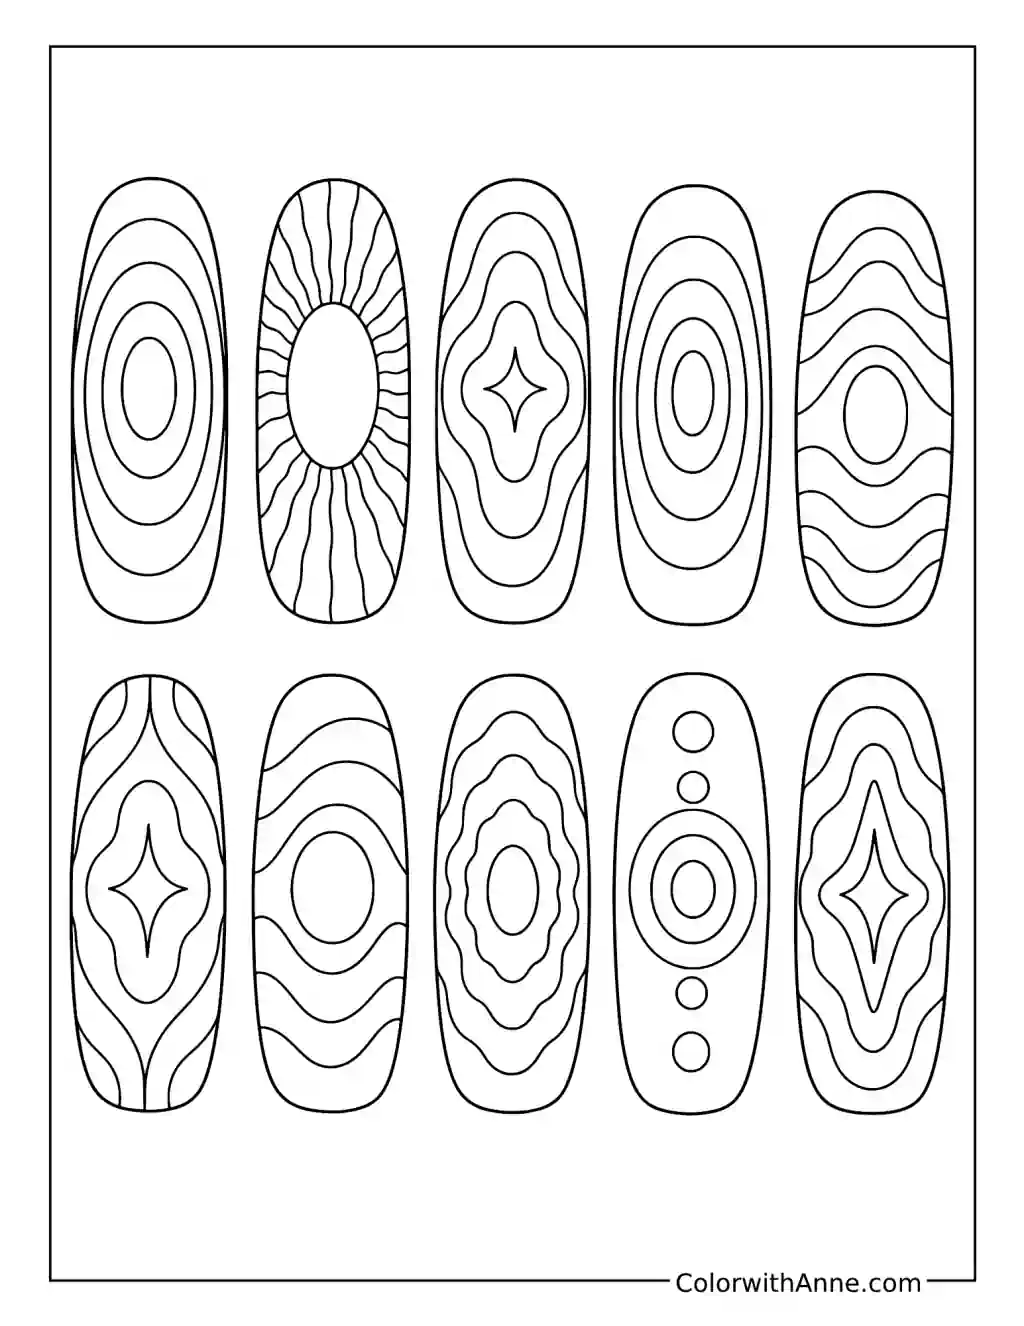
The concentric shapes map out the centers and surrounding zones of the aura designs. They can help communicate color placement even though the finished manicure would have softer transitions.
Fill the zones with the intended shades and mark where they should blend. Decide whether the brightest area belongs near the middle or closer to the tip. Pair the page with a separate photograph showing the gradient finish you want. One reference explains placement; the other shows how soft the boundaries should appear.