
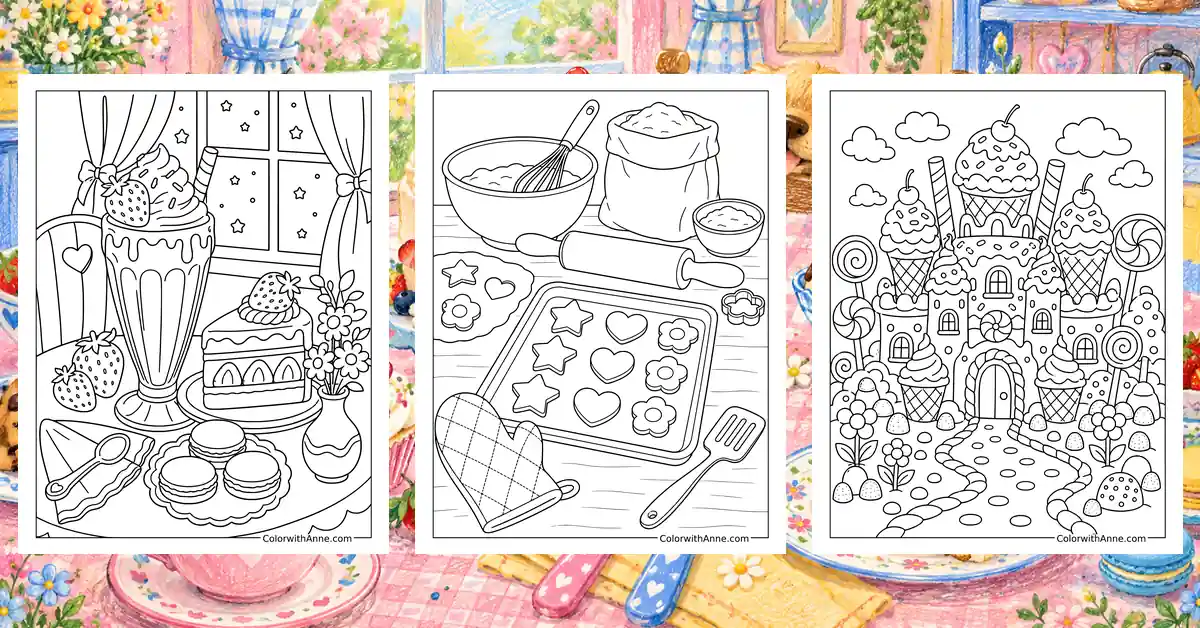
Choosing dessert becomes more difficult when someone else orders something that looks equally good. A spoon pauses halfway across the table, an offer to share is made, and the decision turns into a small arrangement between friends. Somehow, there is always room to consider another bite.
Dessert coloring pages make browsing the sweet possibilities part of the afternoon, without needing to settle on an order. A finished picture might inspire plans for weekend baking or remind someone of a favorite bakery visit. The conversation can become surprisingly specific once everyone starts explaining what they would actually choose from the display.
Free Printable Dessert Coloring Pages
Click any coloring page below to open the PDF, then print on US Letter or A4 paper.
Did you find what you needed?
Help us choose what to create or improve next.
Coloring Ideas for Dessert Pages
Try one of these coloring ideas, or use them as a starting point for your own.
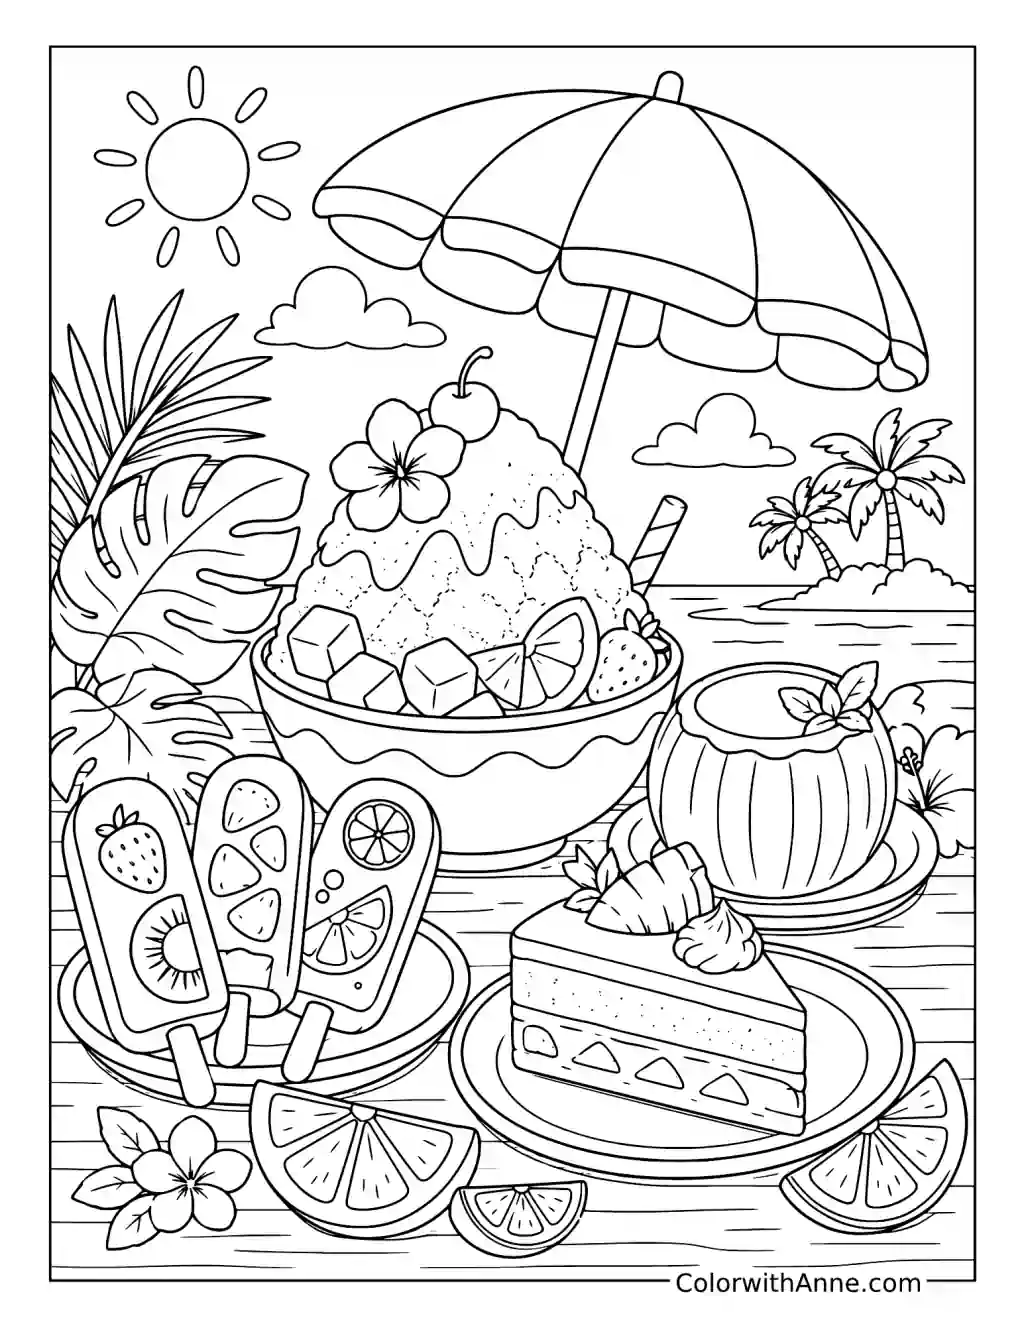
Choose the Shaved Ice Flavors
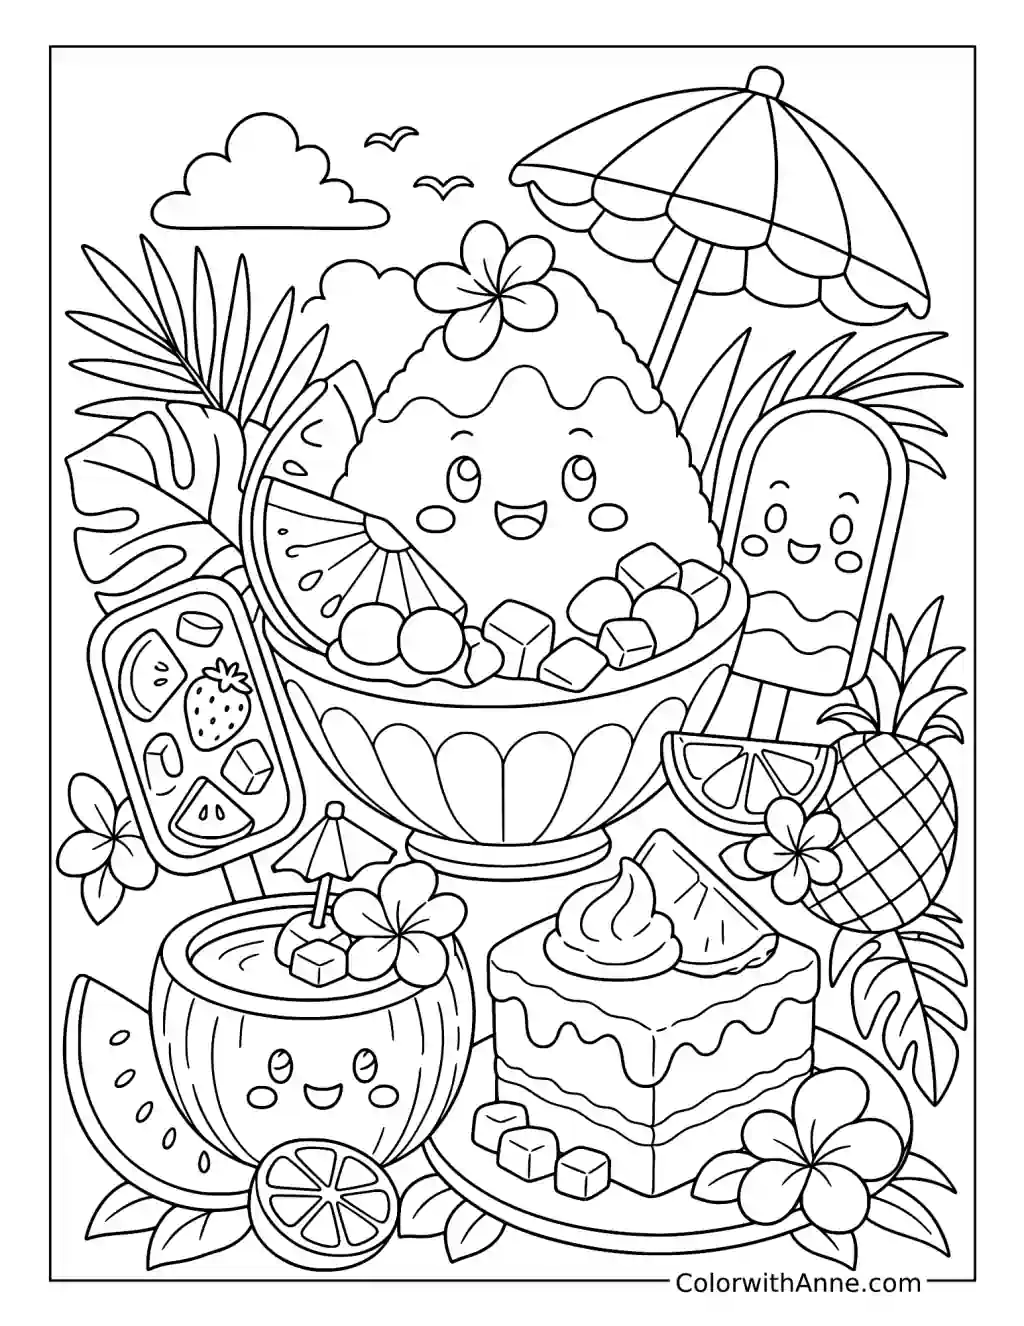
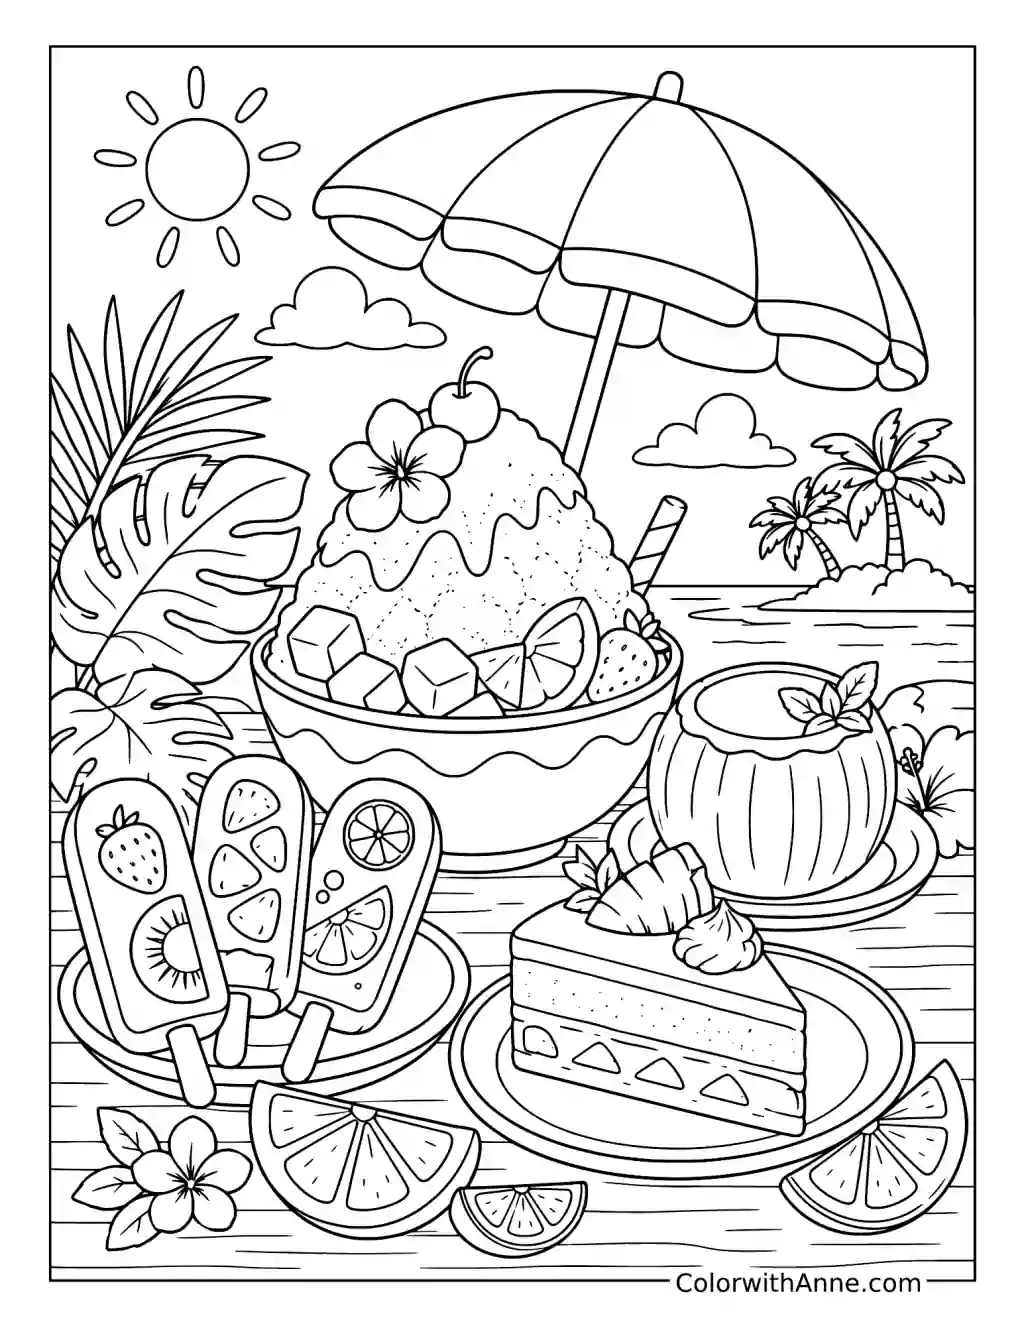
Shaved ice, fruit, and chilled treats sit beneath a beach umbrella. The large mound of ice offers room for a flavor combination as well as a color choice.
Mango yellow and berry pink could make a bright tropical pairing. Softer turquoise around the table and umbrella would give those warm dessert colors room to stand out.
Choose two imagined syrup flavors before coloring the ice. Add their names on a small paper menu strip beside the page. Ask someone else which combination they would order, or let them invent a third flavor for the next version.
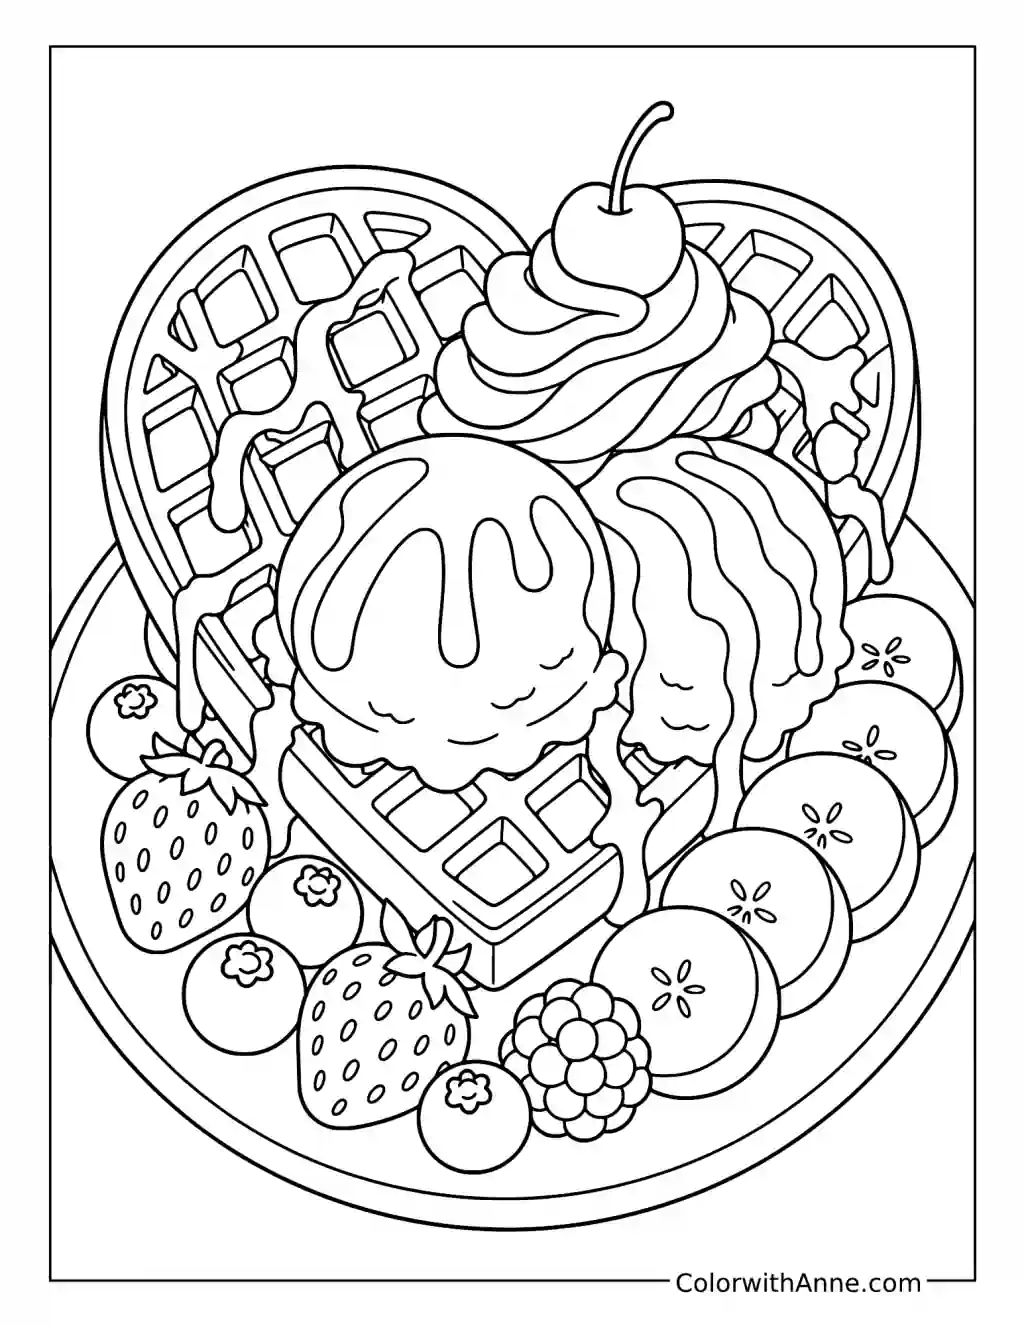
Make the Waffle’s Texture Read Clearly
Waffles, ice cream, fruit, and cream gather on one generous platter. The waffle grids offer a satisfying contrast to the smoother scoops beside them.
Golden brown waffles with pale ice cream could make a familiar starting palette. Red berries and a little chocolate brown would add stronger accents around the lighter food.
Work along the waffle’s raised grid in a slightly deeper brown, leaving the little squares lighter. Test the difference on one corner before continuing. The texture can become clear through a small change in shade, even among all the surrounding toppings.
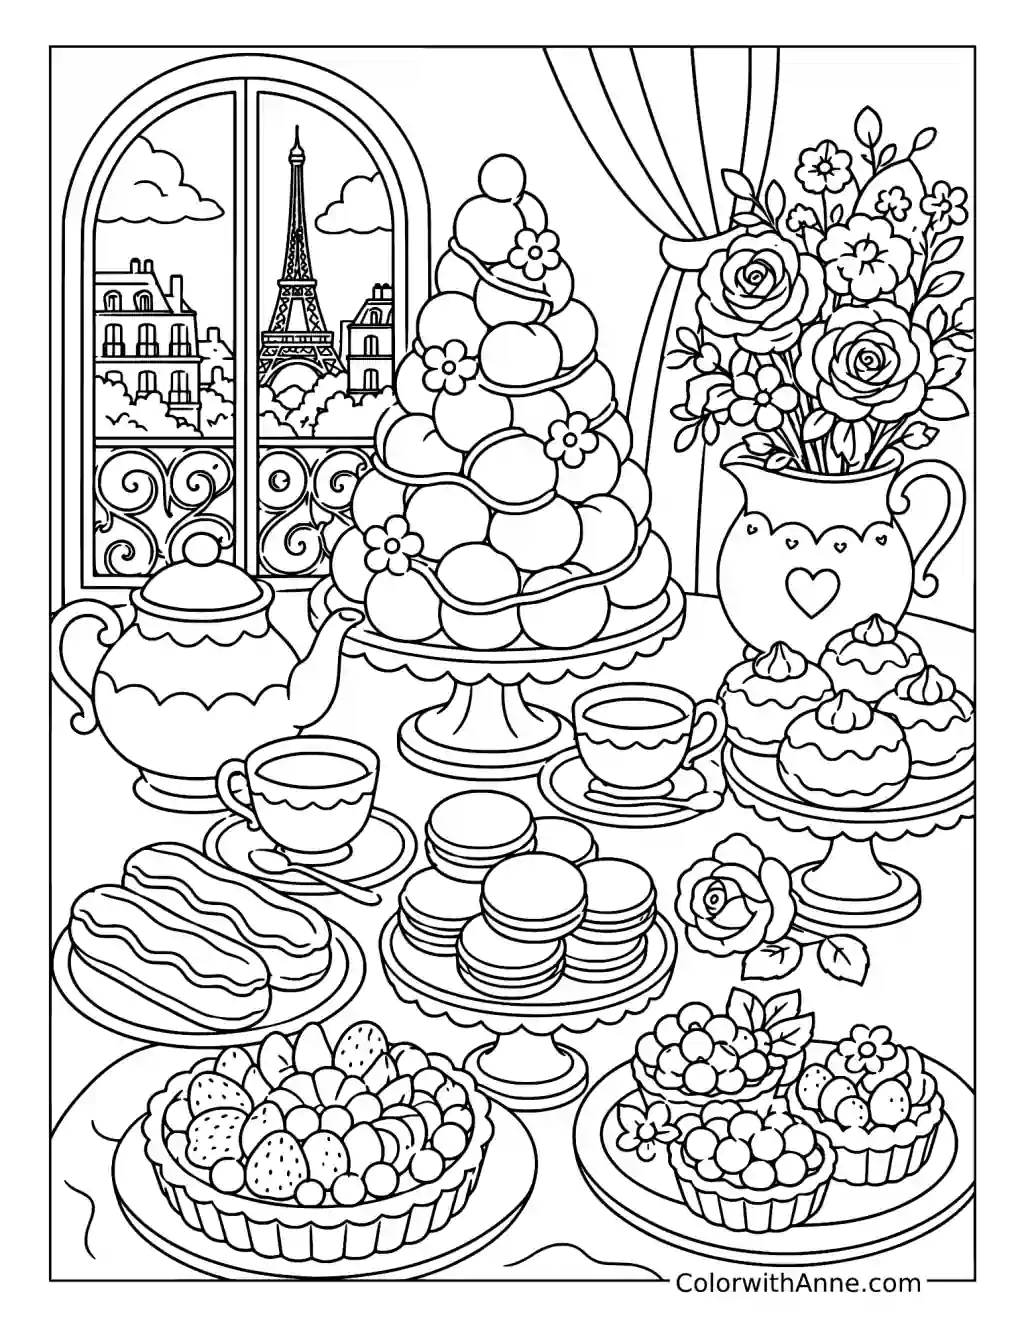
Write a Tiny Pâtisserie Menu
A tall croquembouche rises above pastries and small desserts, with a Paris view through the window. The display has enough variety for a short illustrated menu.
Caramel gold and cream could give the pastry tower a rich finish. Soft pink flowers and muted blue outside the window would keep the counter as the main attraction.
Choose three pictured treats and find the correct name for each. Write them on a small menu, using the drawing to match words with shapes. Add invented prices if you want to use it for a pretend café order.
Practice the Pie’s Lattice With Paper
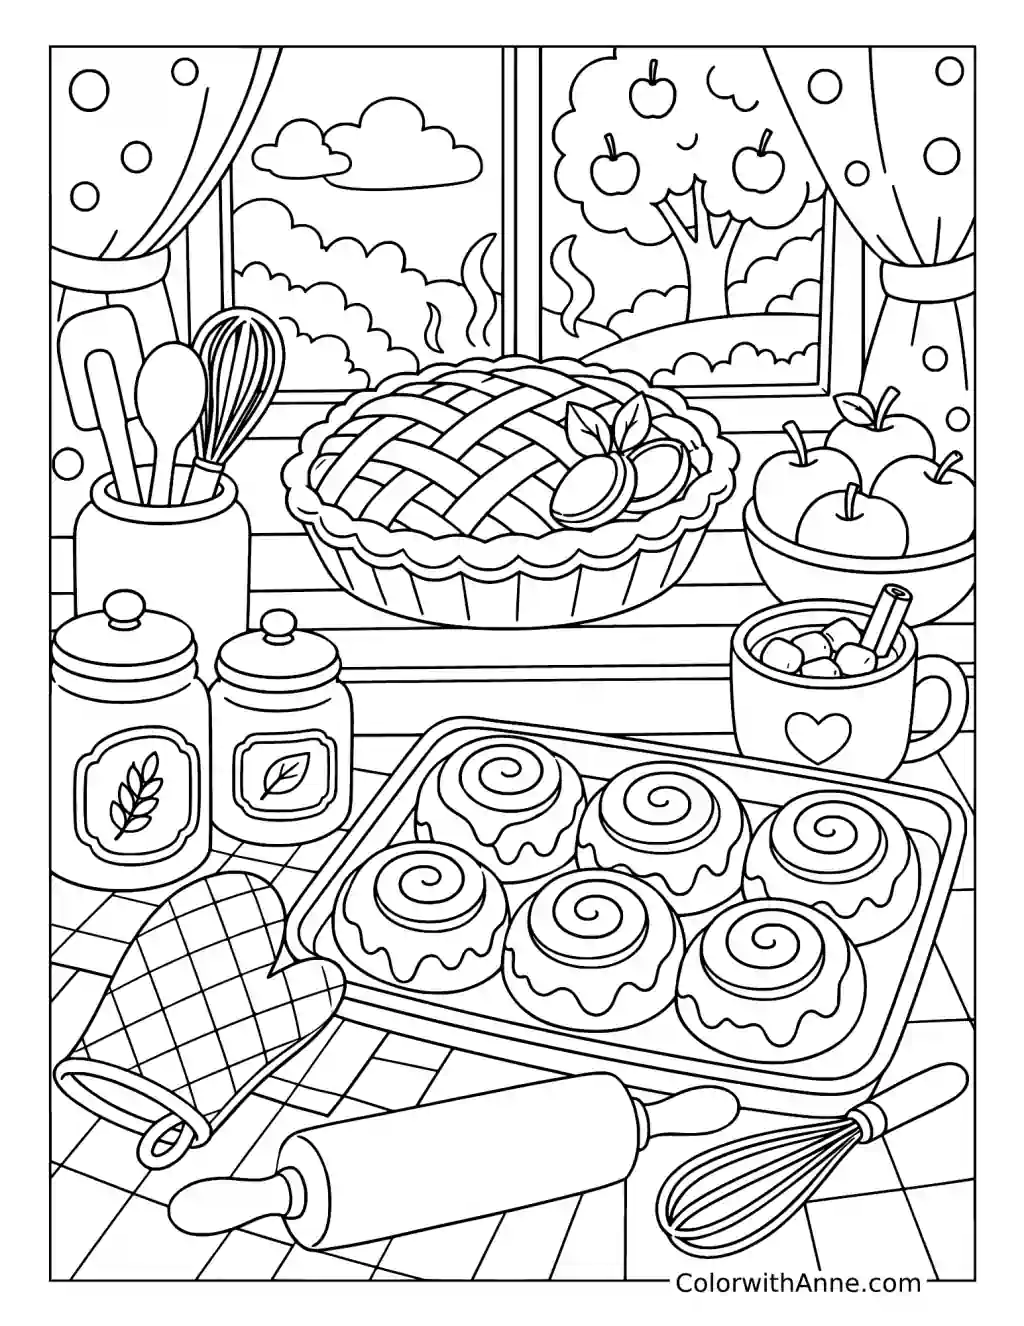
An apple pie cools near the window while baking supplies fill the foreground. Its woven-looking top gives the picture a pattern worth exploring separately.
Golden pastry with red or green apples could create a warm kitchen palette. A quieter blue cloth or window frame would balance the warmer food colors.
Cut a few narrow paper strips and weave them over and under one another. Compare the arrangement with the pie’s top before trimming the edges into a circle. The small paper version helps make sense of the pattern visible in the crust.
Plan the Cookie Decorations Before Baking
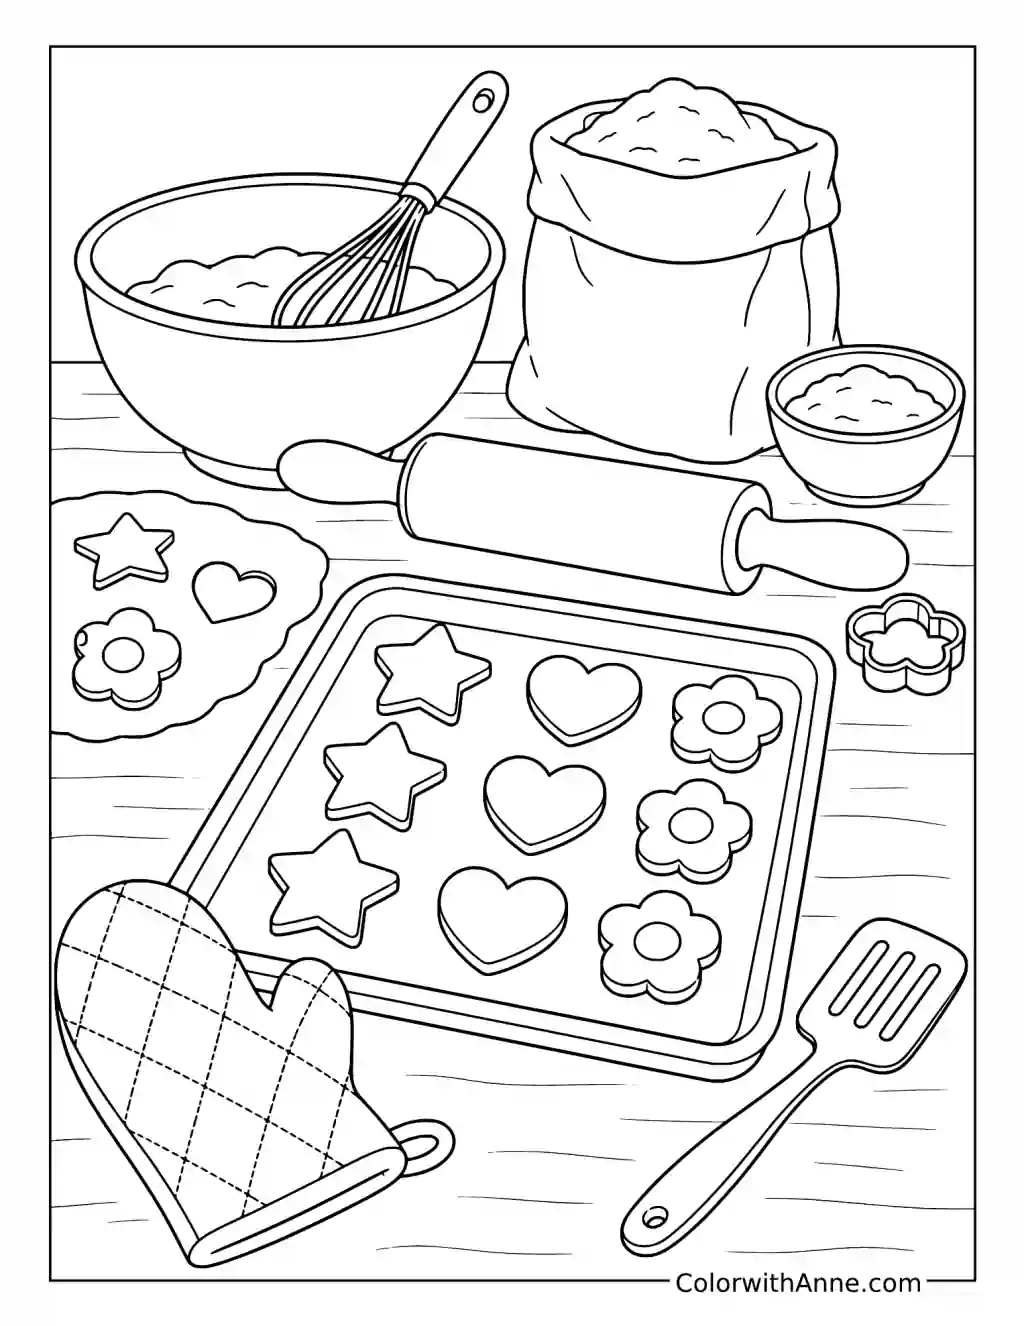
Star, heart, and flower cookies wait on a tray beside a bowl and rolling pin. Their separate shapes are ready for a few decorating decisions.
Warm cream and golden edges could keep the cookies looking freshly baked. Pink, white, and pale blue icing accents would give the different shapes a coordinated finish.
Choose one simple decoration for each shape before adding it to the picture. Hearts might receive dots, while stars get a thin border. Keep the sheet near the next decorating session so the first cookie does not have to carry every idea at once.
Build a Sundae Combination You Would Actually Order
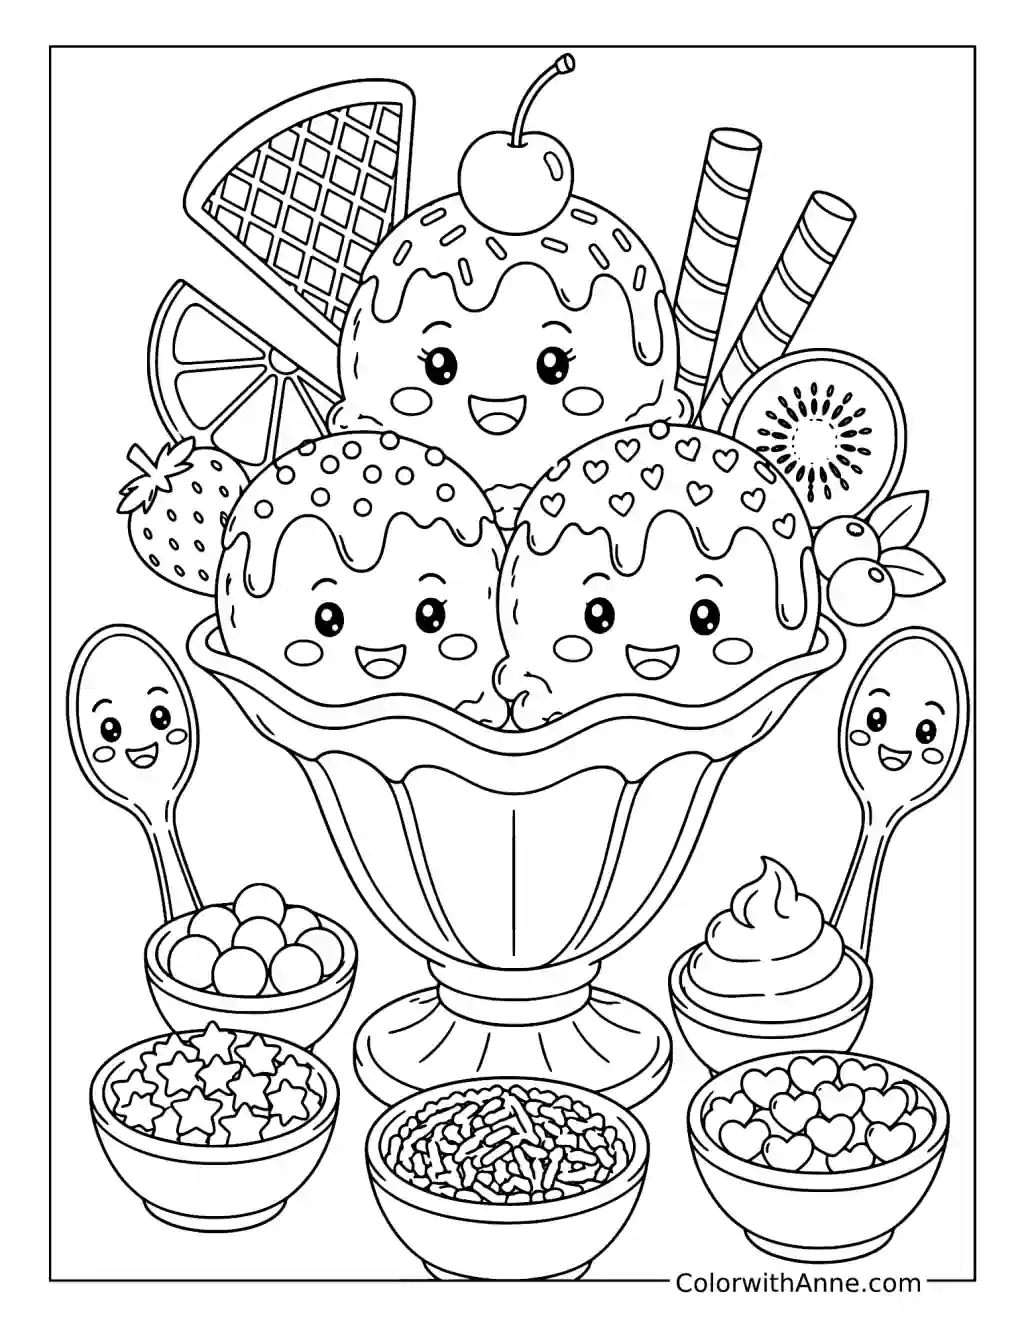
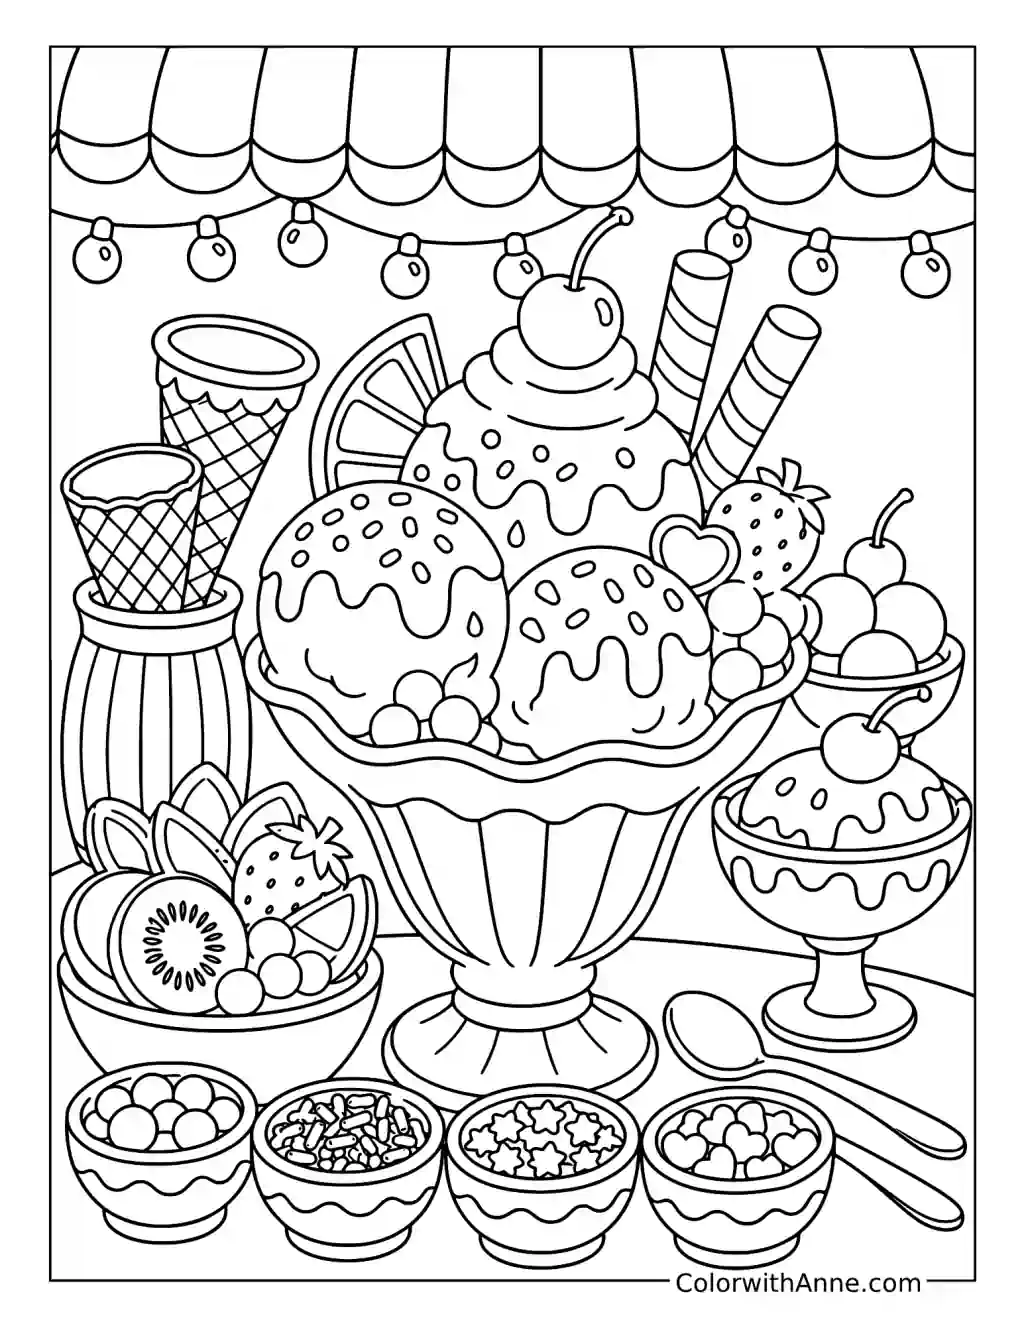
Three cheerful scoops fill a tall sundae dish, with topping bowls arranged below. The scene offers several choices without requiring every topping to be used.
Vanilla cream, chocolate brown, and strawberry pink could distinguish the scoops clearly. A pale blue dish would give the warmer dessert colors a cool edge.
Pick two toppings from the pictured bowls and decide which scoop each belongs with. Add a small mark beside the chosen bowls. If you make sundaes together later, let everyone plan their own combination before reaching for the toppings.
Arrange the Fruit From the Outside In
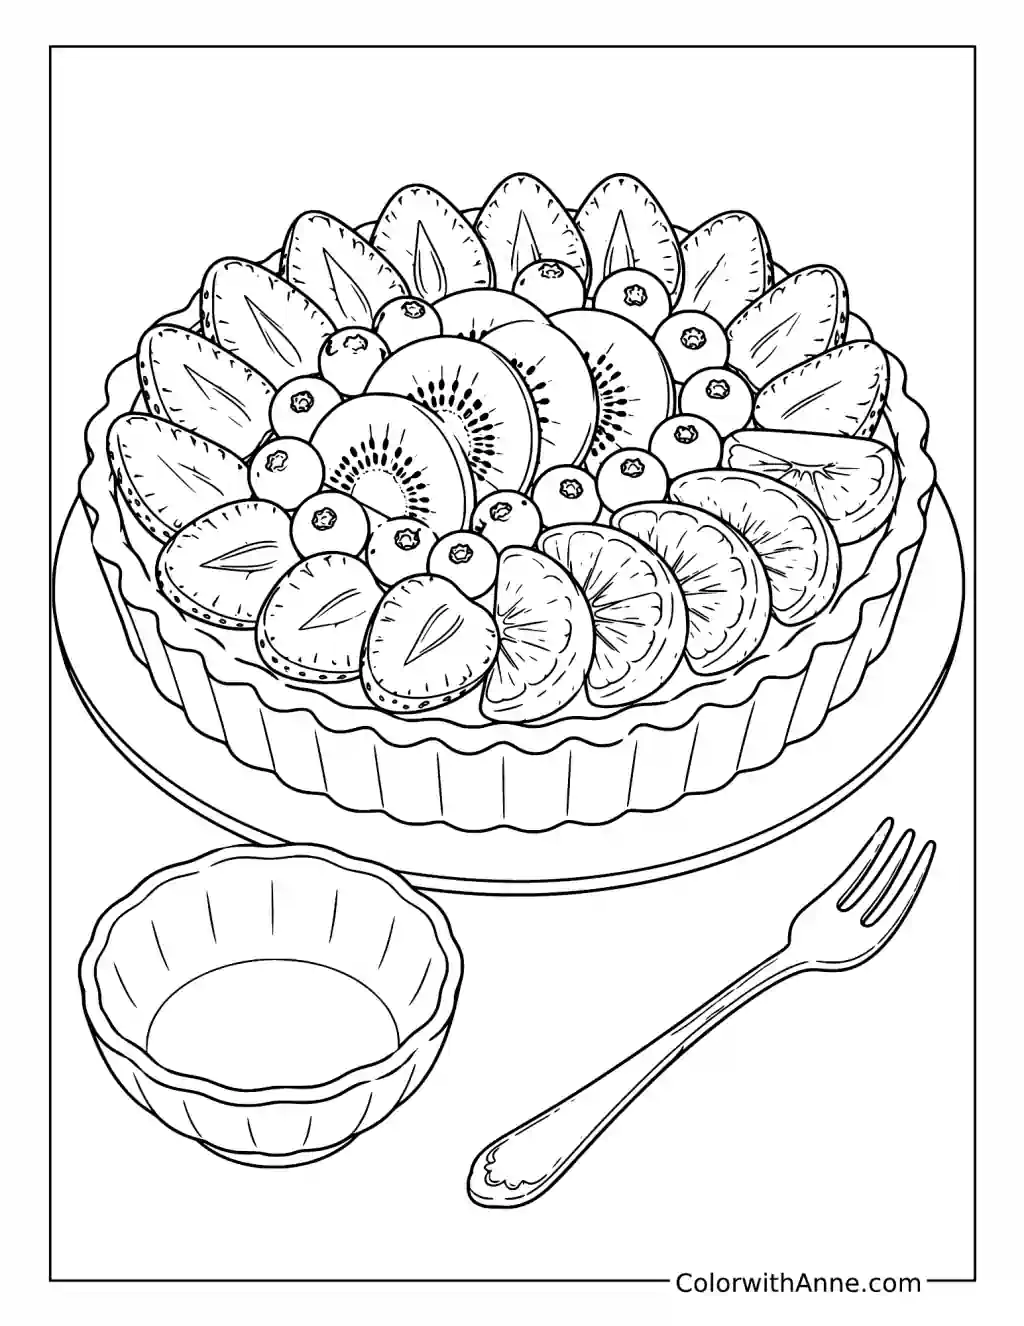
Fruit slices form a full topping across the tart, with a small plate and fork nearby. The repeated pieces make the arrangement part of the dessert’s appeal.
Kiwi green and strawberry red would give the topping a fresh contrast. A golden crust and pale plate could keep attention on the fruit pattern.
Try arranging sliced fruit in rings on a plate before adding it to an actual dessert. Begin at the outside and work inward, checking which pieces fit the remaining spaces. The printed tart can help with the layout without demanding an exact copy.
Choose the Candy Castle’s Building Materials
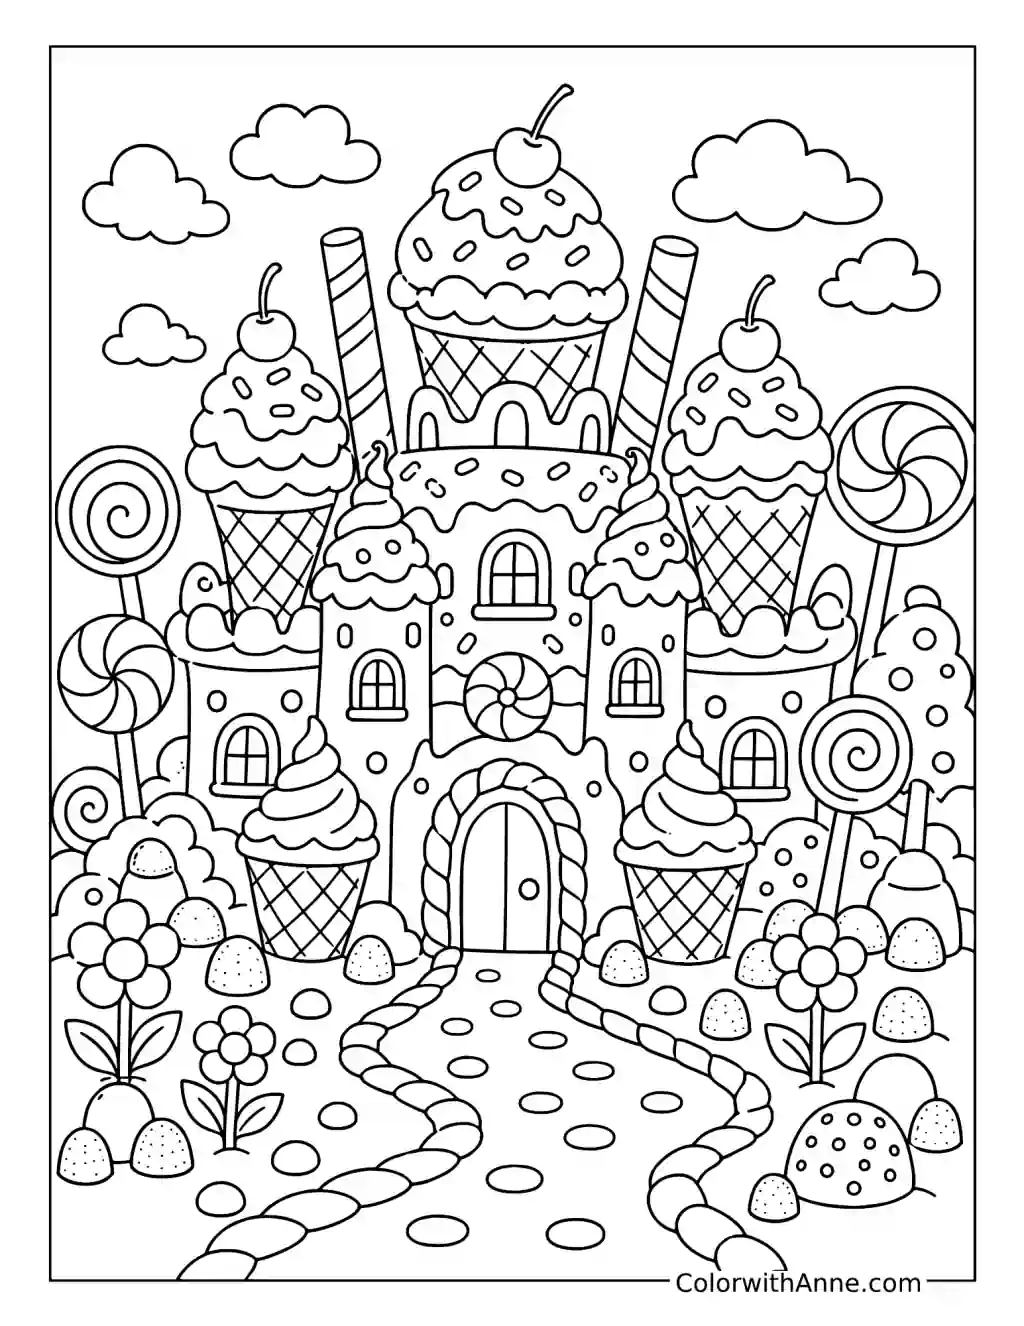
Frosted towers, candy-shaped details, and a small entrance make this castle feel ready for an edible-world story. Different surfaces invite different imagined ingredients.
Pink frosting and cream walls could give the castle a soft storybook palette. A few chocolate-brown sections would add contrast around the doors, roofs, or smaller architectural details.
Decide what three parts of the castle are made from before finishing them. A cone roof, biscuit wall, or striped candy doorway could each receive its own pattern. Add a tiny material key in the margin if you want to remember the choices.